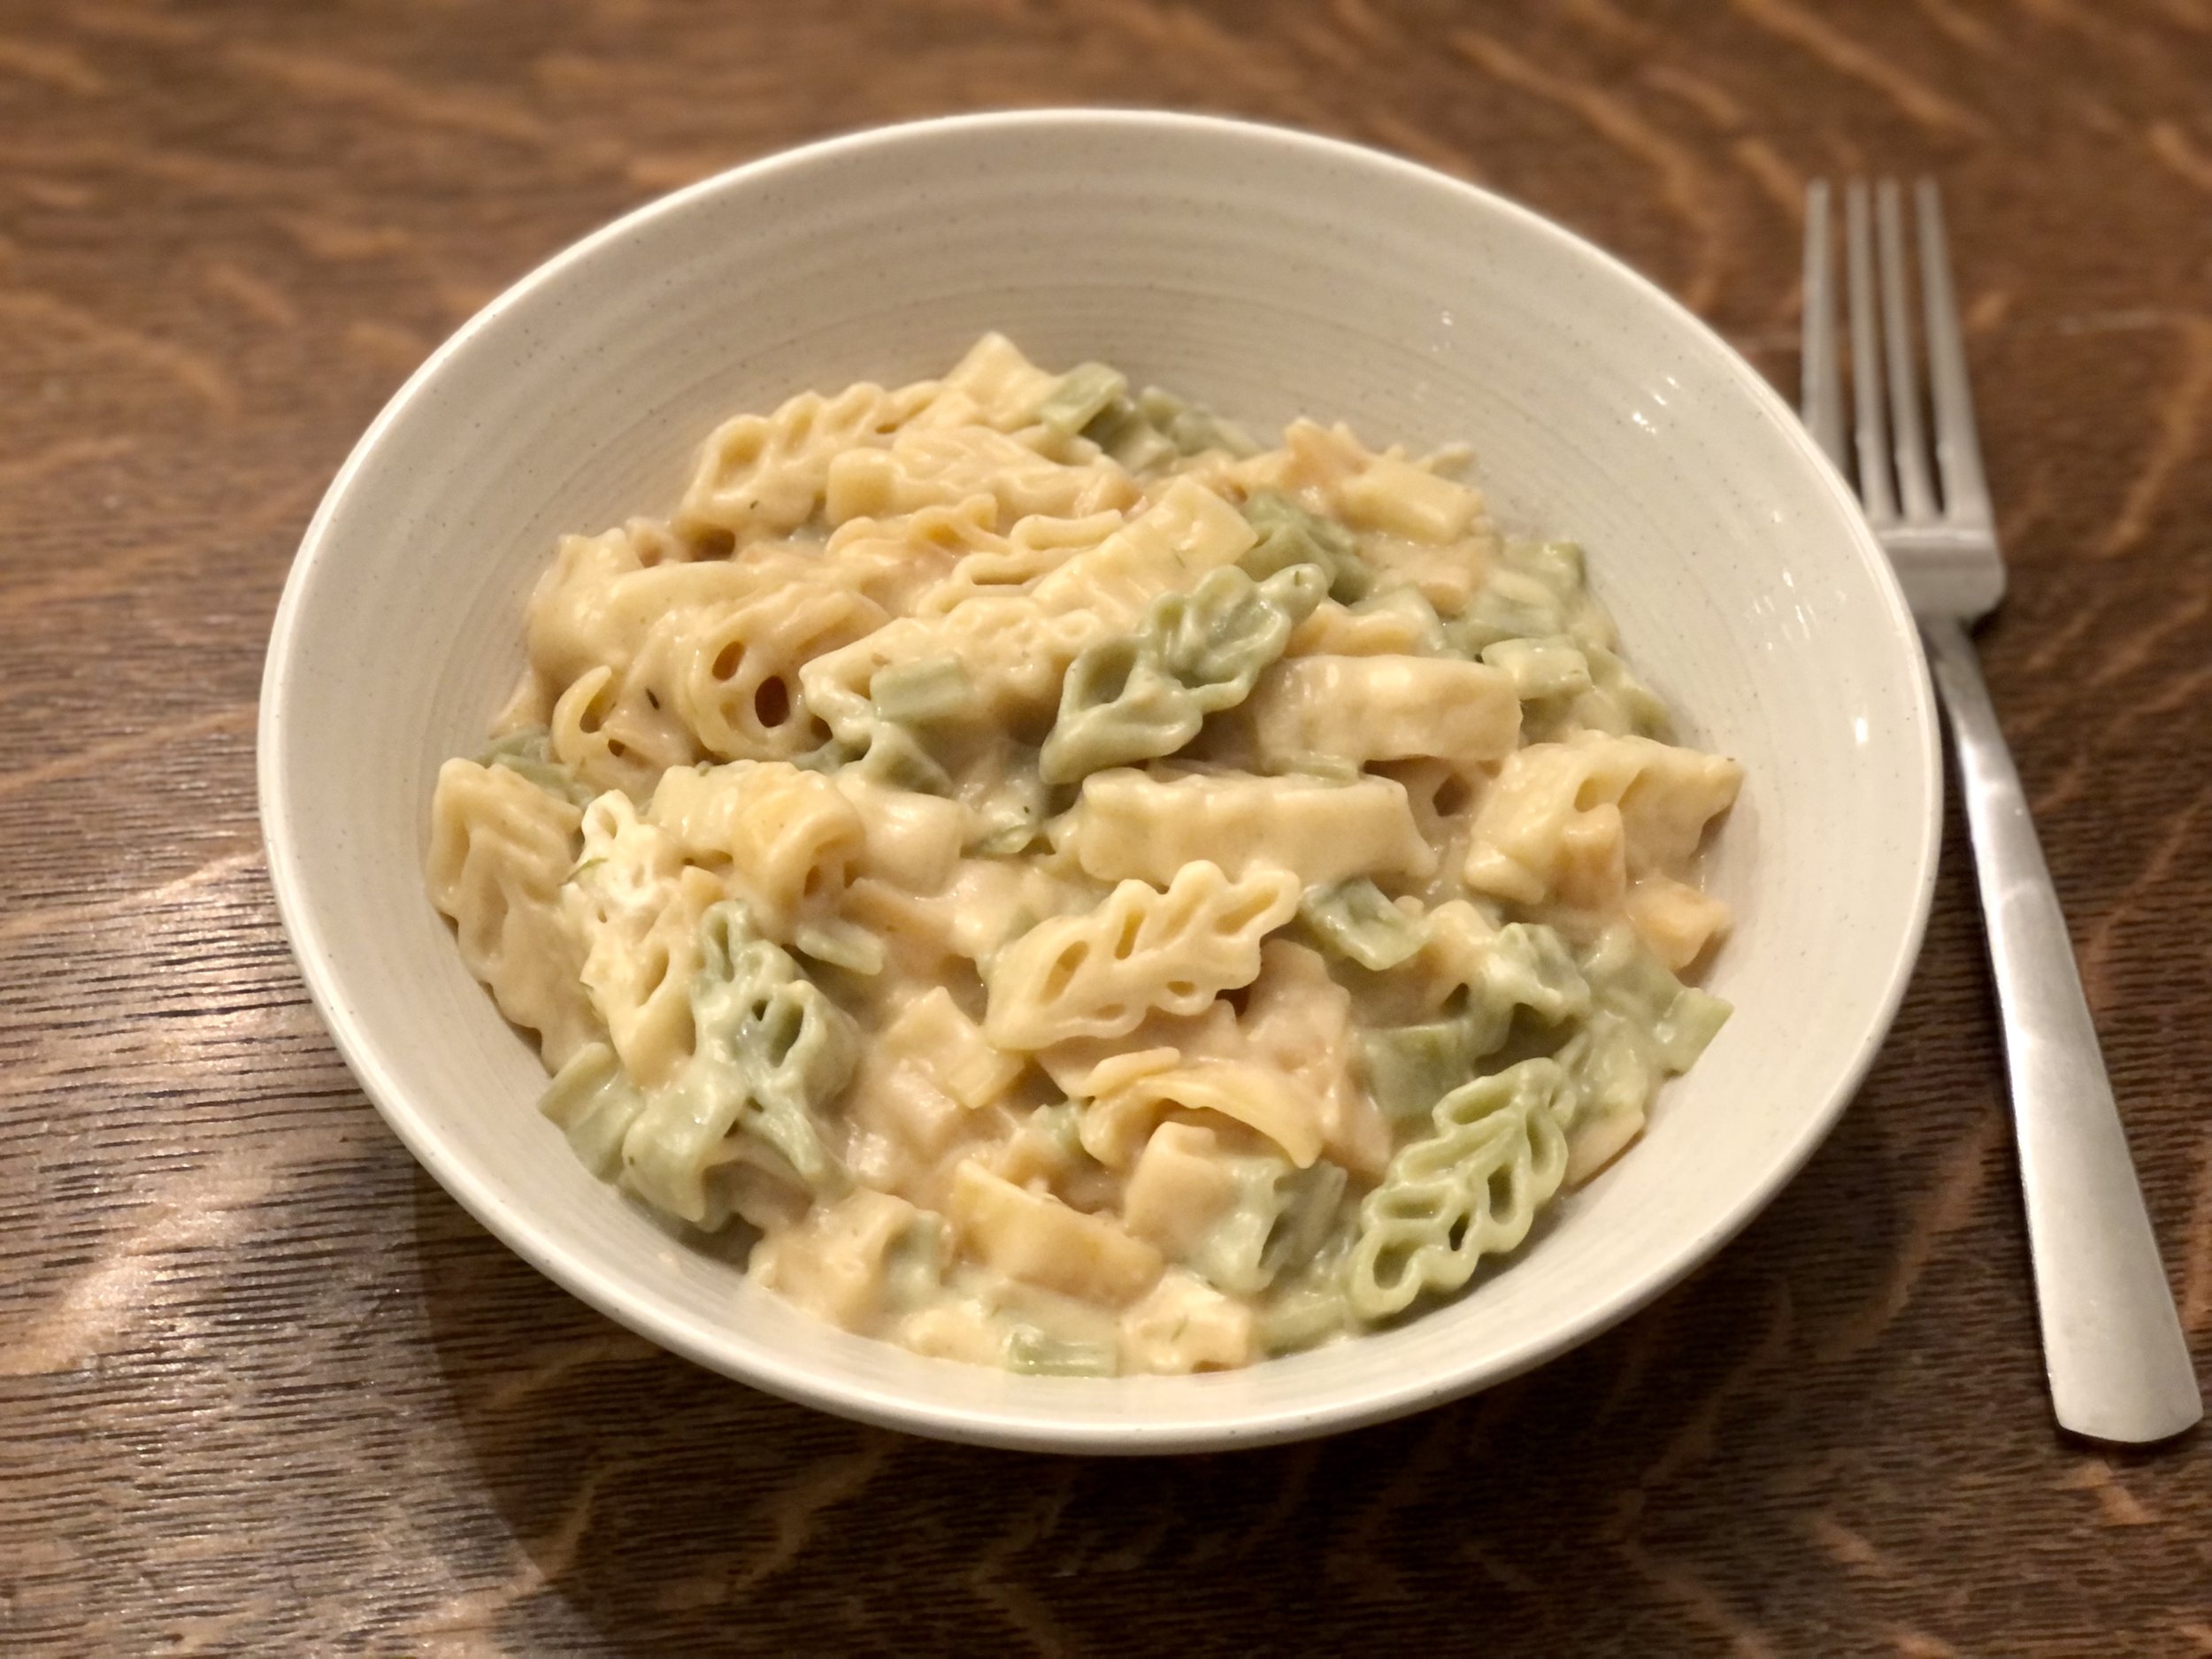
Creamy Lemon Pesto Orzo with Kale
/
This creamy lemon pesto orzo first came into our lives when my brother made us dinner one night. He periodically treats us to dinner, and this quickly became a requested favorite.
Orzo, if you’re not familiar with it, is just a very small shape of pasta. Imagine little chewy bites of pasta in a creamy, flavorful sauce with bright notes of lemon, white beans here and there and bites of kale.
This orzo was so good, that the occasional brother-cooking-dinner just wasn’t enough, especially since we didn’t want to bore him by requesting the same dish every time and squash his culinary explorations. So, we got our hands on the recipe, adjusted what needed to be adjusted and changed a couple things to our tastes, and voilà. I can make it anytime I want. Now my brother, mom, and I all make this frequently, and we’re all happy to eat it when the other has made it. We all have our own versions of this absolutely delightfully creamy, lemony, pesto orzo with kale. It has become my new favorite comfort food and it has its regular place on our dinner rotation.
Oh, and this all comes together in one pot, so it really doesn’t get much better than this!
This post may contain affiliate links. If you make a purchase using these links, Jennyblogs may receive a small commission, at no extra cost to you. This helps to support Jennyblogs. Where possible, links are prioritized to small businesses and ethically and responsibly made items. For further information see the privacy policy. Grazie!
Recipe adapted from Half Baked Harvest


Creamy Lemon Pesto Orzo with Kale
Serves 4-6

Ingredients:
1 Tbsp / 14g cooking oil
1 shallot or small onion, chopped small
4-6 cloves garlic, minced
2 Tbsp / 28g butter or more cooking oil
1 cup / 210g orzo
6 cups / 1,422g chicken or vegetable broth
1 parmesan rind, optional
1 can (15 oz / 425g) white beans, drained
1 can (13.5oz / 383g) coconut milk. full-fat or lite
1 bunch of kale, stems removed and roughly chopped
1/2 cup / 100g basil pesto
1 cup / 100g grated parmesan cheese
zest and juice of 1 lemon
Salt and pepper, to taste
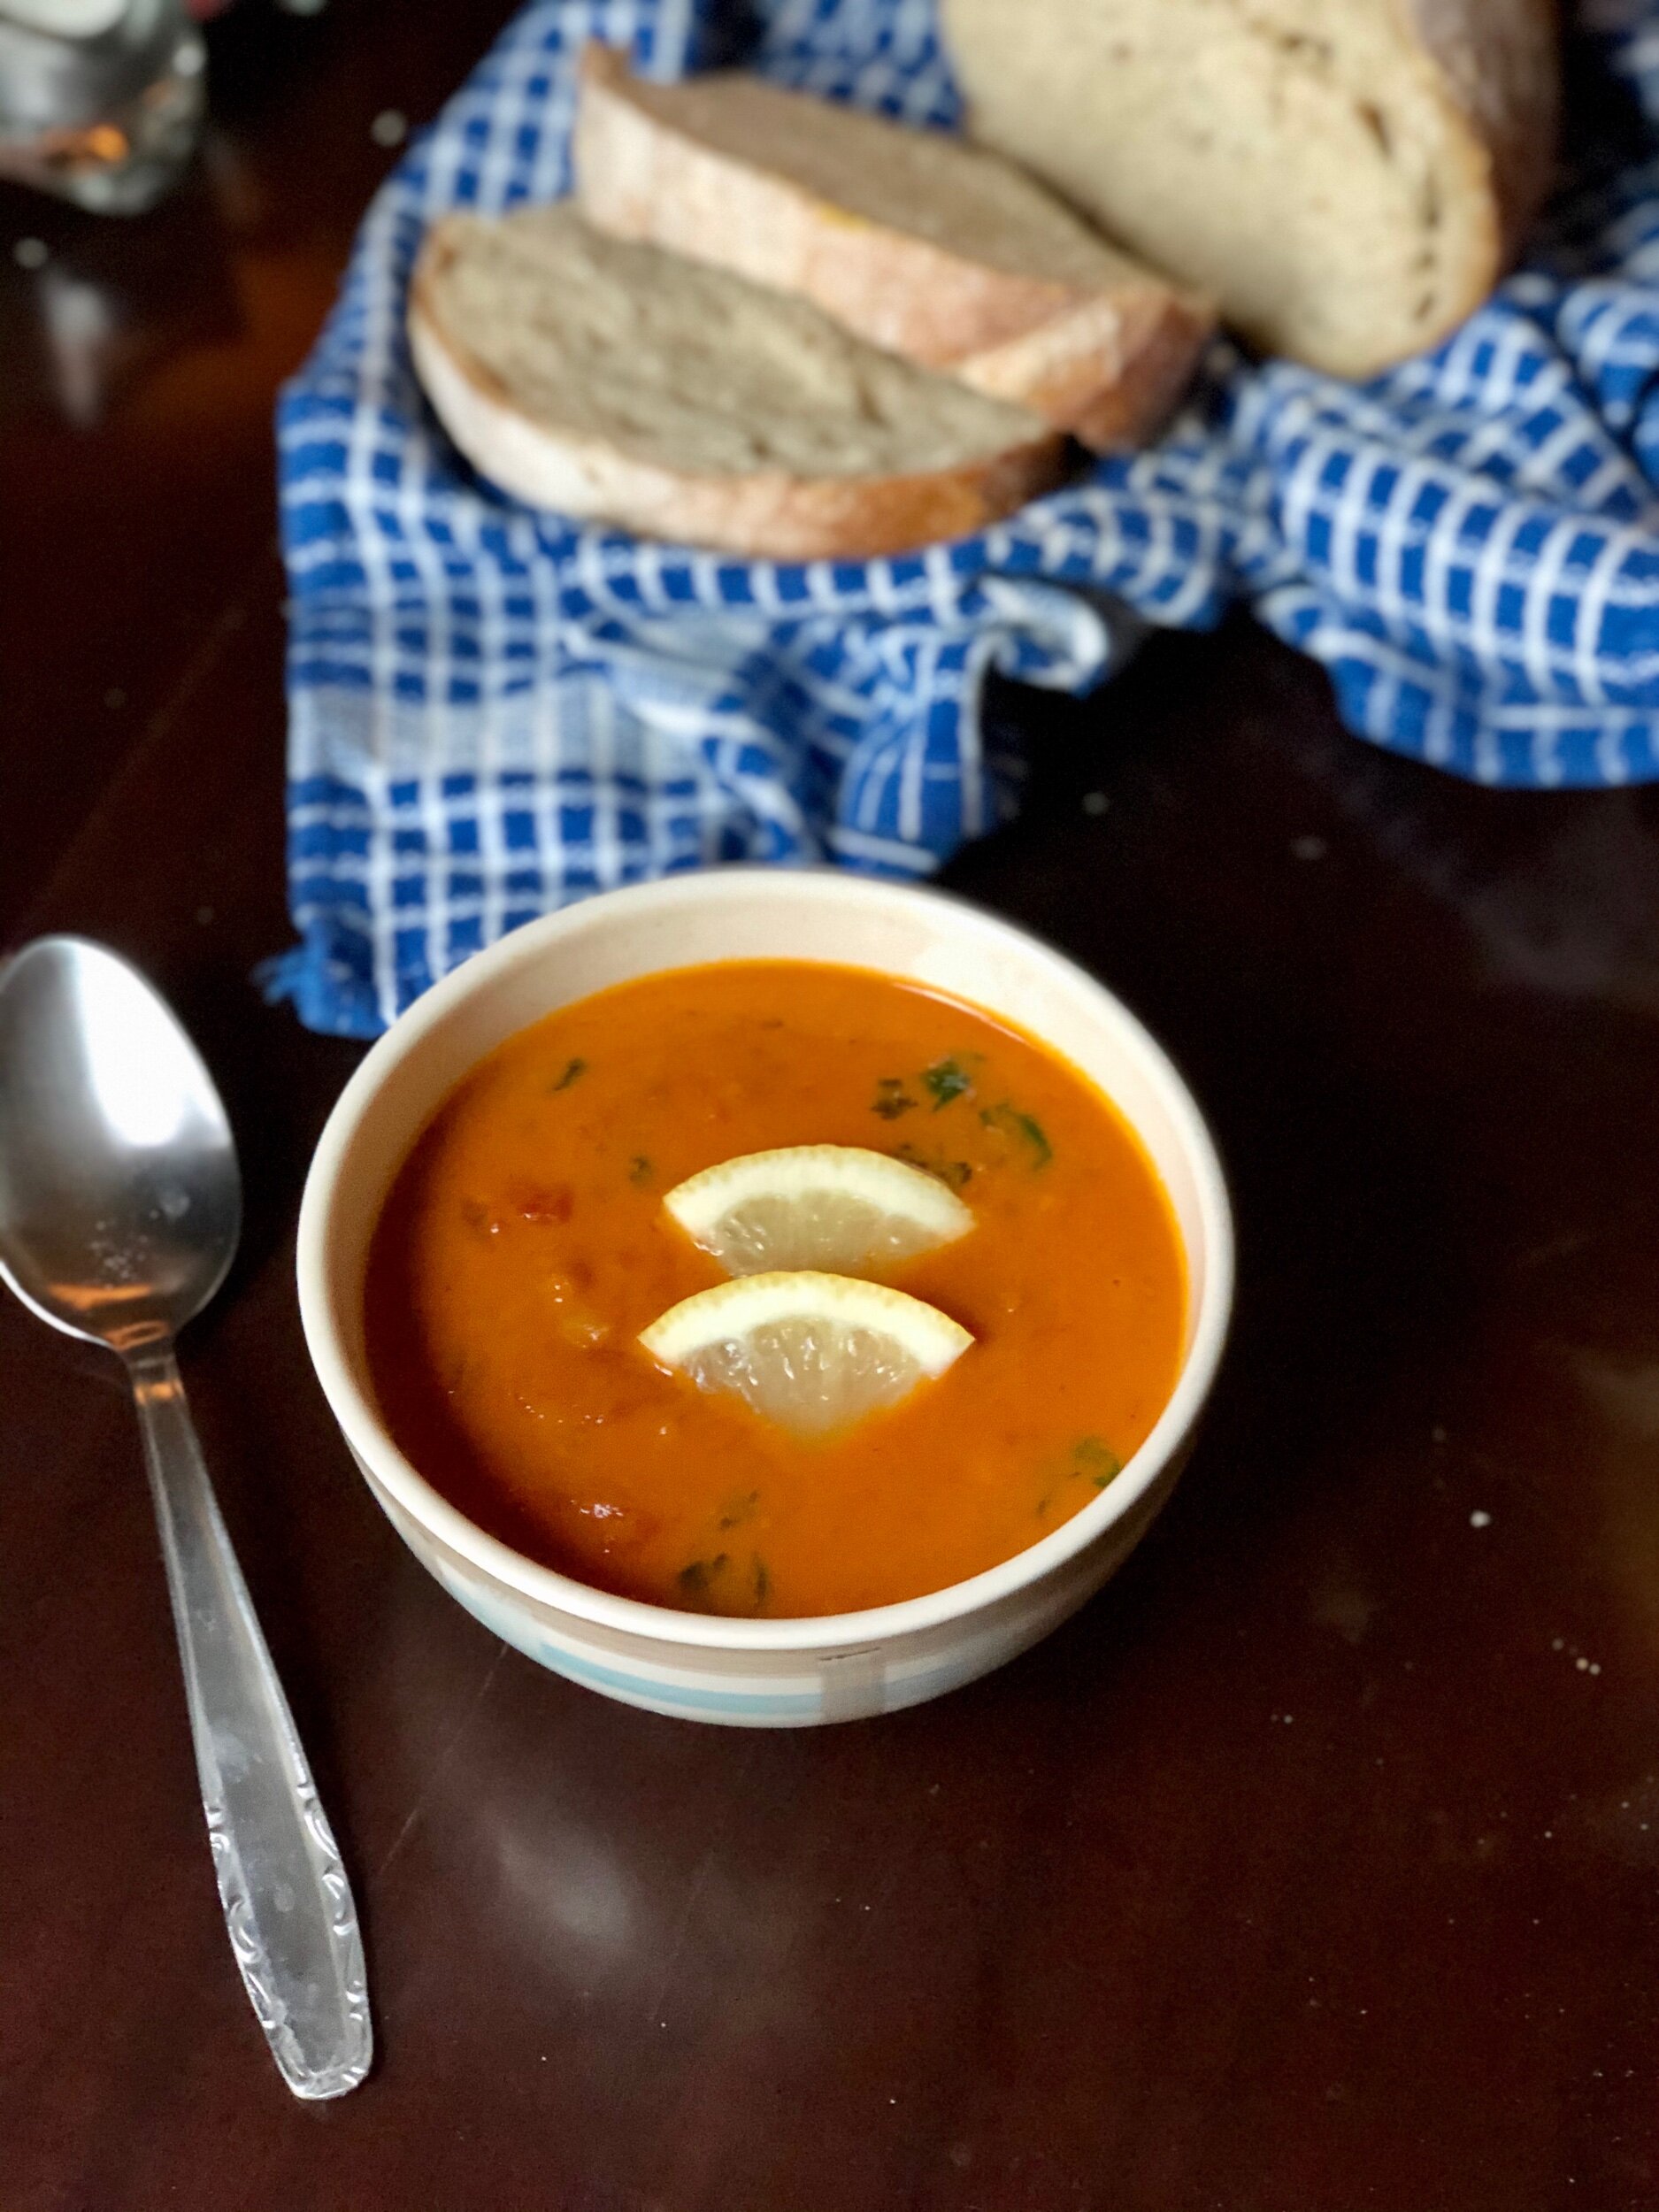
Garnish ideas, optional: Fresh lemon wedges, fresh basil, fresh dill, more grated Parmesan, more basil pesto for drizzling, extra virgin olive oil, red pepper flakes, lemon zest
Directions:
Heat oil in a large pot over medium heat. Add shallot and cook until starting to turn translucent, 1-2 minutes. Add garlic and cook for another minute.
Add butter and allow to melt. Add orzo and cook for 1-3 minutes, stirring frequently, to toast.
Increase heat to medium-high, add broth and parmesan rind, if using. Bring to a boil. Simmer orzo for 8-9 minutes or until al dente.
Stir in white beans and coconut milk, cook until heated through and simmering.
Add kale, stirring until all is immersed.
Remove from heat, remove parmesan rind, if desired. Add pesto, grated parmesan, zest, and lemon juice. Salt and pepper to taste
Serve immediately with garnishes, as desired.
Jenny’s Notes:

This creamy orzo will continue to thicken up the longer it sits. For a more soup-like consistency, add an additional 2 cups of broth or water, more as needed.
If using boxed broth, using 6 cups may leave you with an unwanted 2 cups of broth. You may choose to add the additional 2 cups for more of a soup, as mentioned above, or simply use 1 container (4 cups / 1 liter) of broth with an additional 2 cups of water. This orzo has plenty of flavor to do so.
For an extra creamy, tangy kick, add 3-4 oz of goat cheese along with the ingredients in step 6.
Using a parmesan rind imparts extra flavor and creaminess, while using a part of cheese that would otherwise be tossed. Depending on the parmesan rind used, it often will melt into smaller chunks while others will remain one whole rind. Either way, you may choose to fish out the rind before serving, or not, as desired.

Creamy Lemon Pesto Orzo with Kale
Ingredients
Instructions
- Heat oil in a large pot over medium heat. Add shallot and cook until starting to turn translucent, 1-2 minutes. Add garlic and cook for another minute.
- Add butter and allow to melt. Add orzo and cook for 1-3 minutes, stirring frequently, to toast.
- Increase heat to medium-high, add broth and parmesan rind, if using. Bring to a boil. Simmer orzo for 8-9 minutes or until al dente.
- Stir in white beans and coconut milk, cook until heated through and simmering.
- Add kale, stirring until all is immersed.
- Remove from heat, remove parmesan rind, if desired. Add pesto, grated parmesan, zest, and lemon juice. Salt and pepper to taste
- Serve immediately with garnishes, as desired.
Notes
- This creamy orzo will continue to thicken up the longer it sits. For a more soup-like consistency, add an additional 2 cups of broth or water, more as needed.
- If using boxed broth, using 6 cups may leave you with an unwanted 2 cups of broth. You may choose to add the additional 2 cups for more of a soup, as mentioned above, or simply use 1 container (4 cups / 1 liter) of broth with an additional 2 cups of water. This orzo has plenty of flavor to do so.
- For an extra creamy, tangy kick, add 3-4 oz of goat cheese along with the ingredients in step 6.
- Using a parmesan rind imparts extra flavor and creaminess, while using a part of cheese that would otherwise be tossed. Depending on the parmesan rind used, it often will melt into smaller chunks while others will remain one whole rind. Either way, you may choose to fish out the rind before serving, or not, as desired.
Nutrition Facts
Calories
590Fat
38 gSat. Fat
19 gCarbs
47 gFiber
7 gNet carbs
40 gSugar
6 gProtein
17 gSodium
1485 mgCholesterol
16 mgNutritional information is approximate and based on 6 servings, using full fat coconut milk and parmesan rind