Strawberry Rhubarb Coffee Cake
/Last Updated September 7, 2024
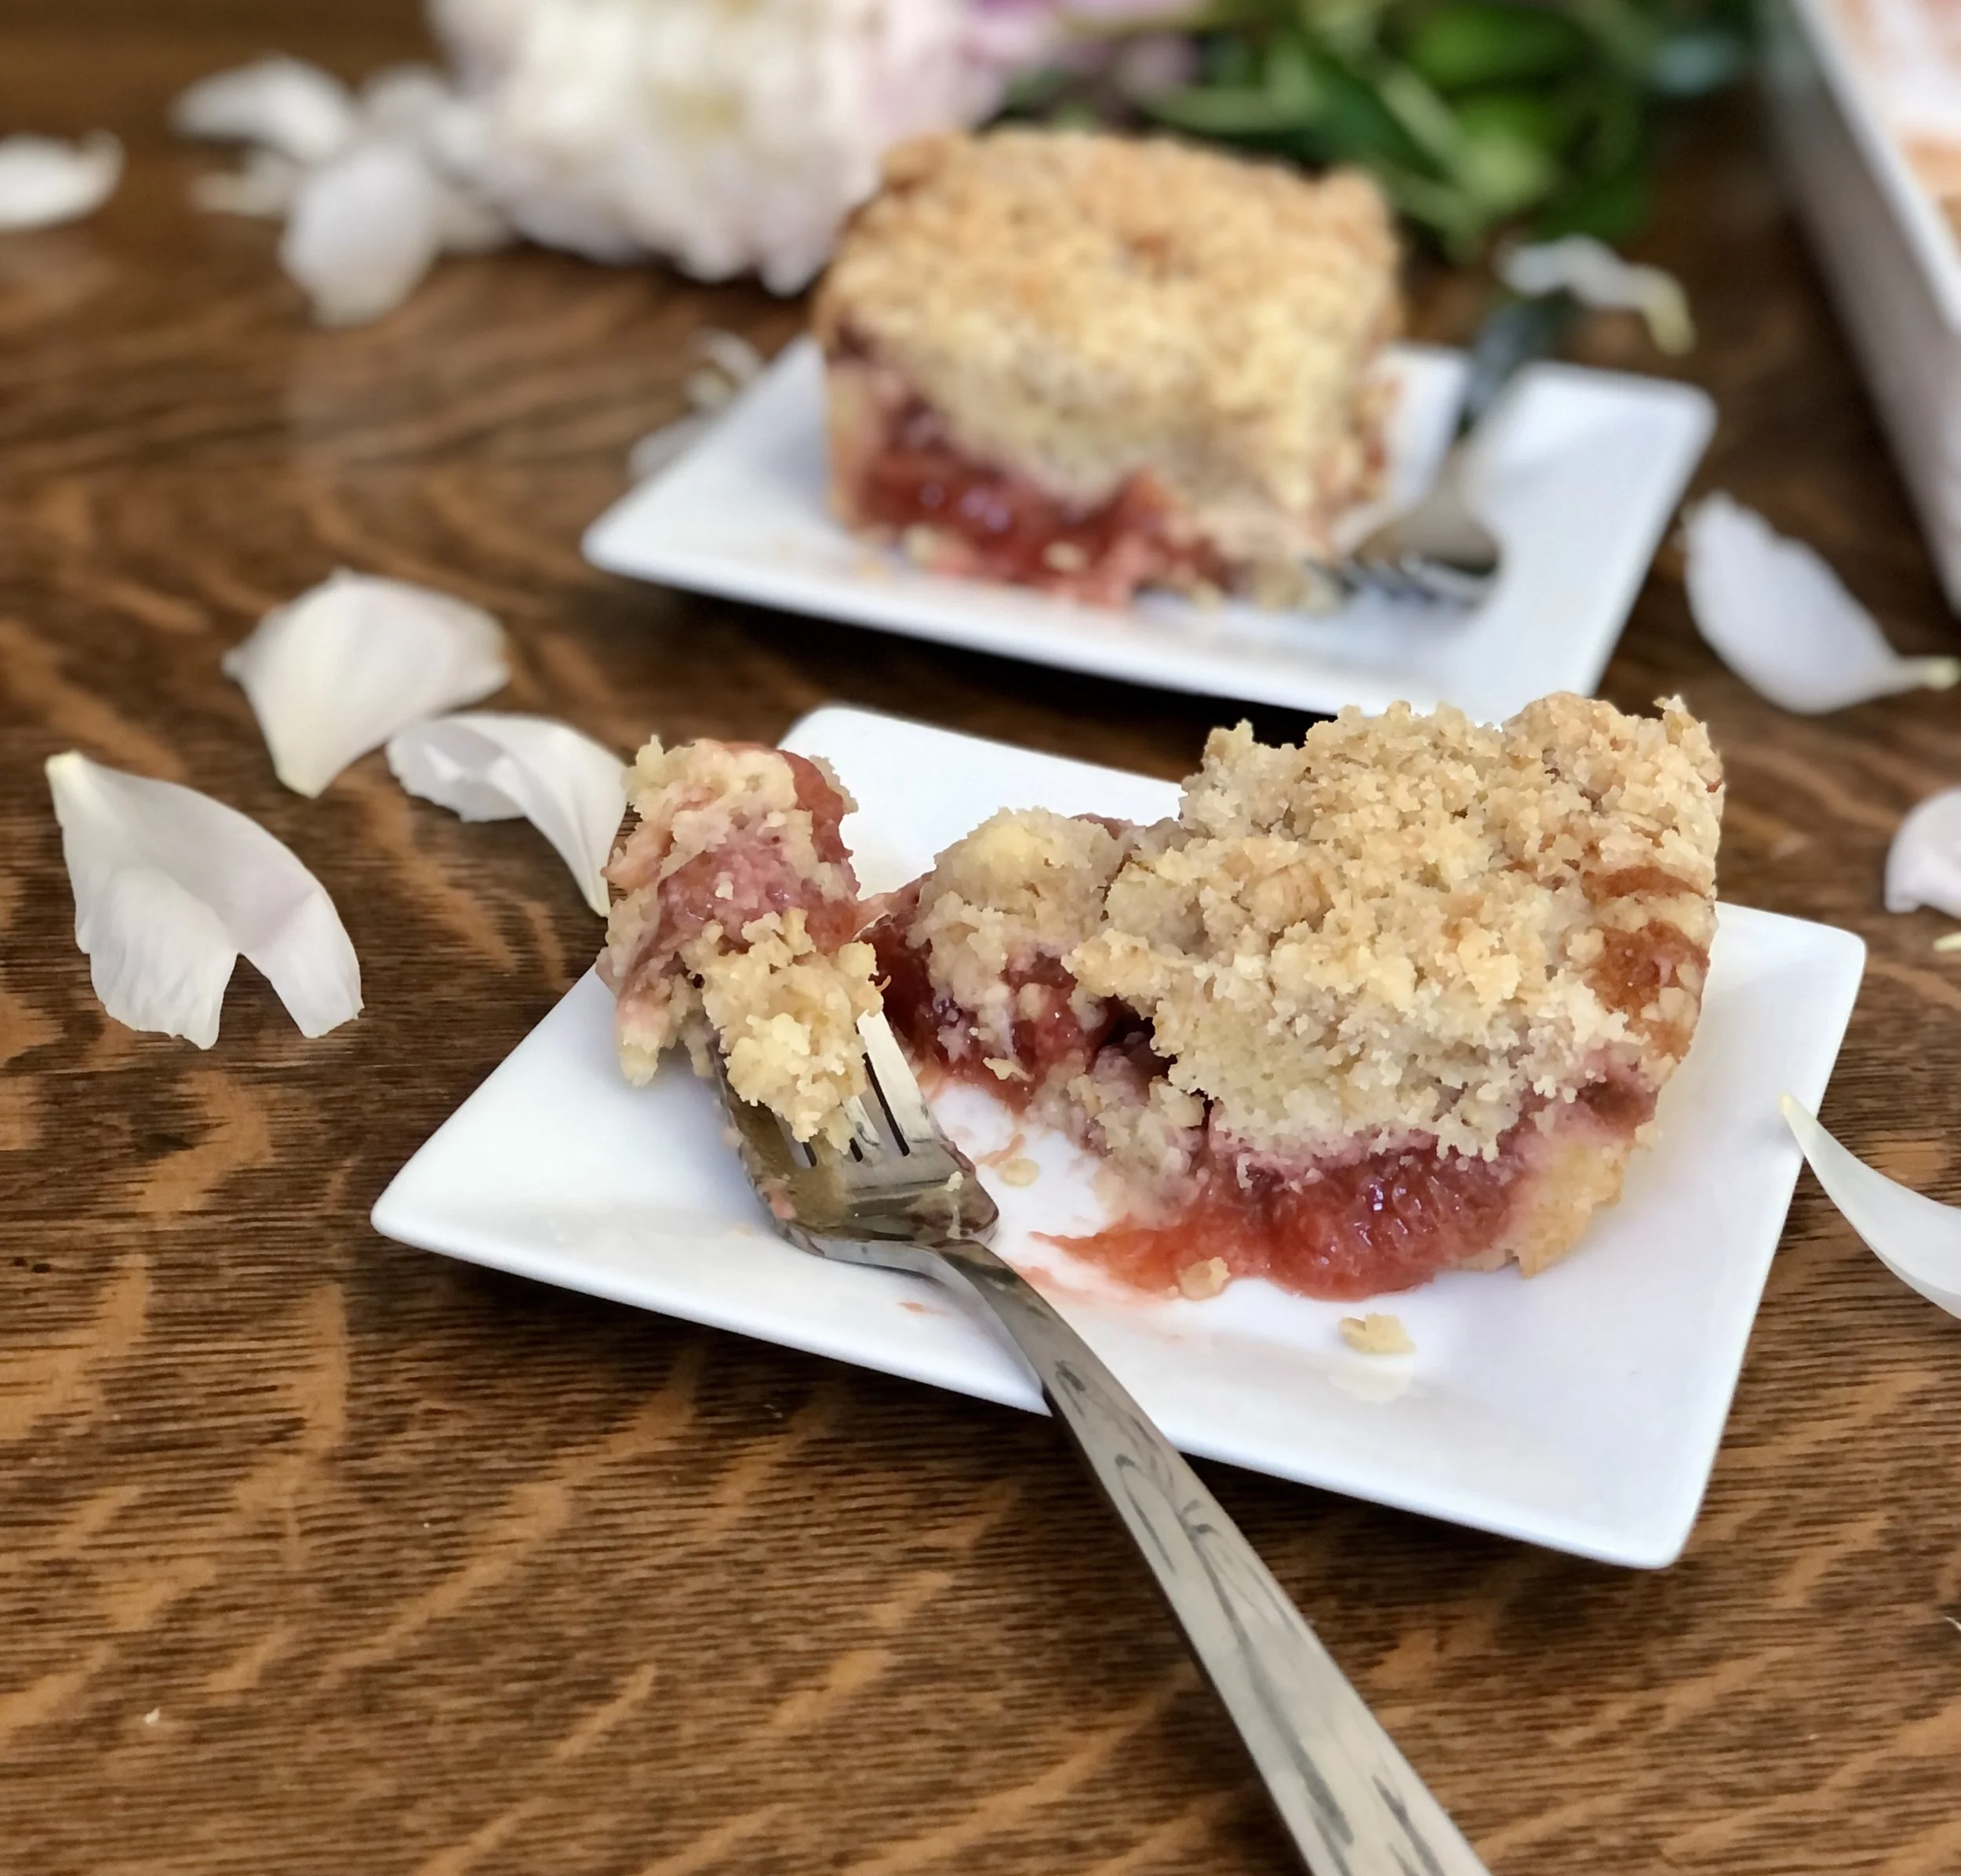
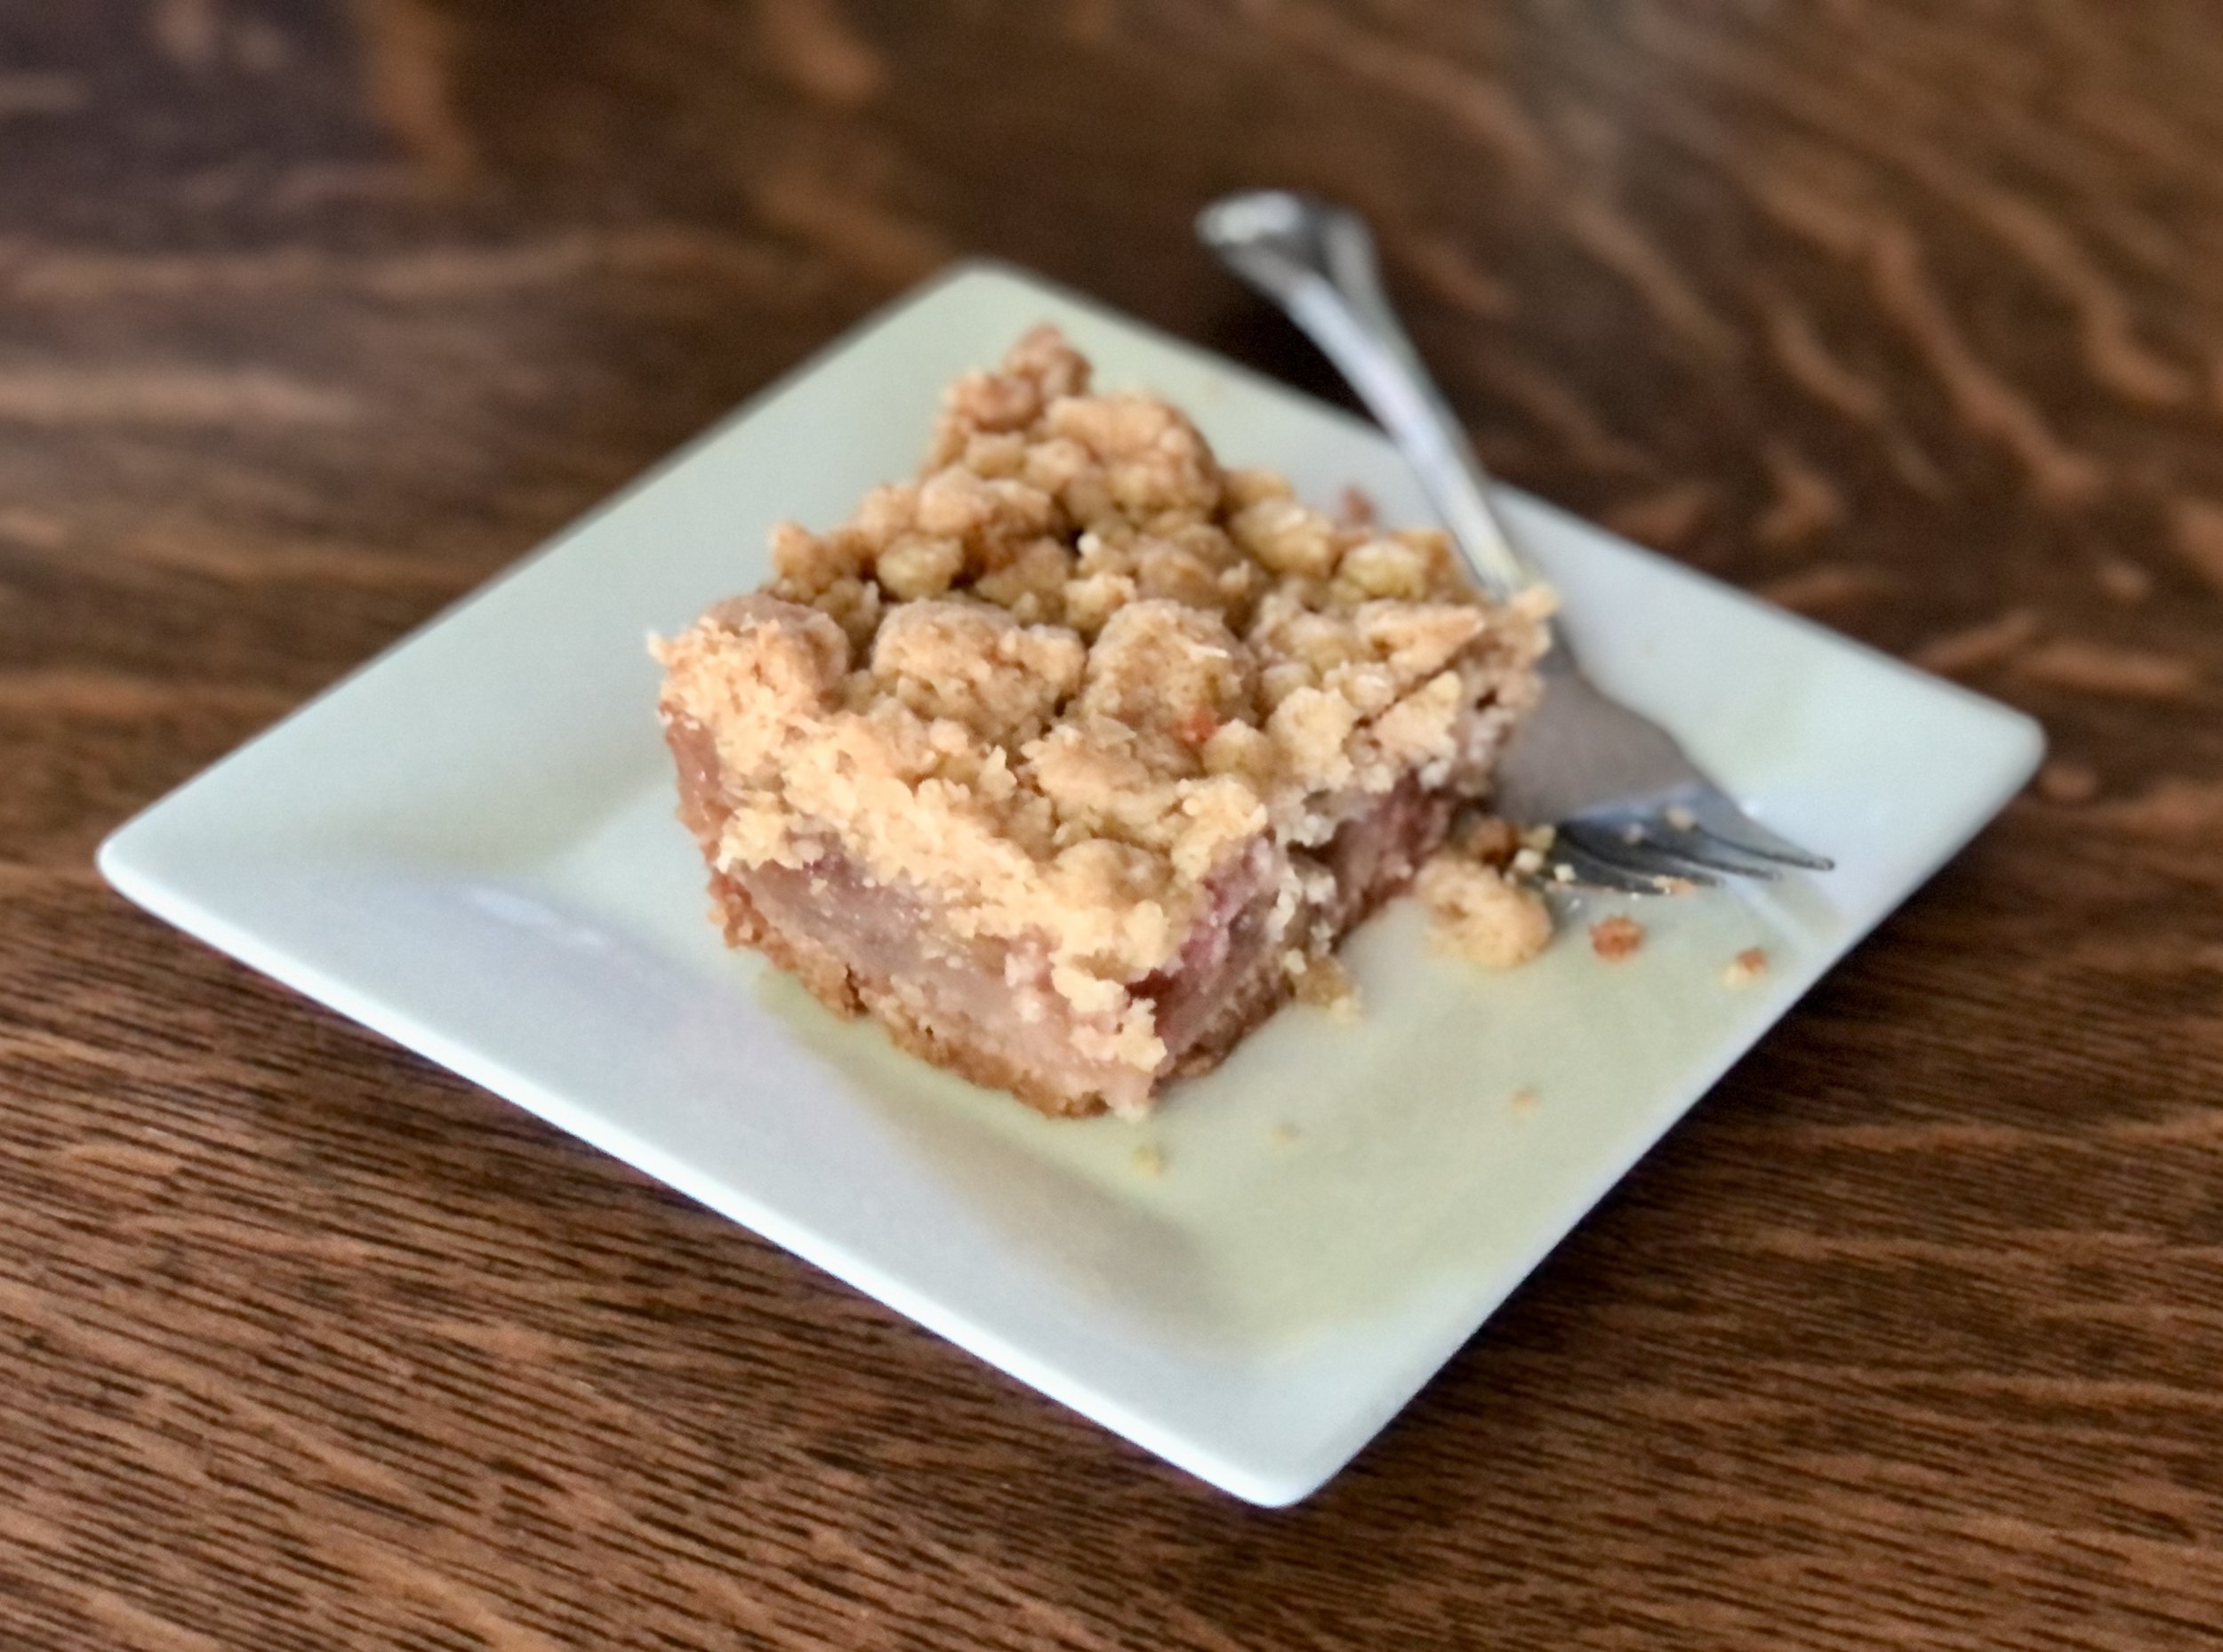
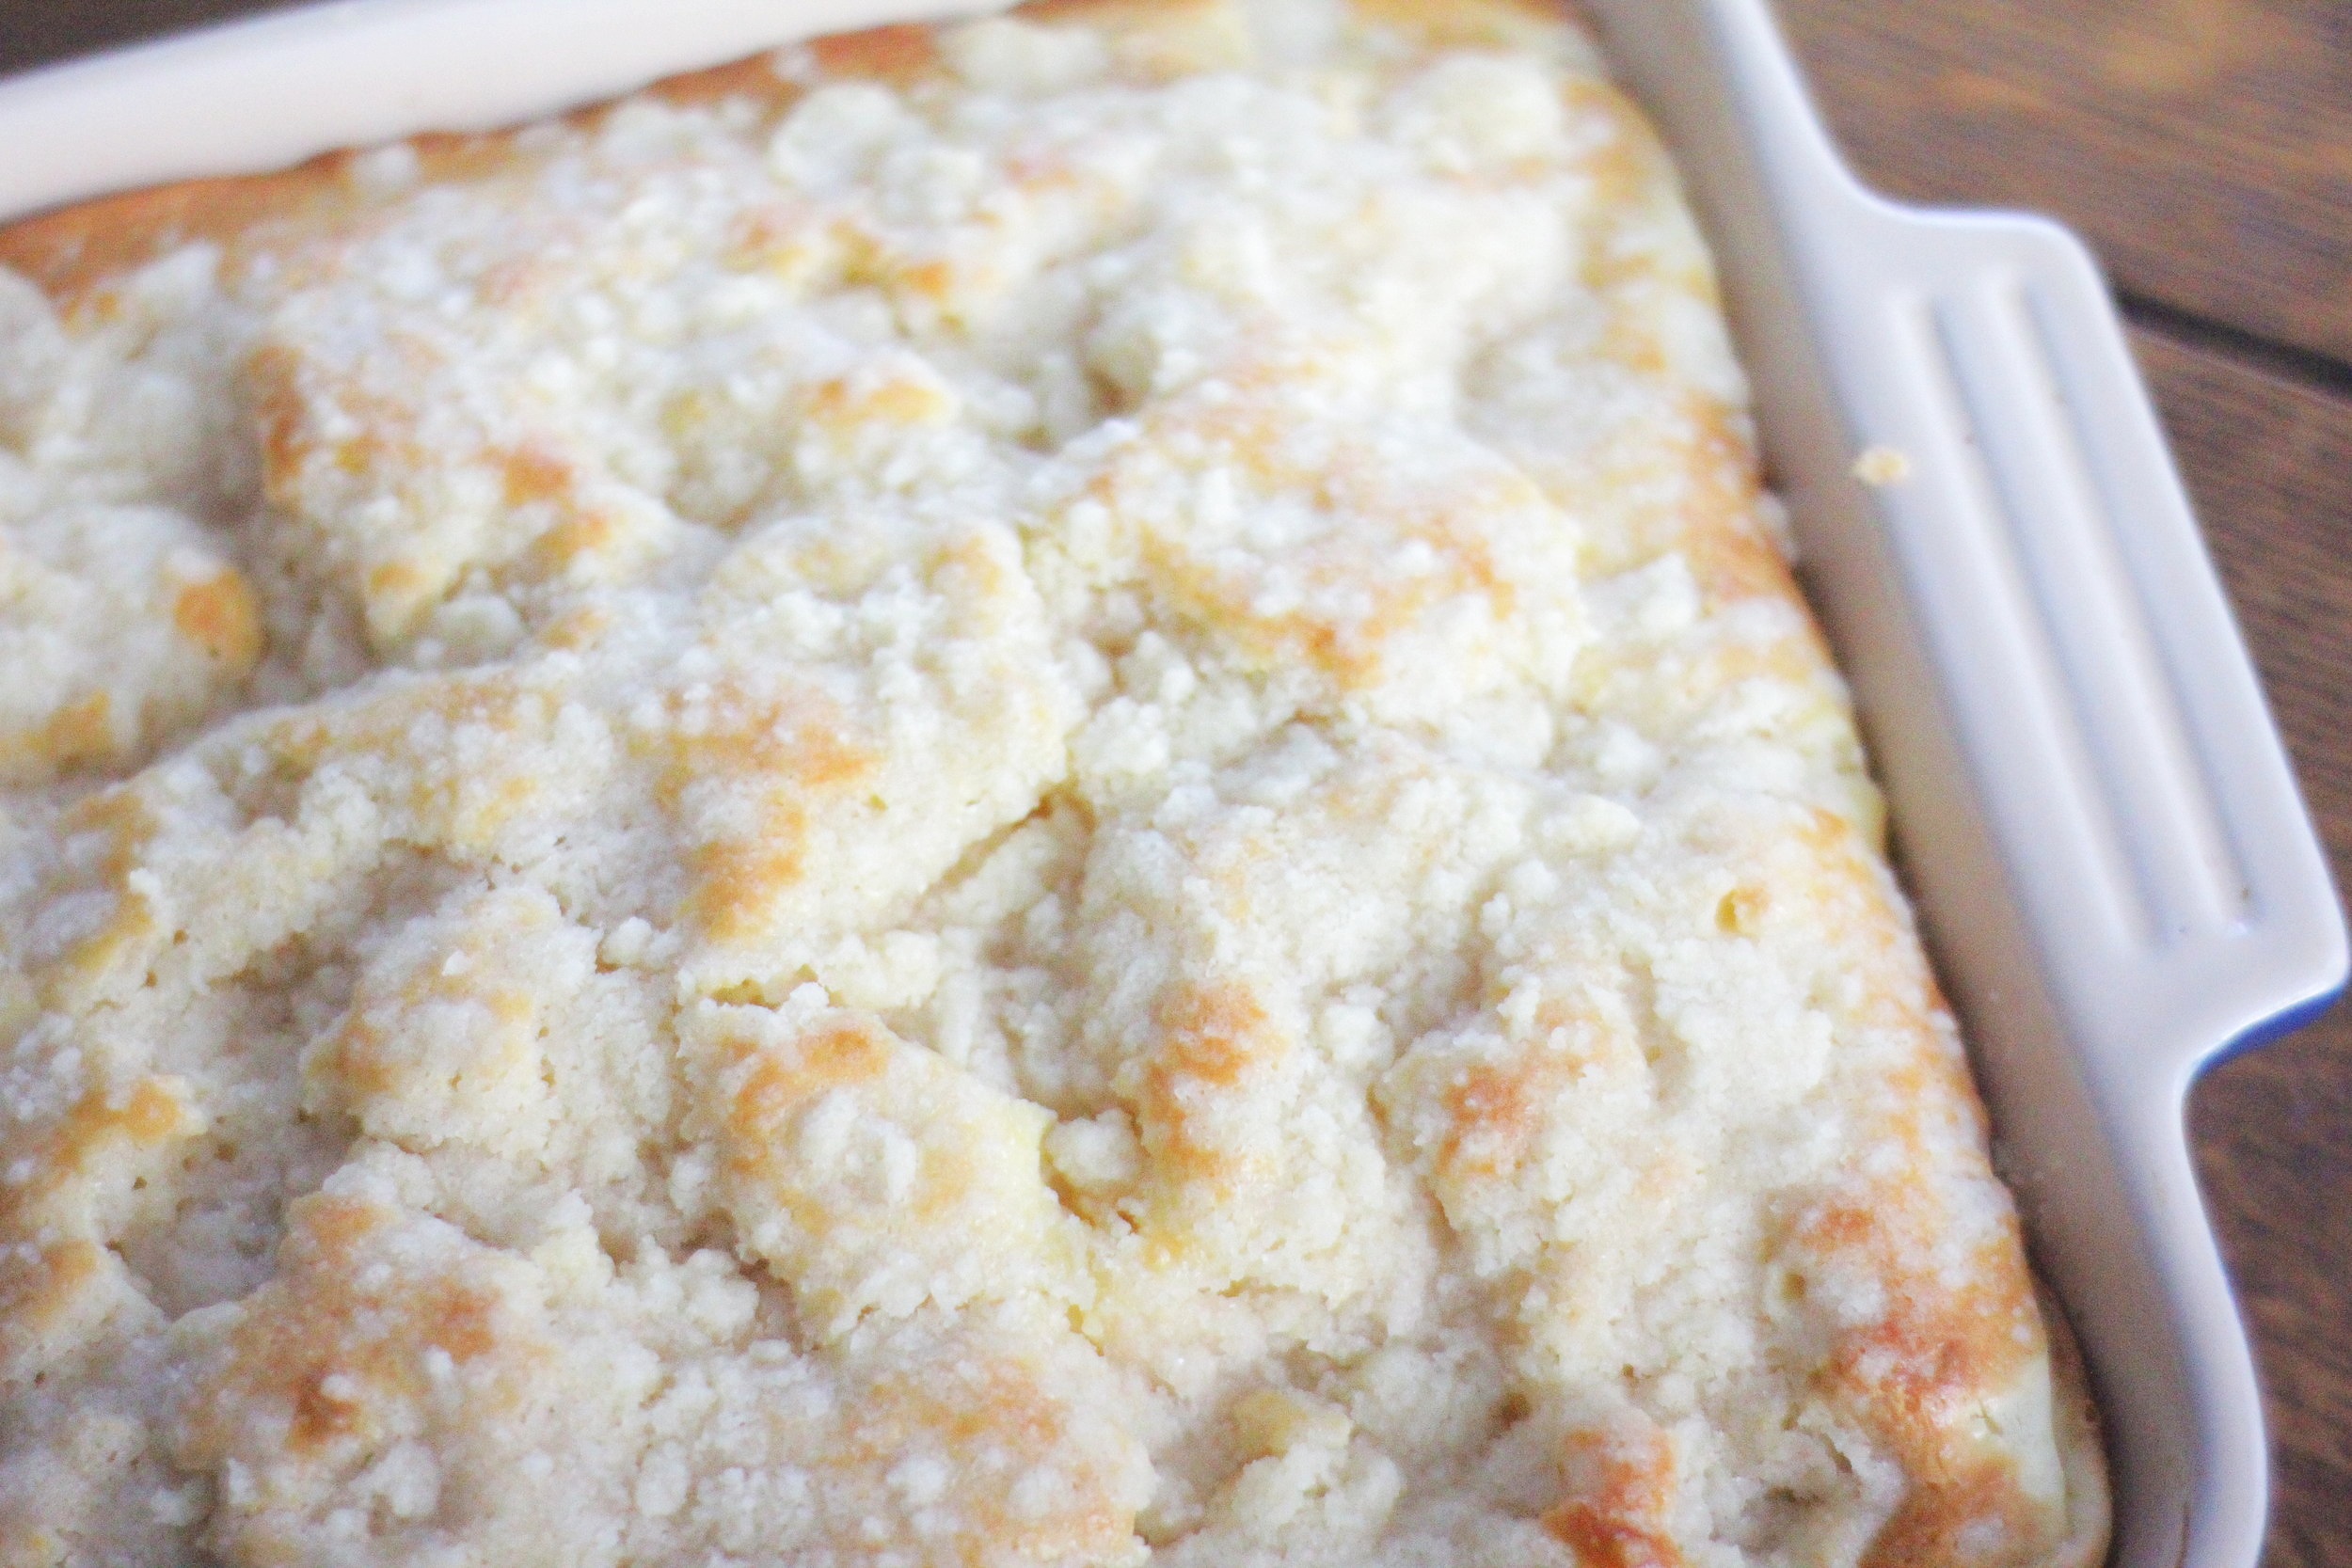
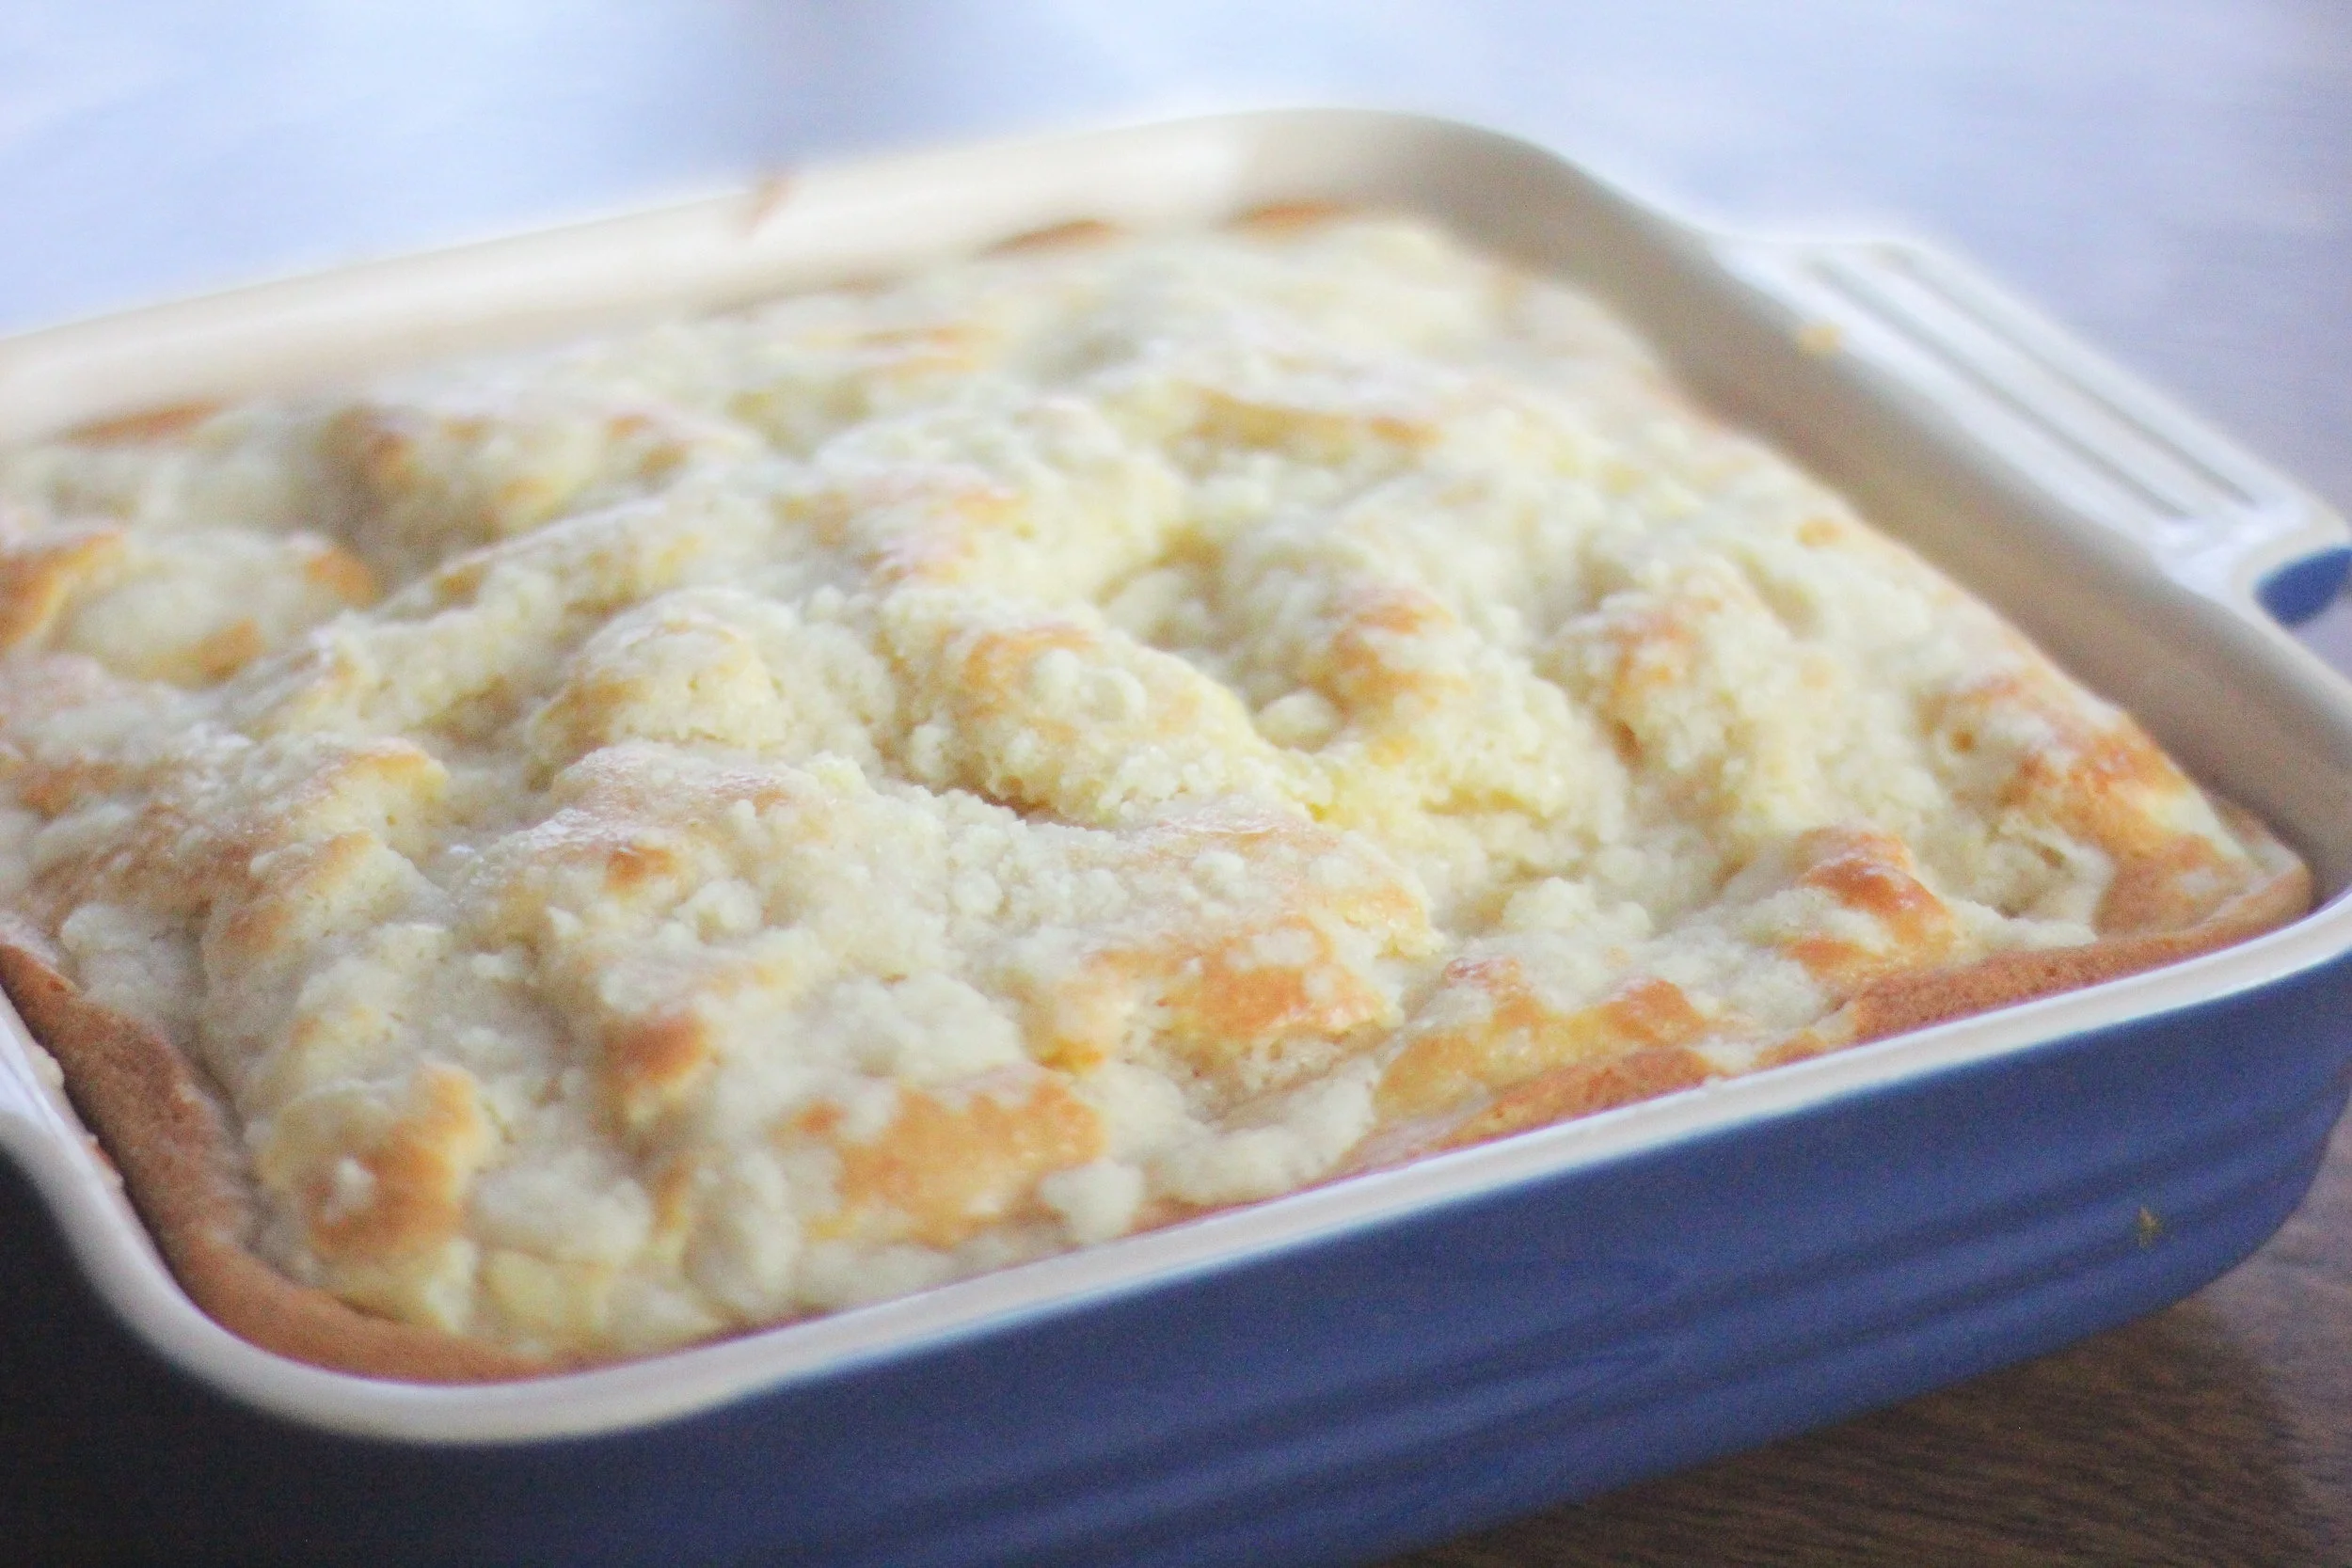
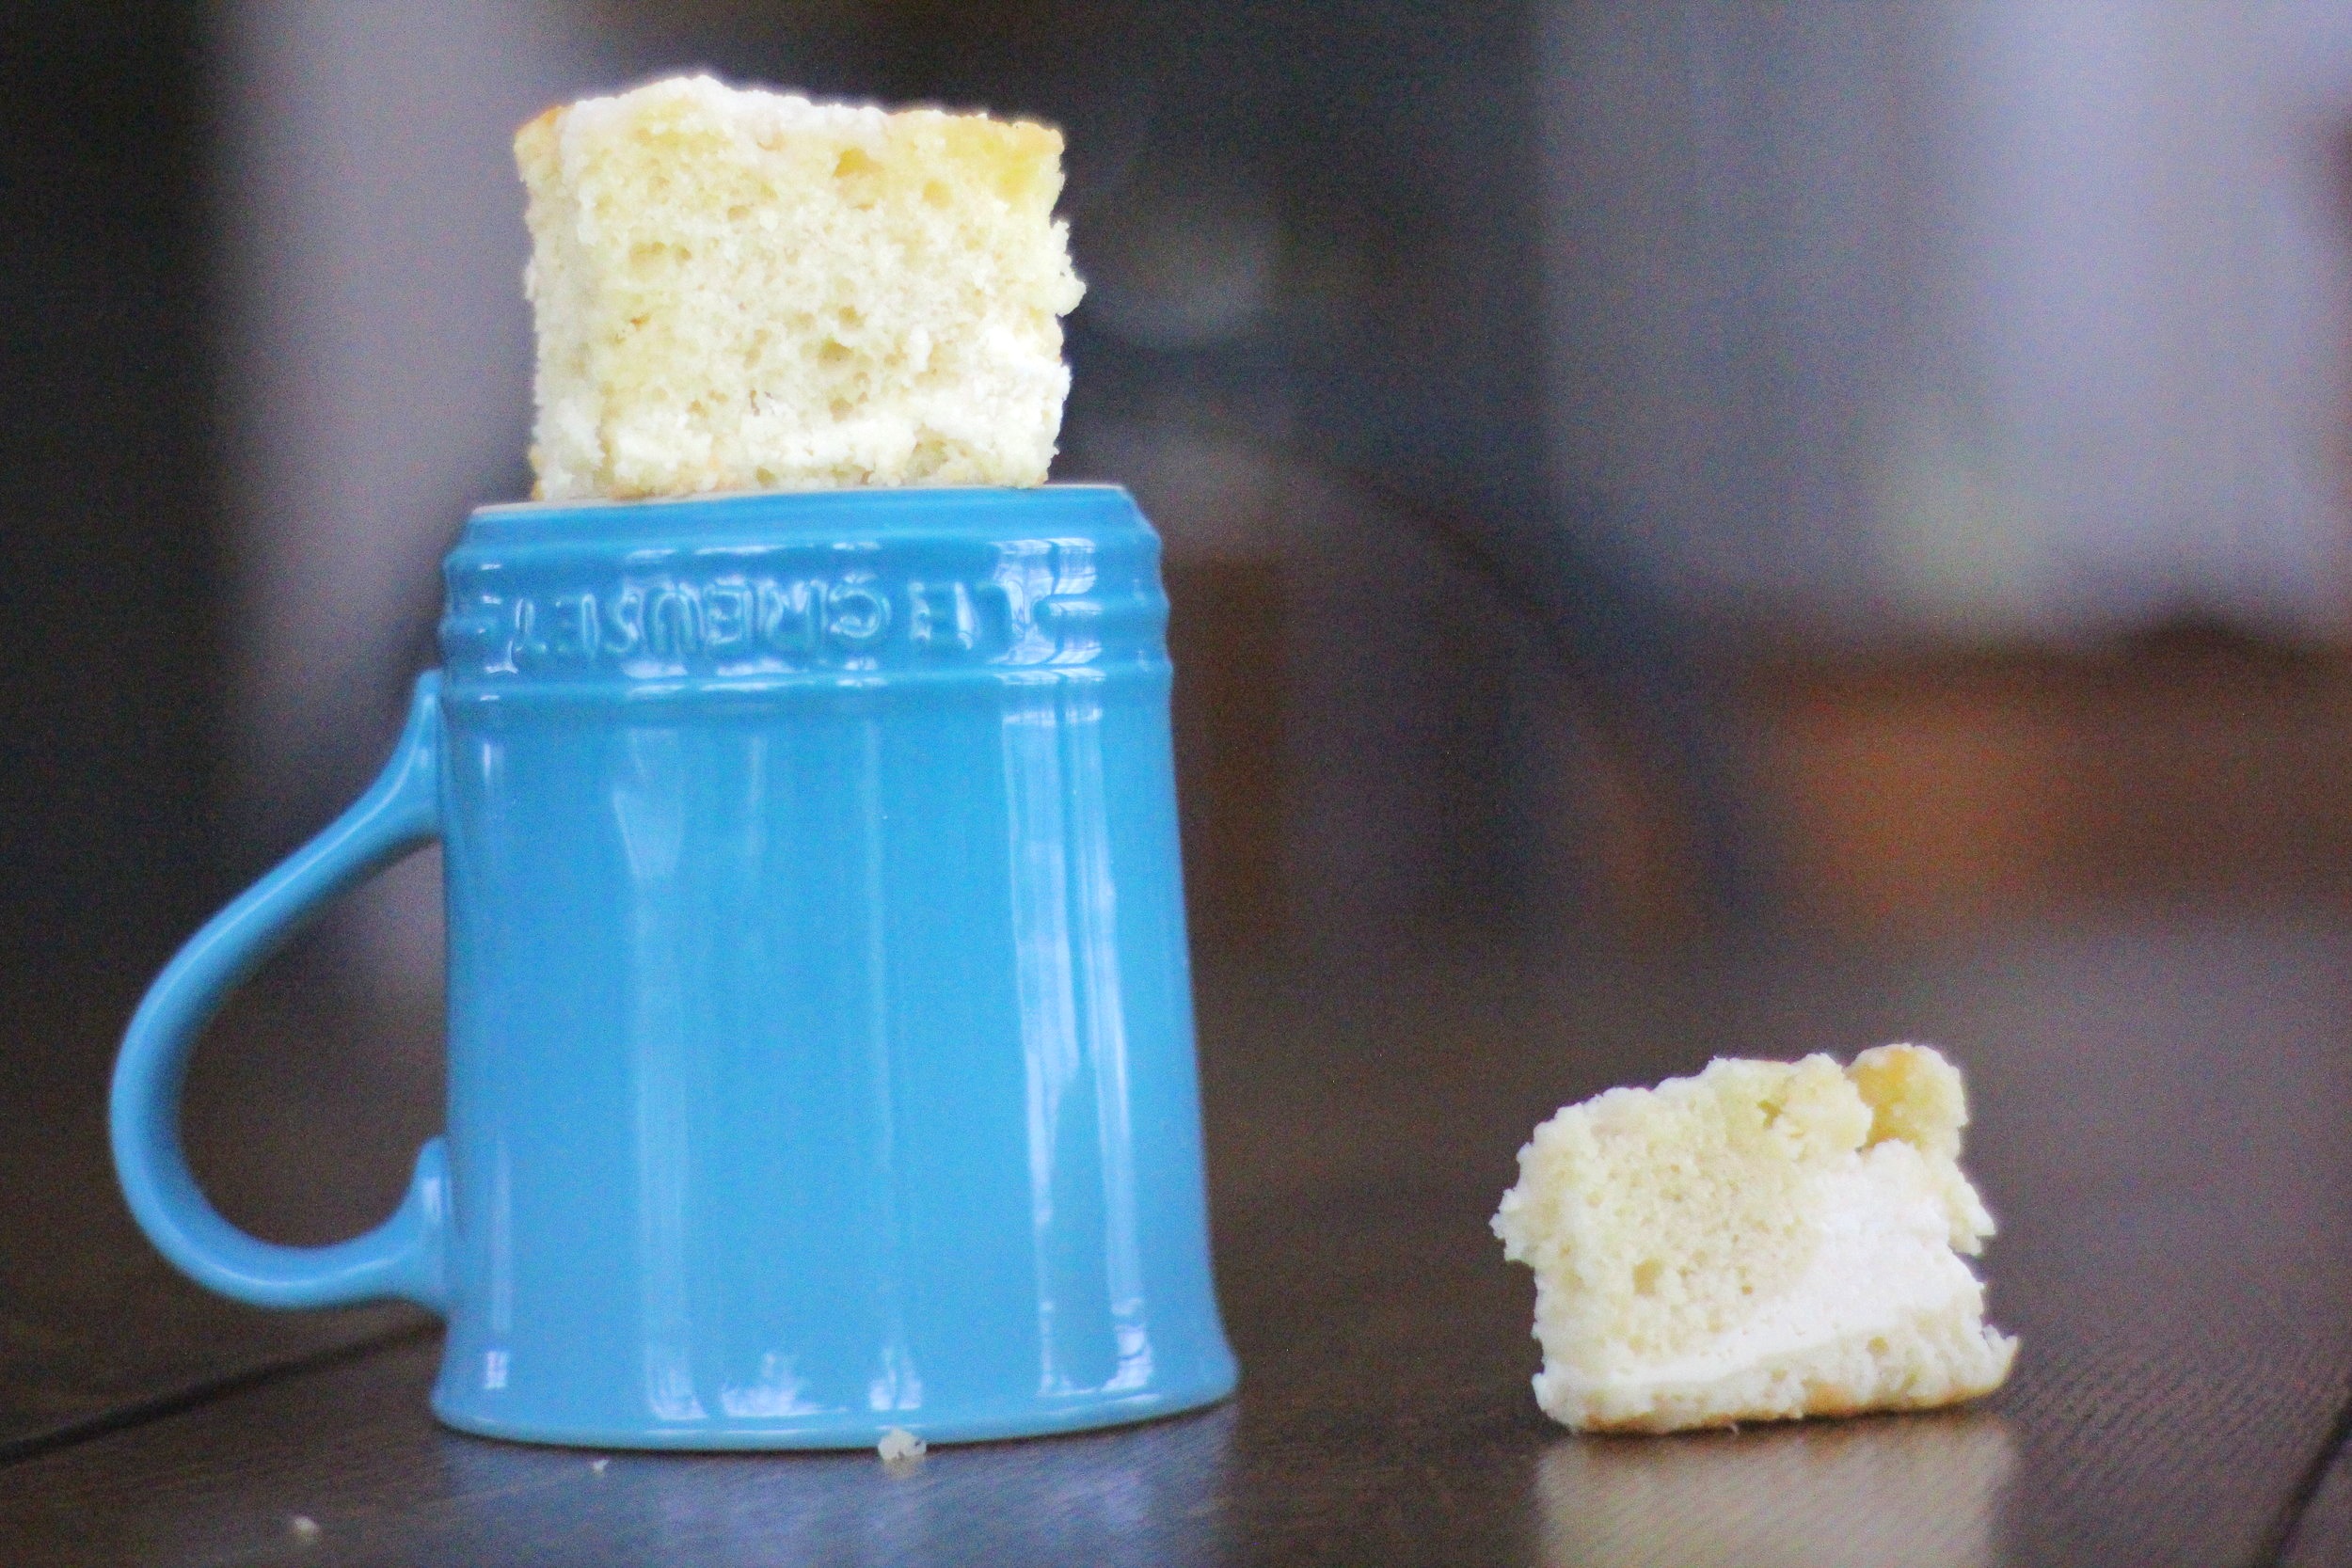
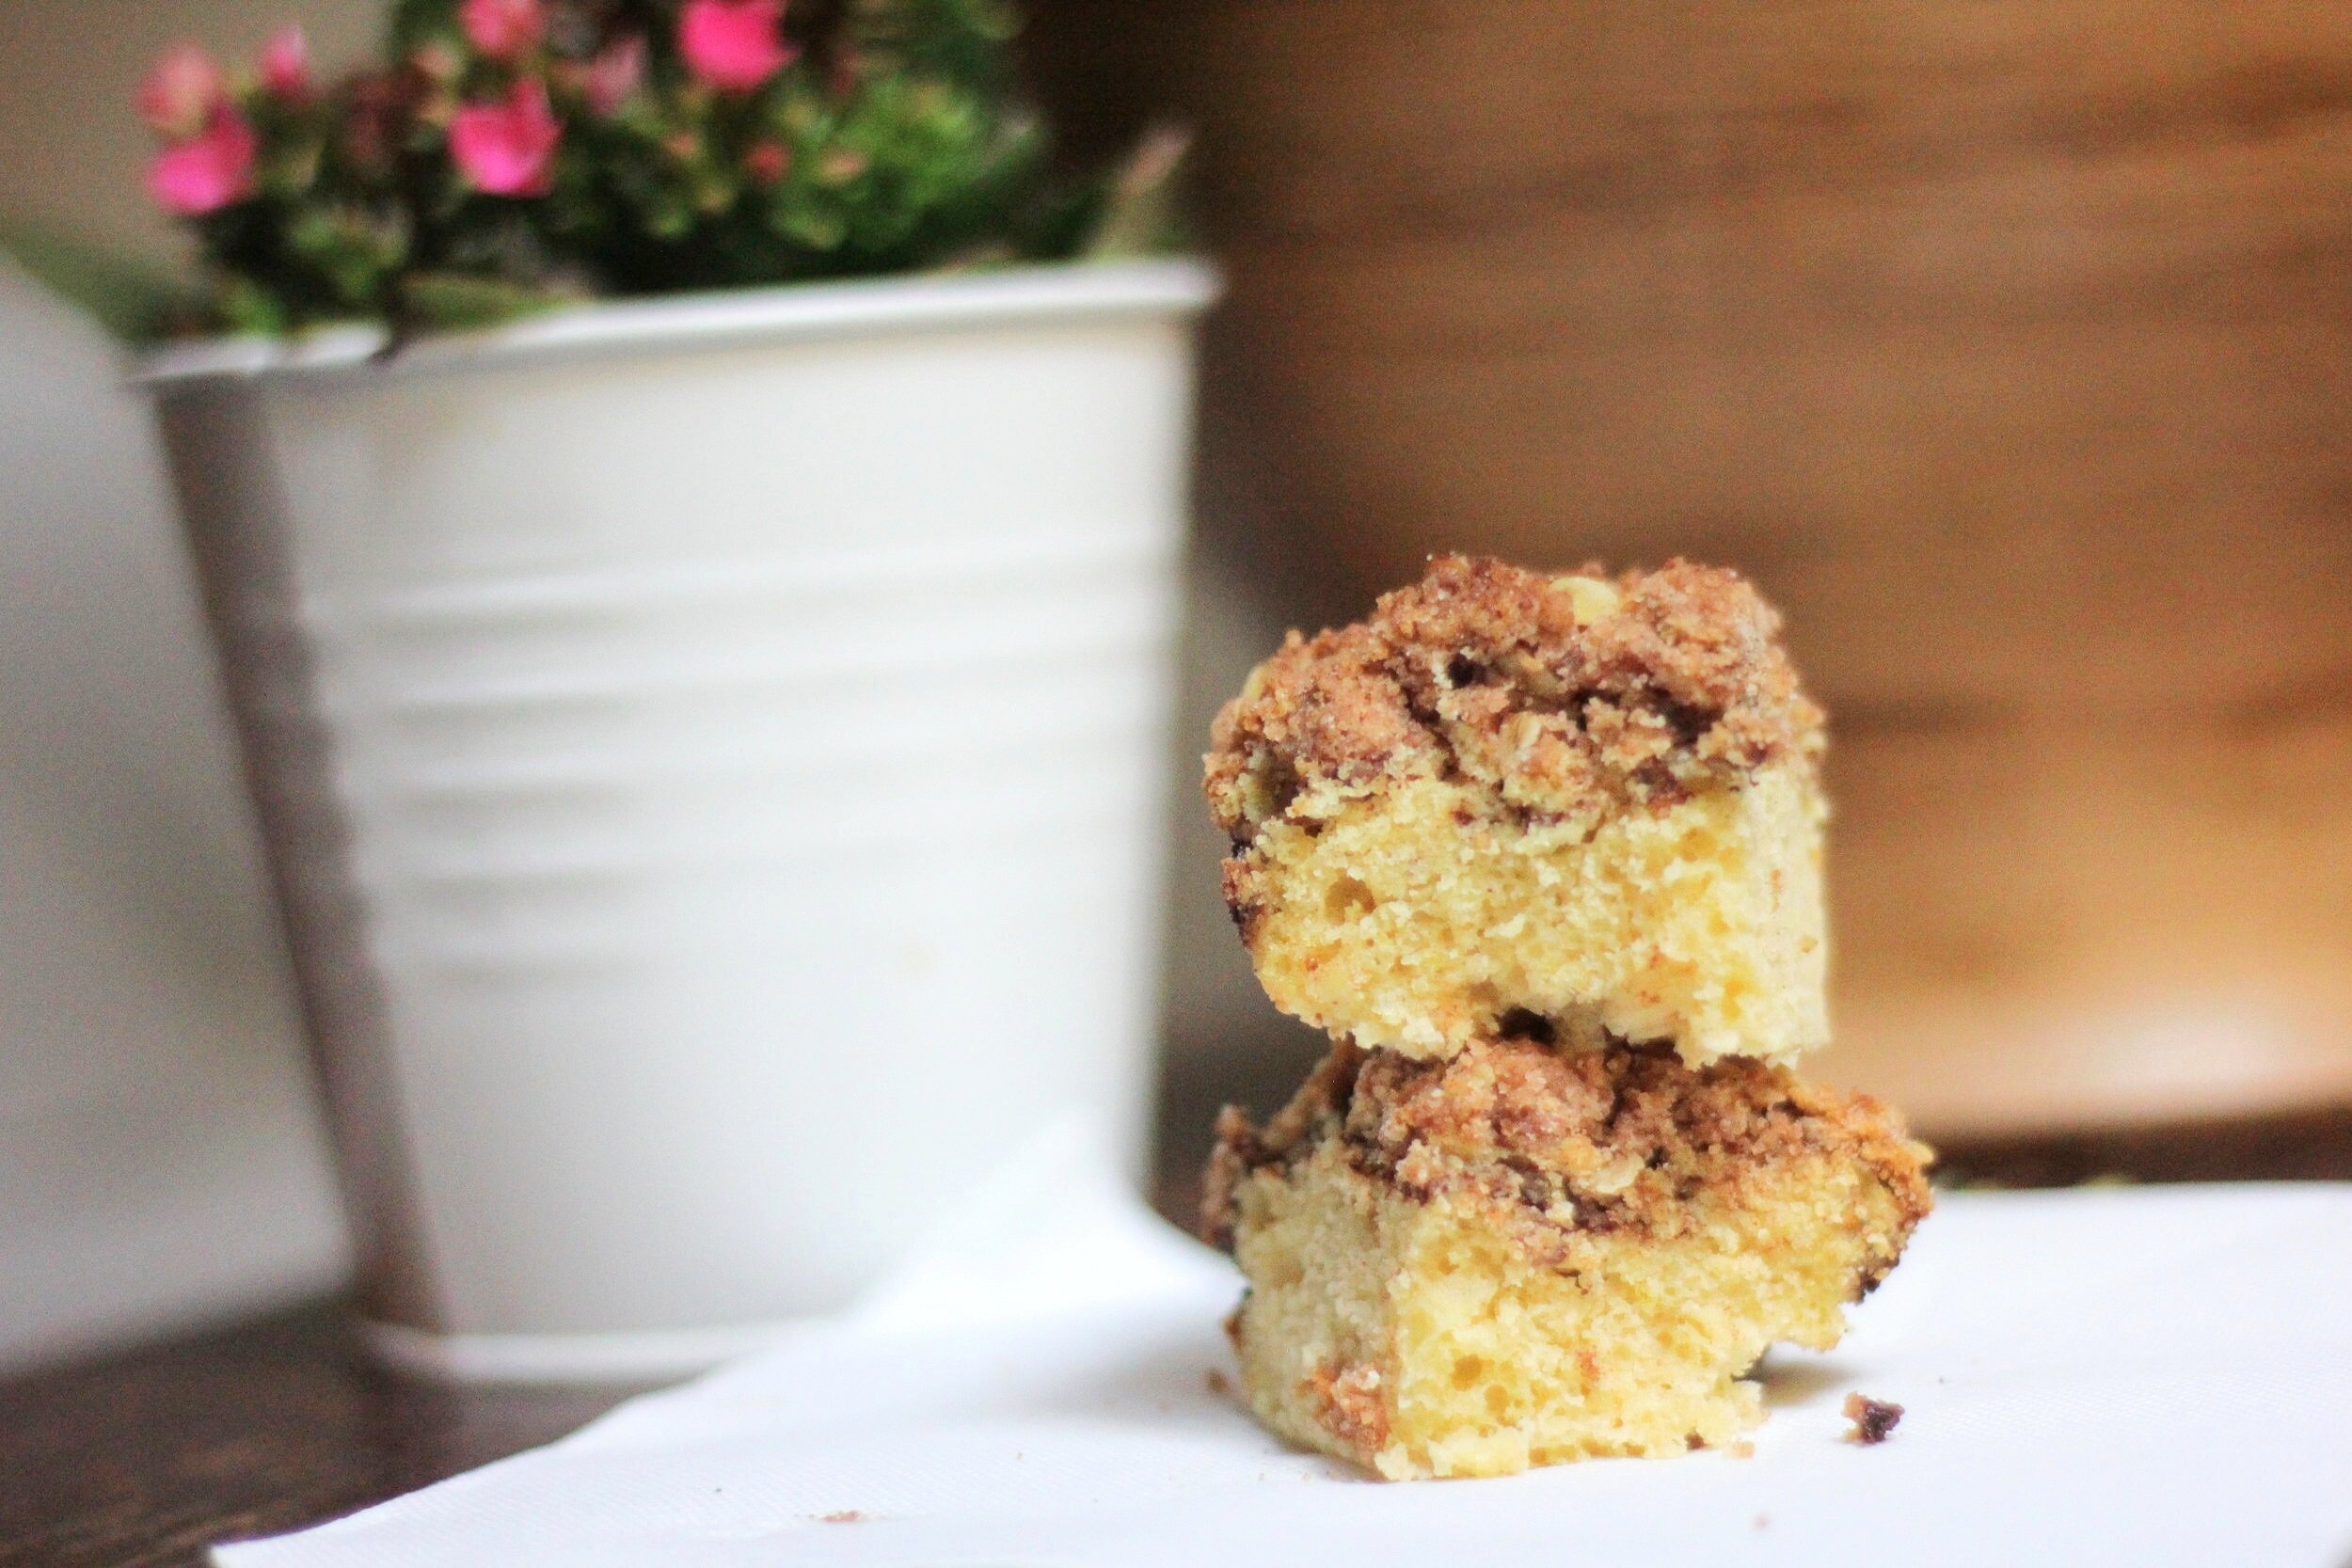
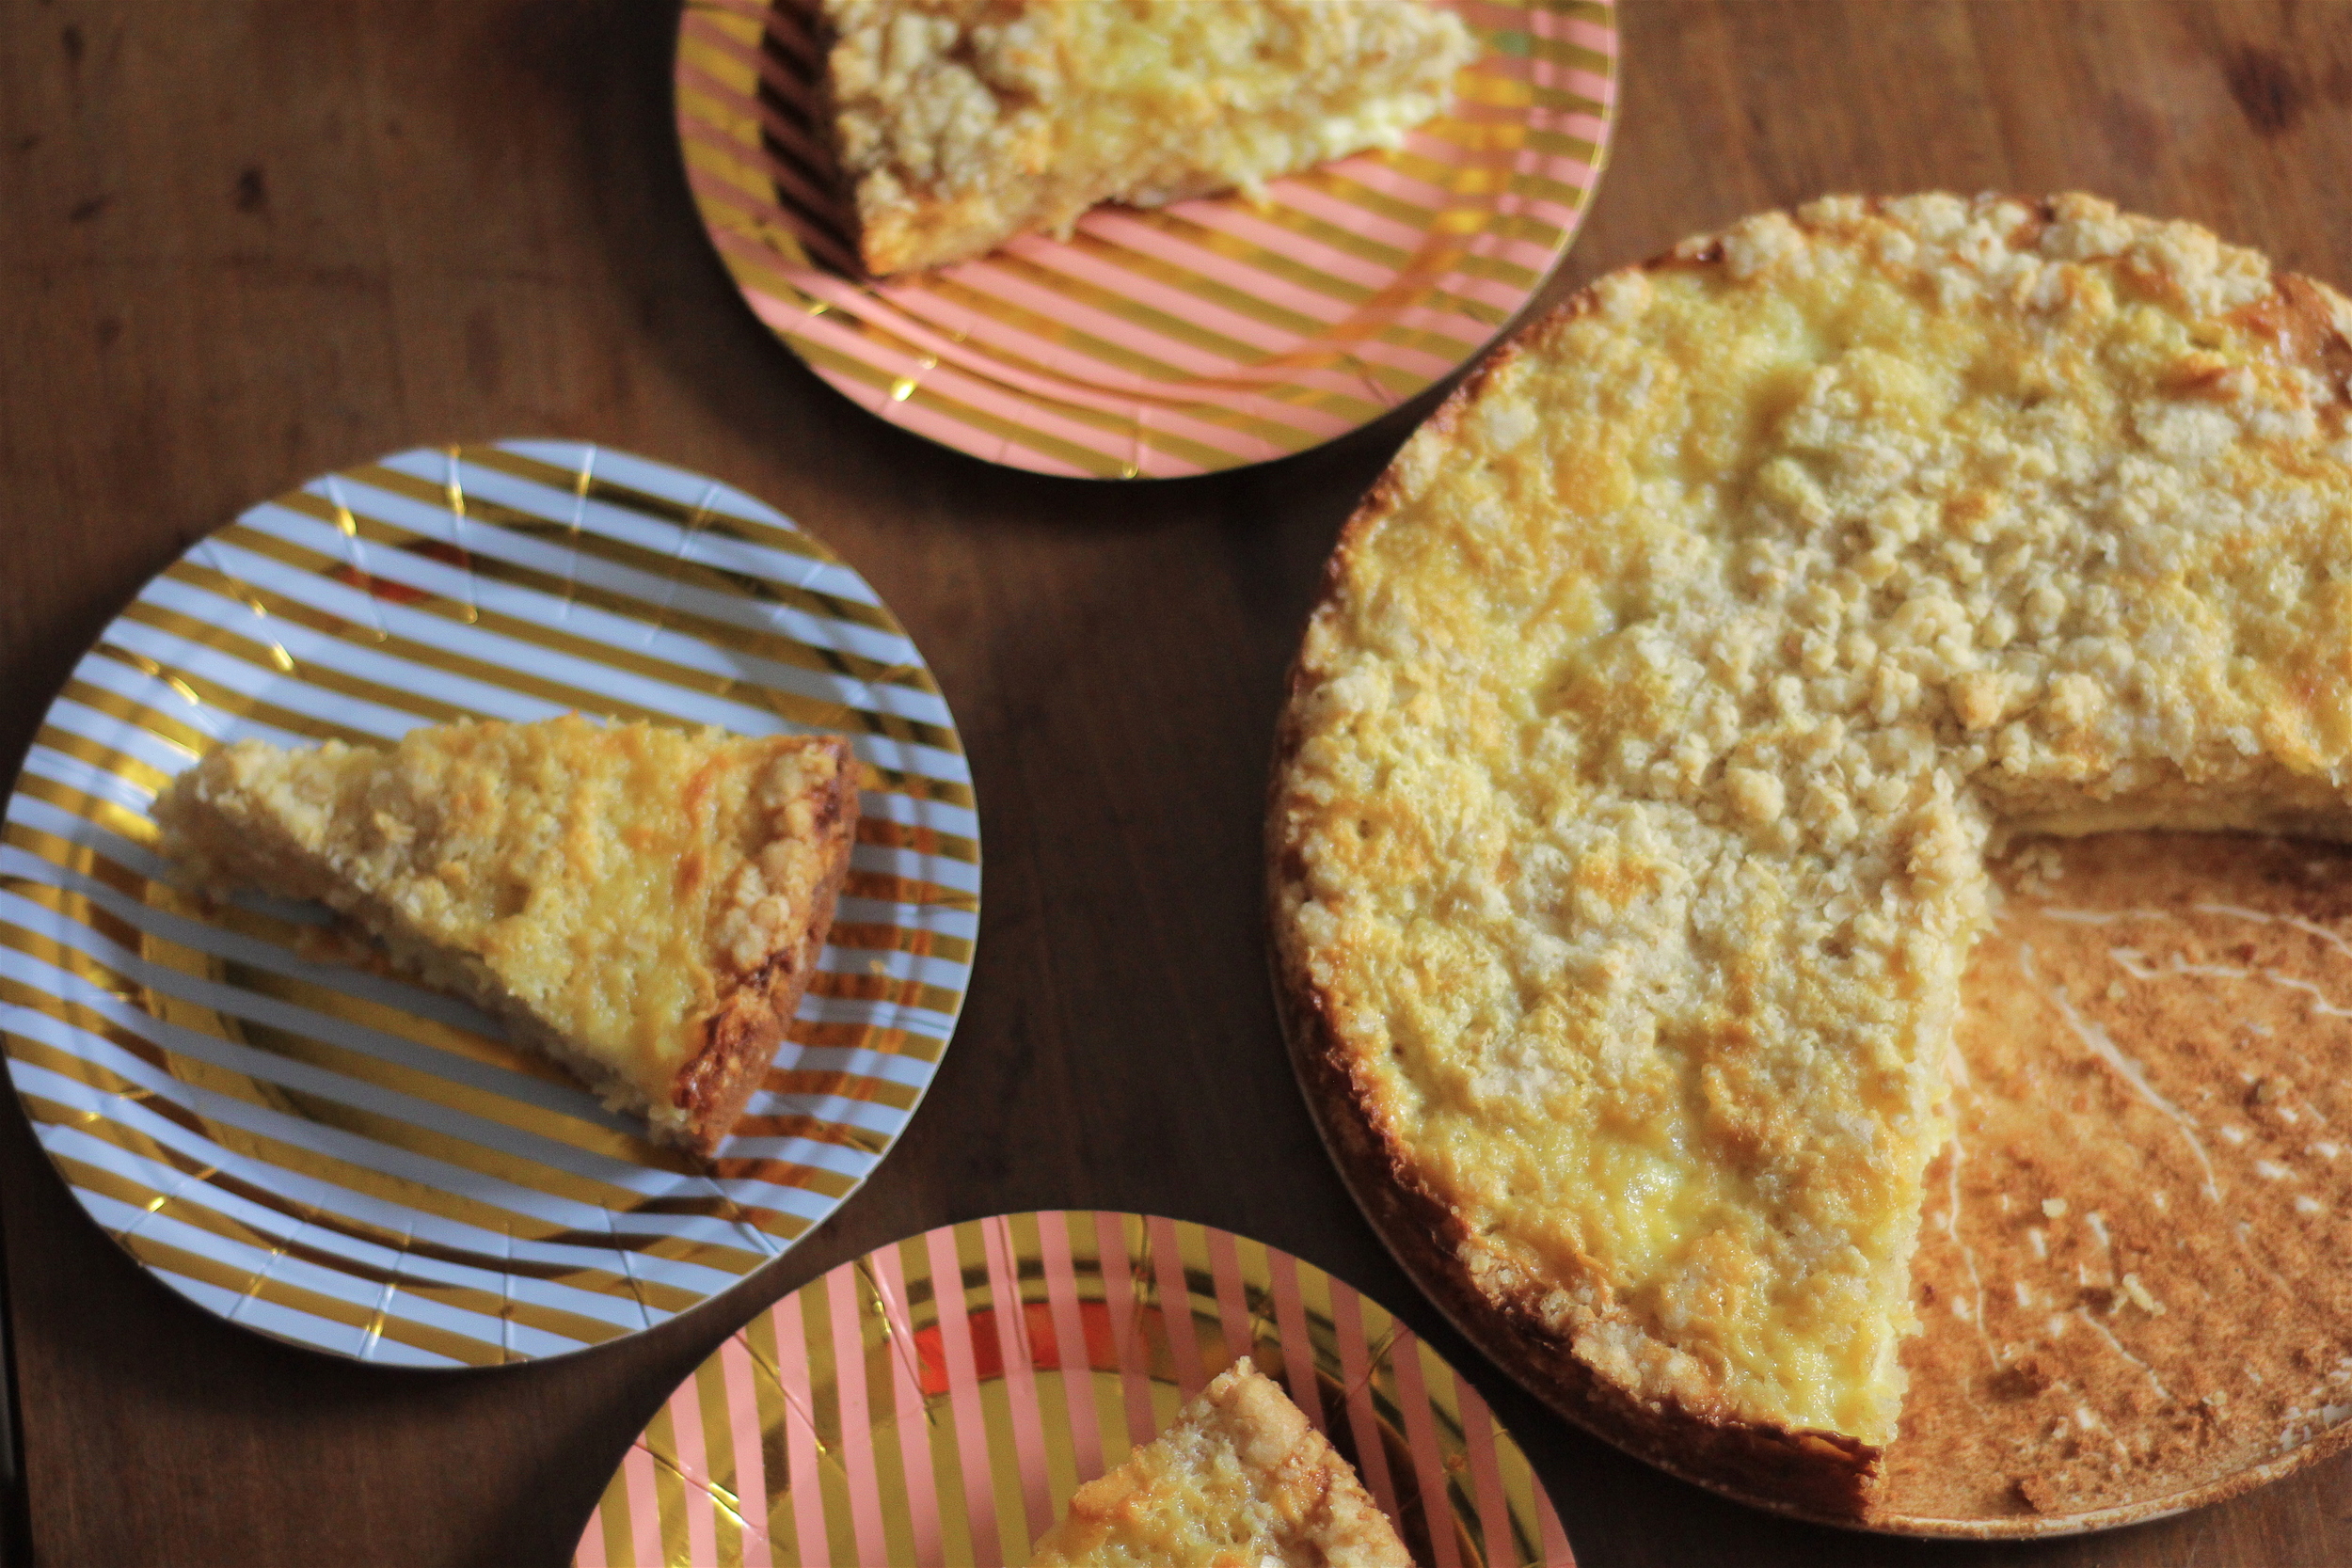
Moist vanilla coffee cake with a thick layer of strawberry rhubarb filling and a buttery oat crumble. While this recipe may parade under the name of “coffee cake”, don’t be deceived. It has so much strawberry and rhubarb filling that it could adequately be called a dump cake, or almost a cobbler, especially when cut into while it’s still hot and wonderfully molten.
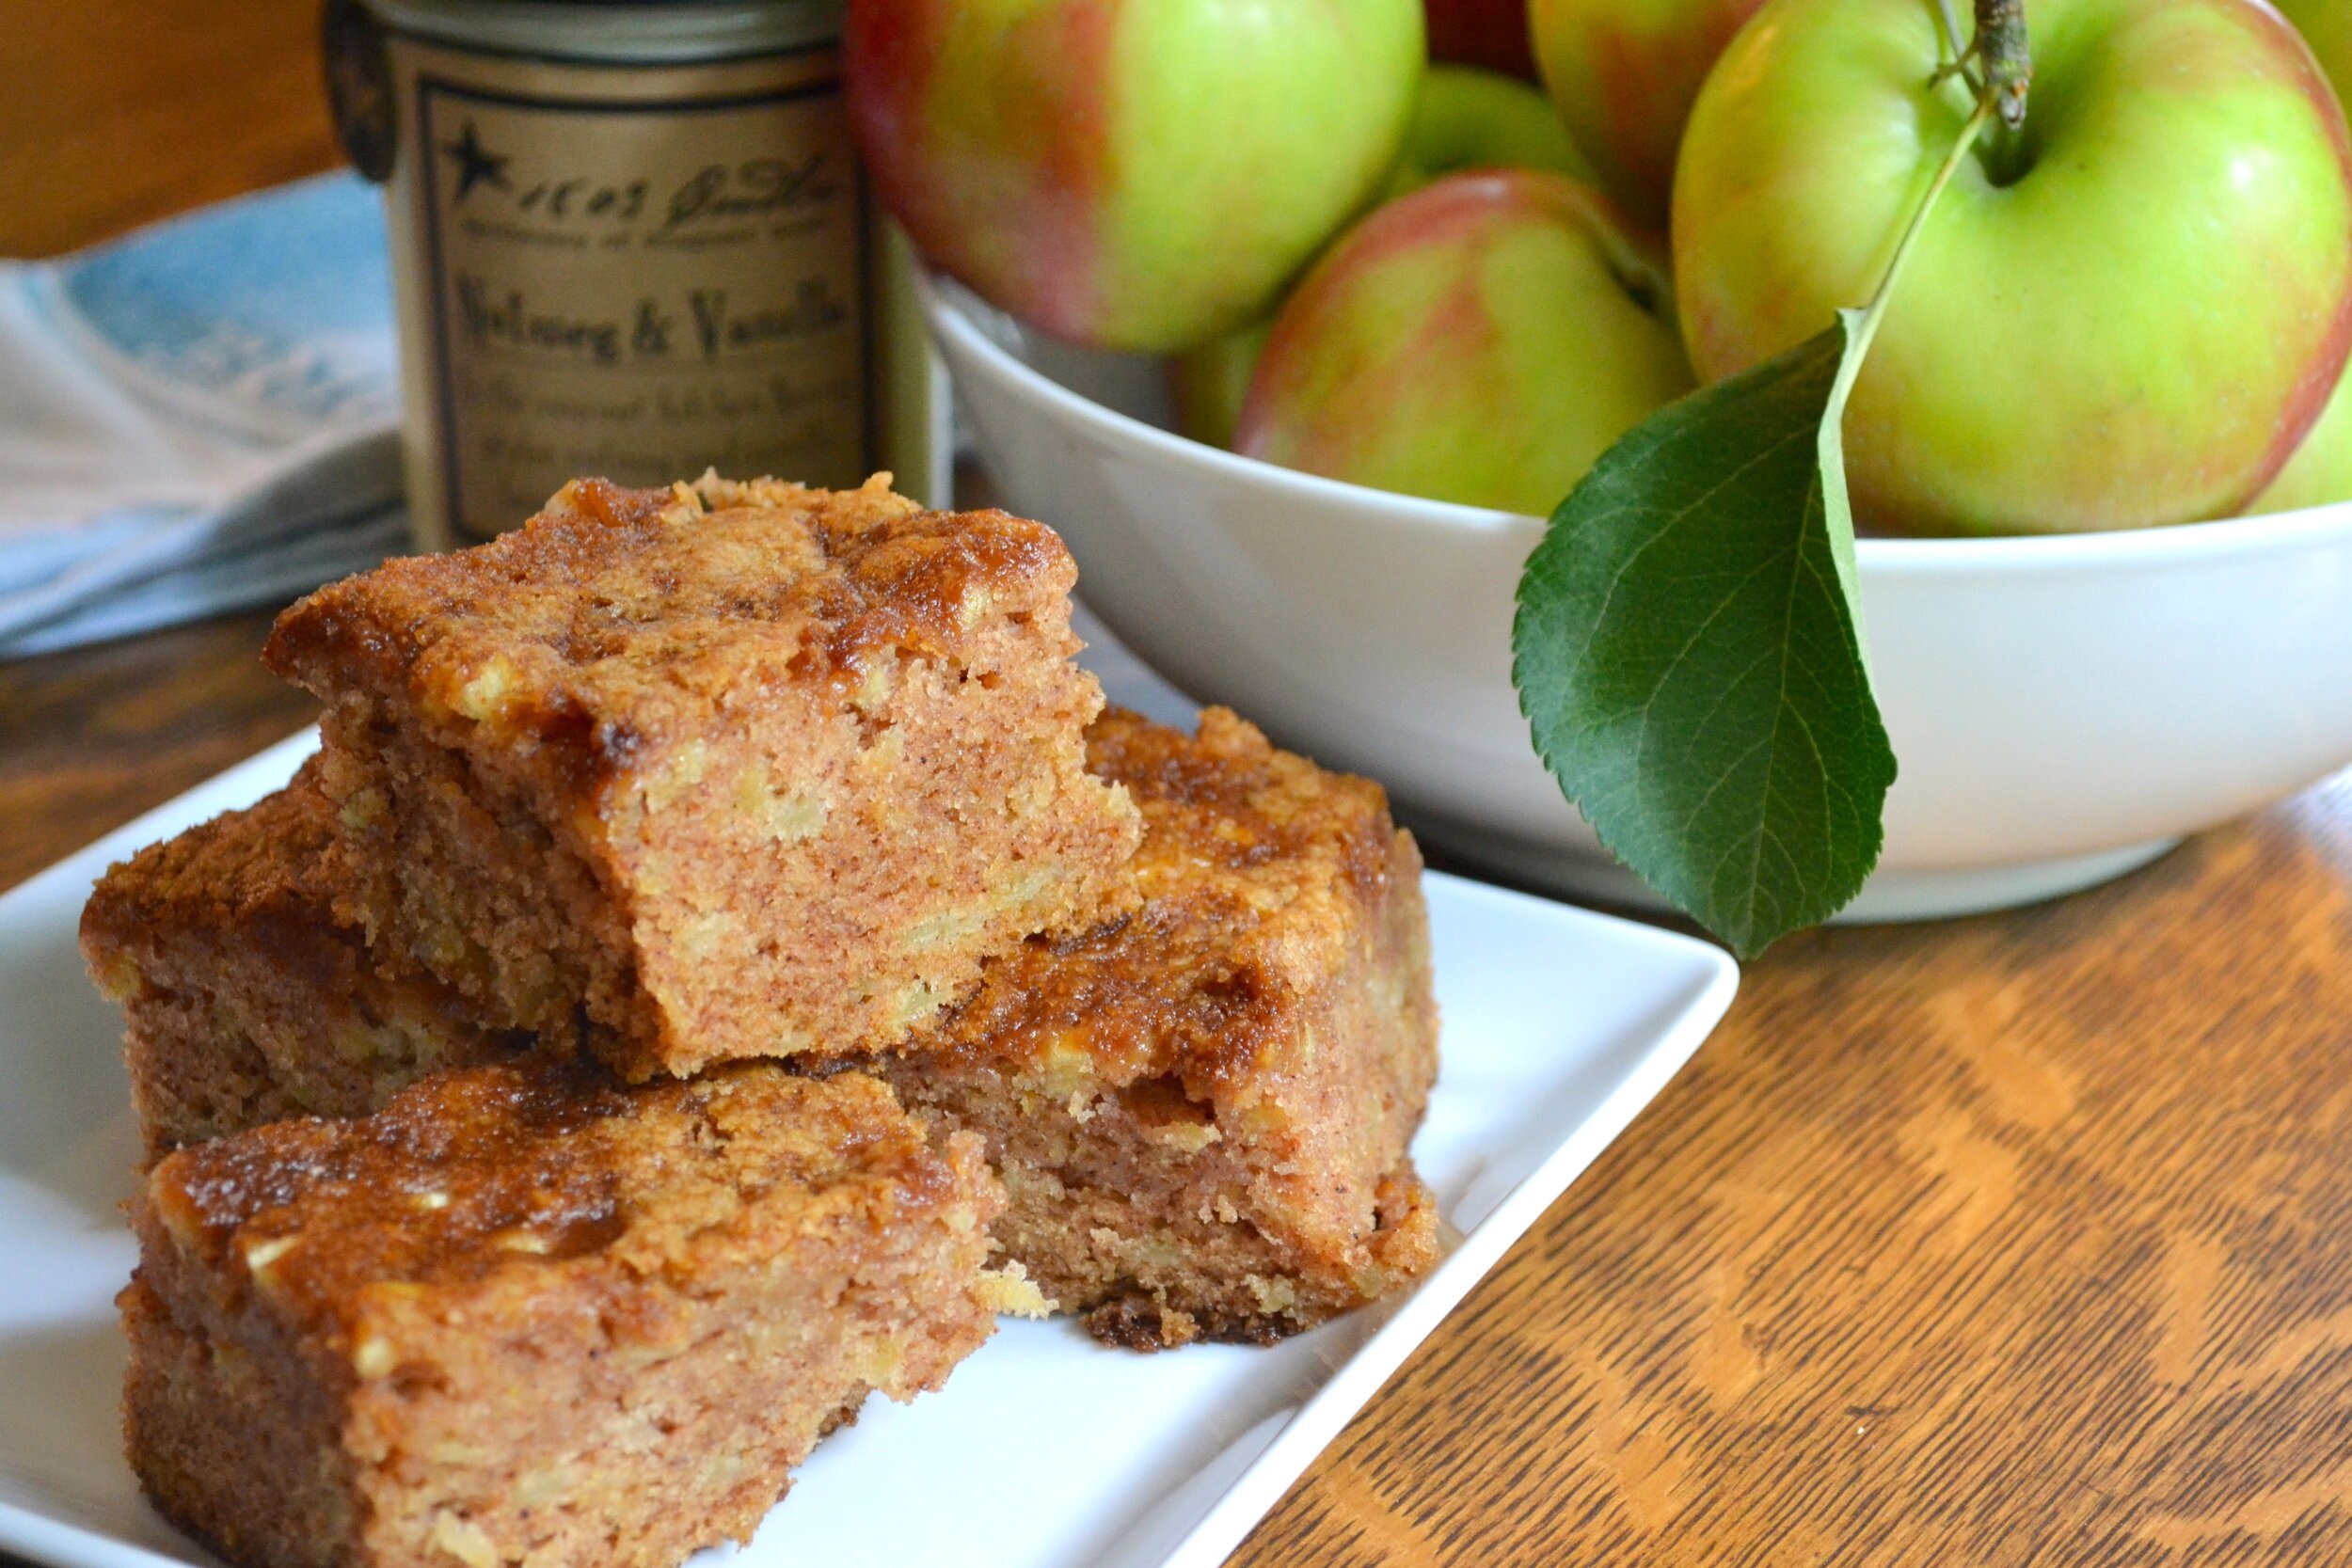
Rhubarb season is teasingly short. It hardly feels or looks like spring before the rhubarb is shooting up in my mom’s garden. By the time June rolls around, it’s the last call for rhubarb!
With each season being so short, I usually get in just a couple classic rhubarb custard pies and maybe one or two other favorite rhubarb desserts. There’s hardly time to try new recipes by the time you make a few pies!
A few years ago I added these buttery Strawberry Rhubarb Oat Bars to the favorite rhubarb recipe collection, and this year I managed to sneak in yet another one: this Strawberry Rhubarb Coffee Cake. I wondered when I first made this if I should halve the recipe to make an 8x8inch, knowing I would be making the recipe a couple of times to make sure it was ready. I didn’t and made the full 9x13inch, and it disappeared so quickly I was glad I didn’t cut the recipe in half! I made it again, and again it disappeared quickly, even with other rhubarb desserts around!
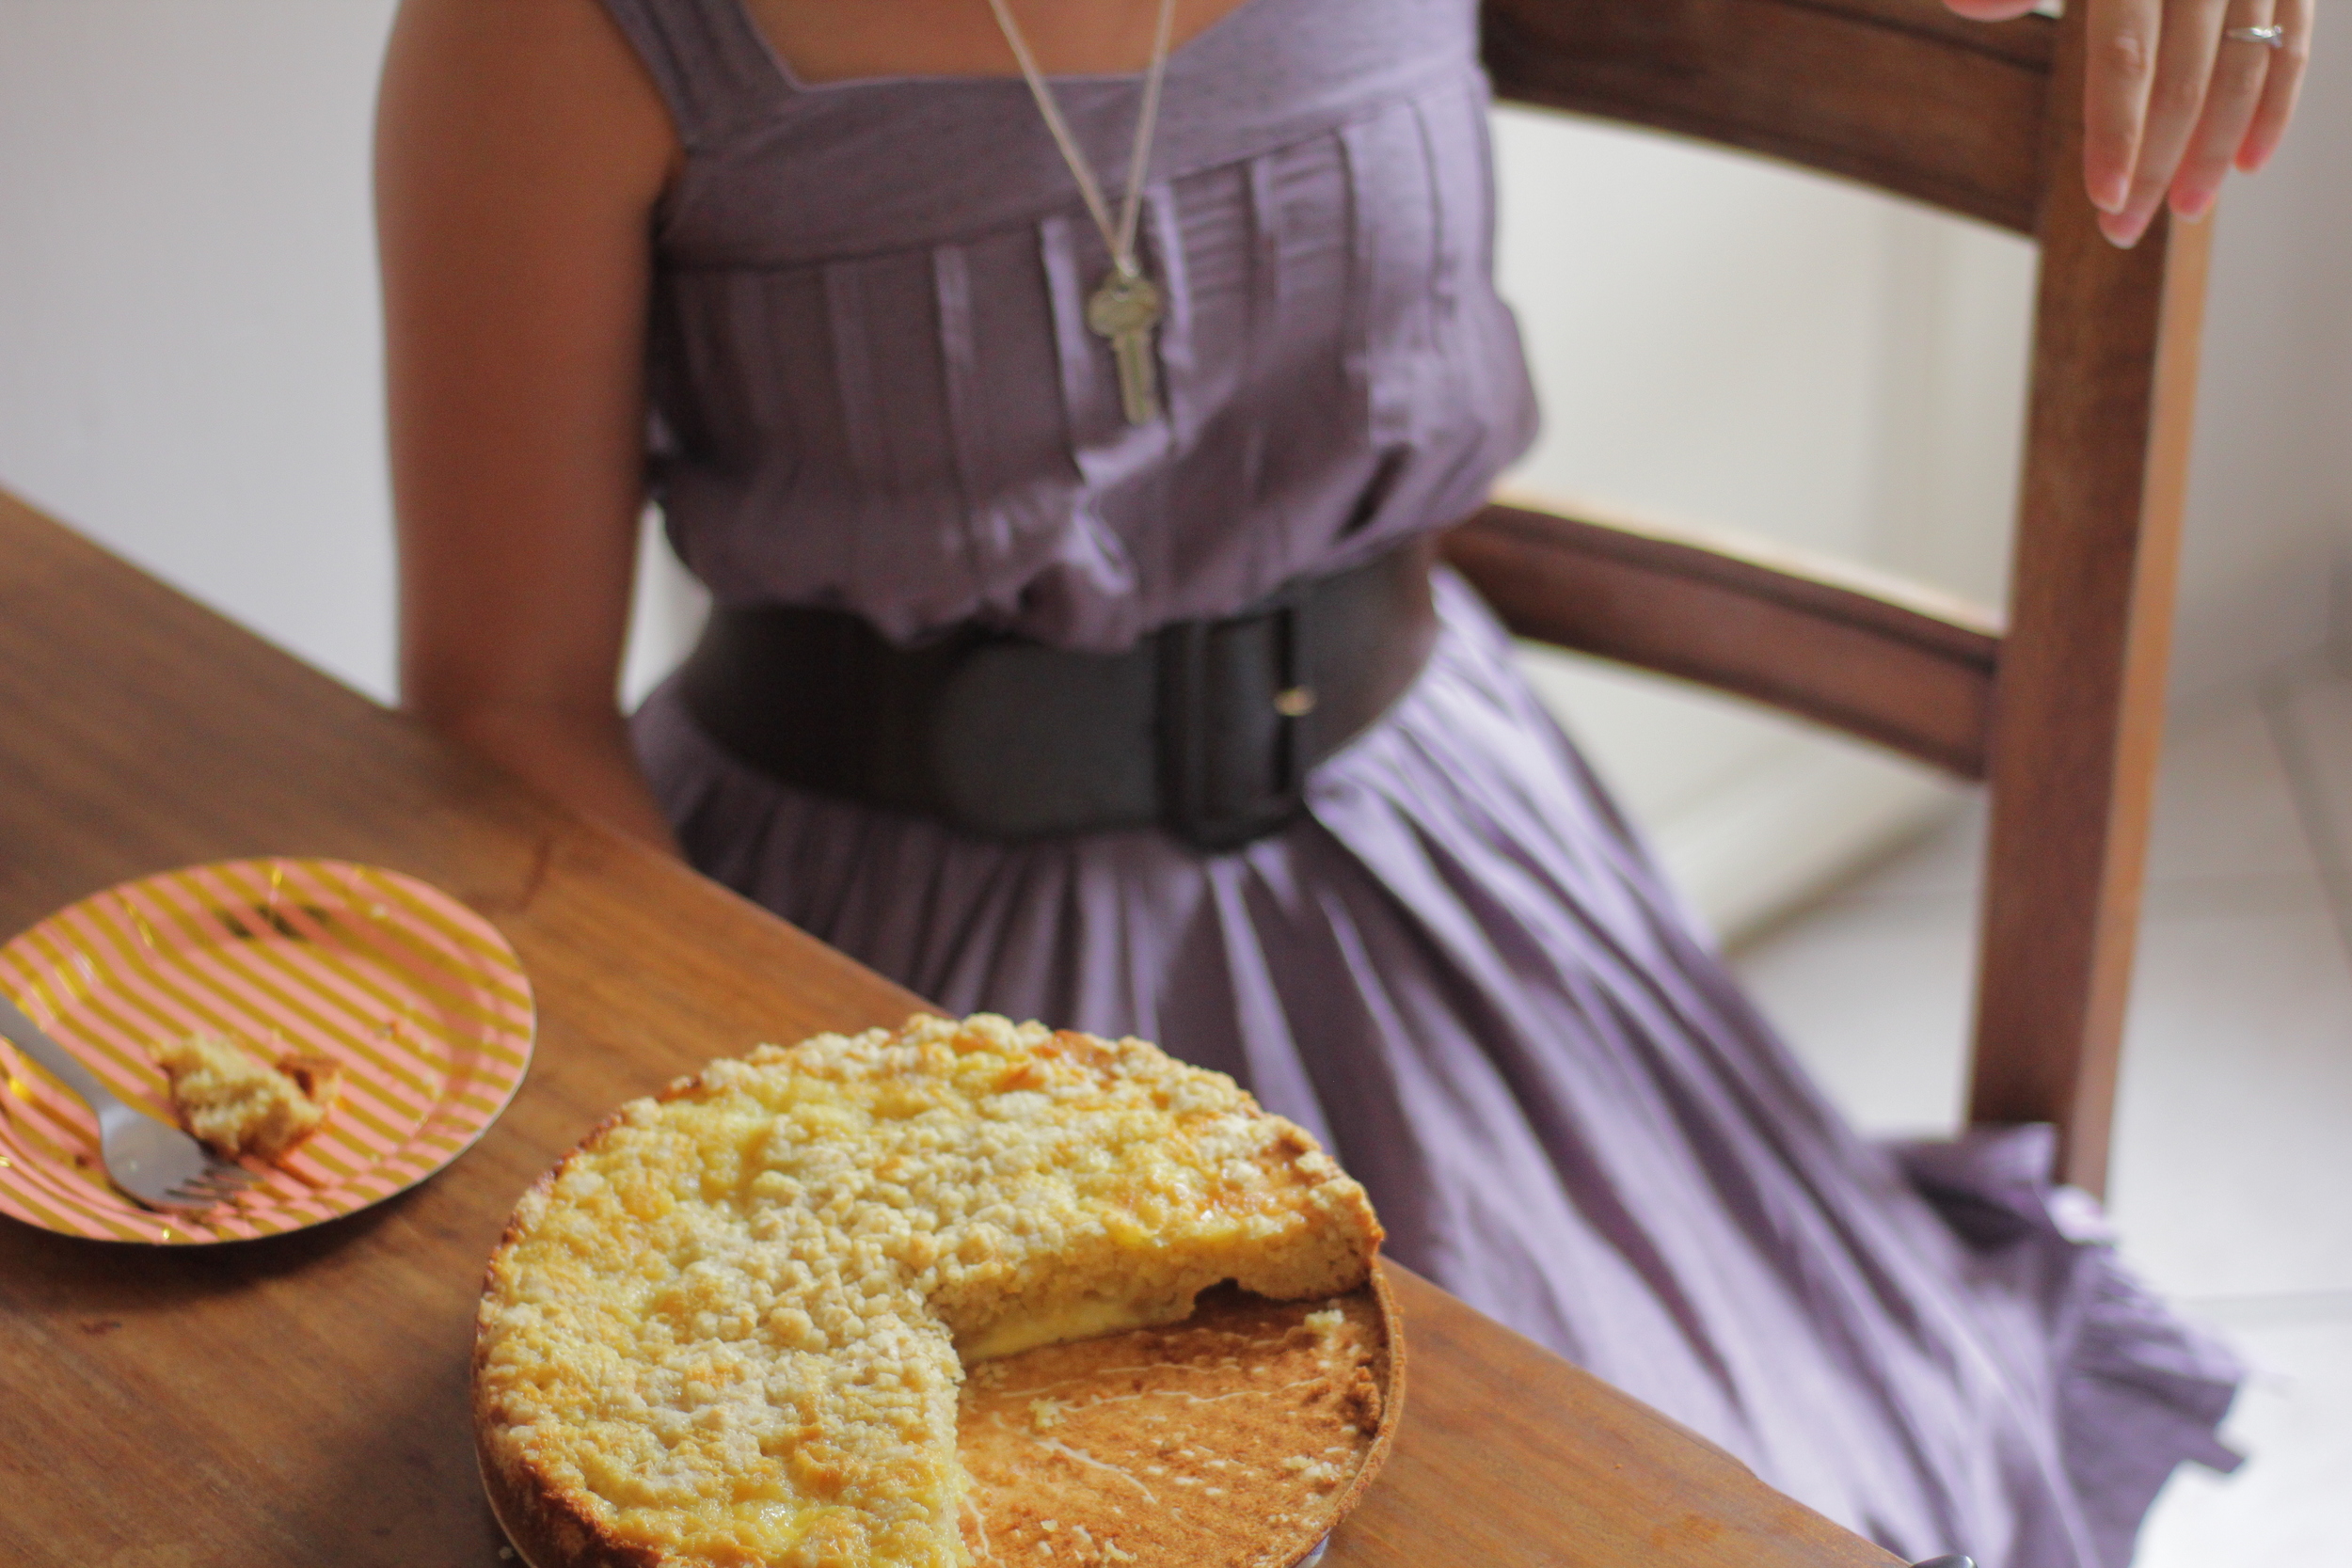
I managed to snap a few photos of the last rhubarb dessert for this season, along with some of the last peonies. I love seasonal things, don’t you? It’s sad to see them go, but makes them so, so special.
This post may contain affiliate links. If you make a purchase using these links, Jennyblogs may receive a small commission, at no extra cost to you. This helps to support Jennyblogs. Where possible, links are prioritized to small businesses and ethically and responsibly made items. For further information see the privacy policy. Grazie!


Strawberry Rhubarb Coffee Cake
Makes 1 - 9x13inch pan, about 20 servings

Ingredients:
For the Strawberry Rhubarb Filling
5 cups / about 800g rhubarb cut into 1” pieces
3 cups / about 350g strawberries, halved
1 cup / 200g sugar
1/3 cup / 40g cornstarch
2 Tbsp / 28g lemon juice
For the Coffee Cake
3 cups / 360g all-purpose or pastry flour
3/4 cup / 150g sugar
1 tsp baking soda
1 tsp baking powder
1/2 tsp salt
3/4 cup / 169g oil
1 1/2 cups / 355g buttermilk
2 eggs
2 tsp vanilla extract
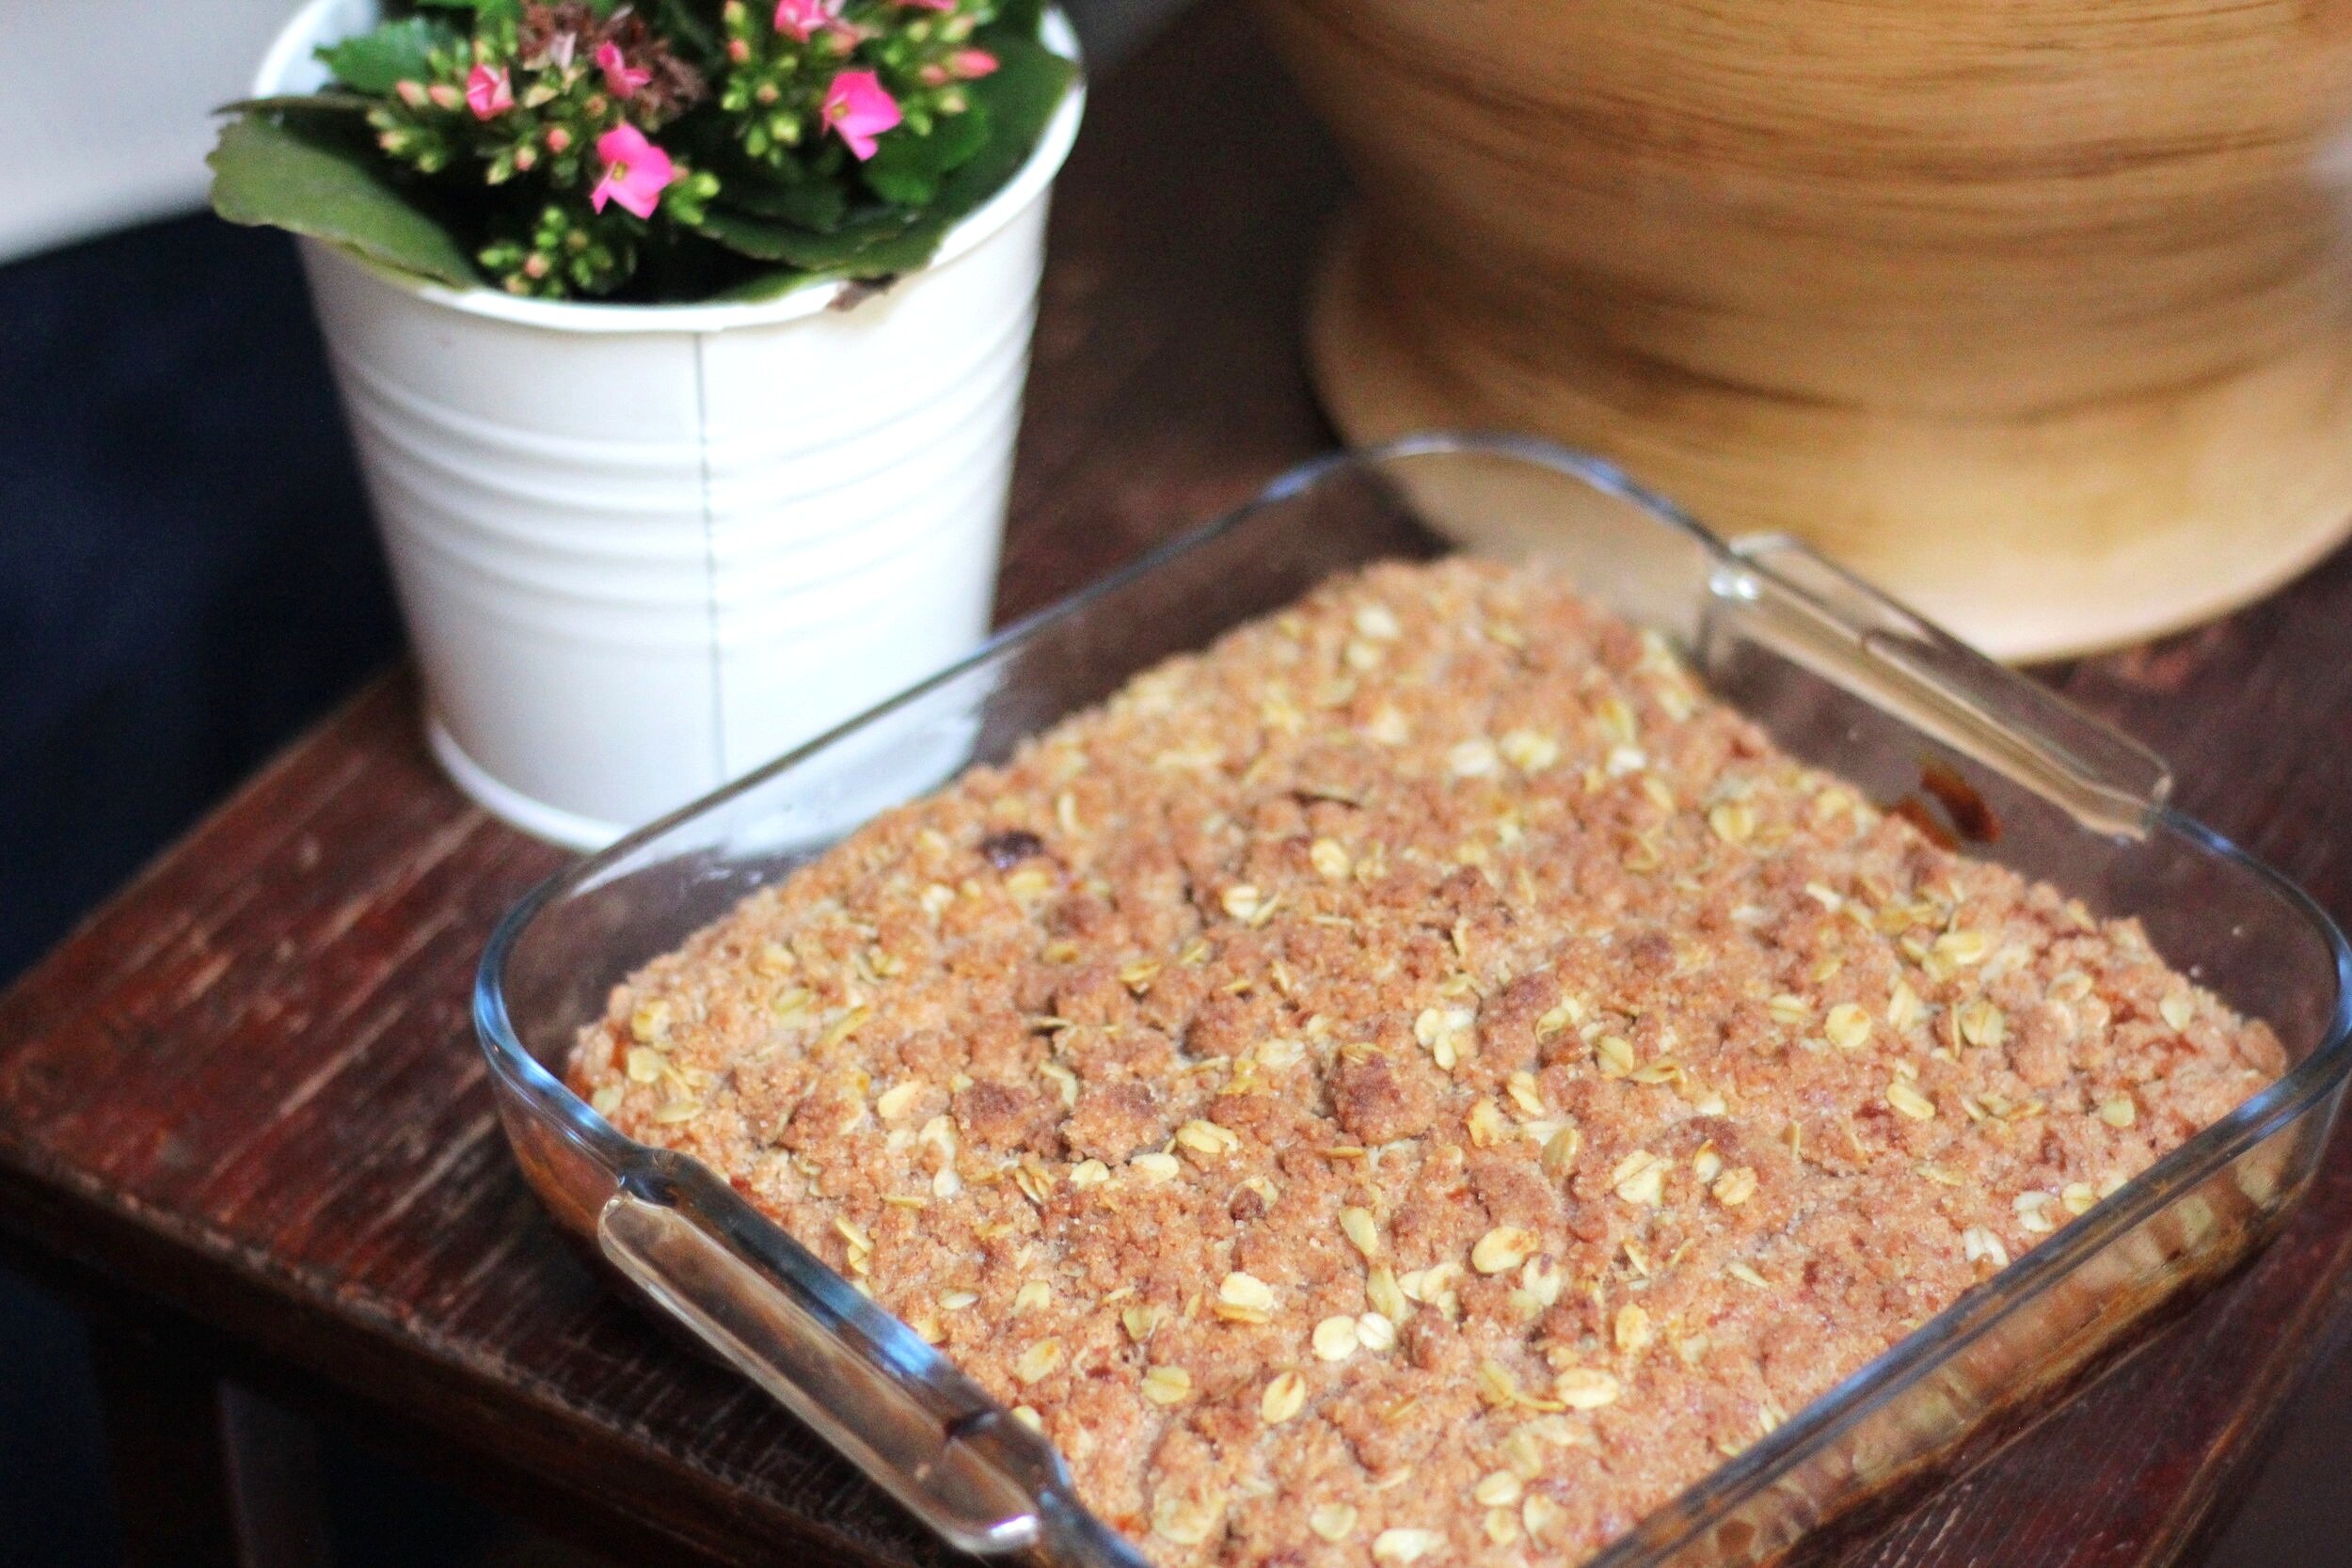
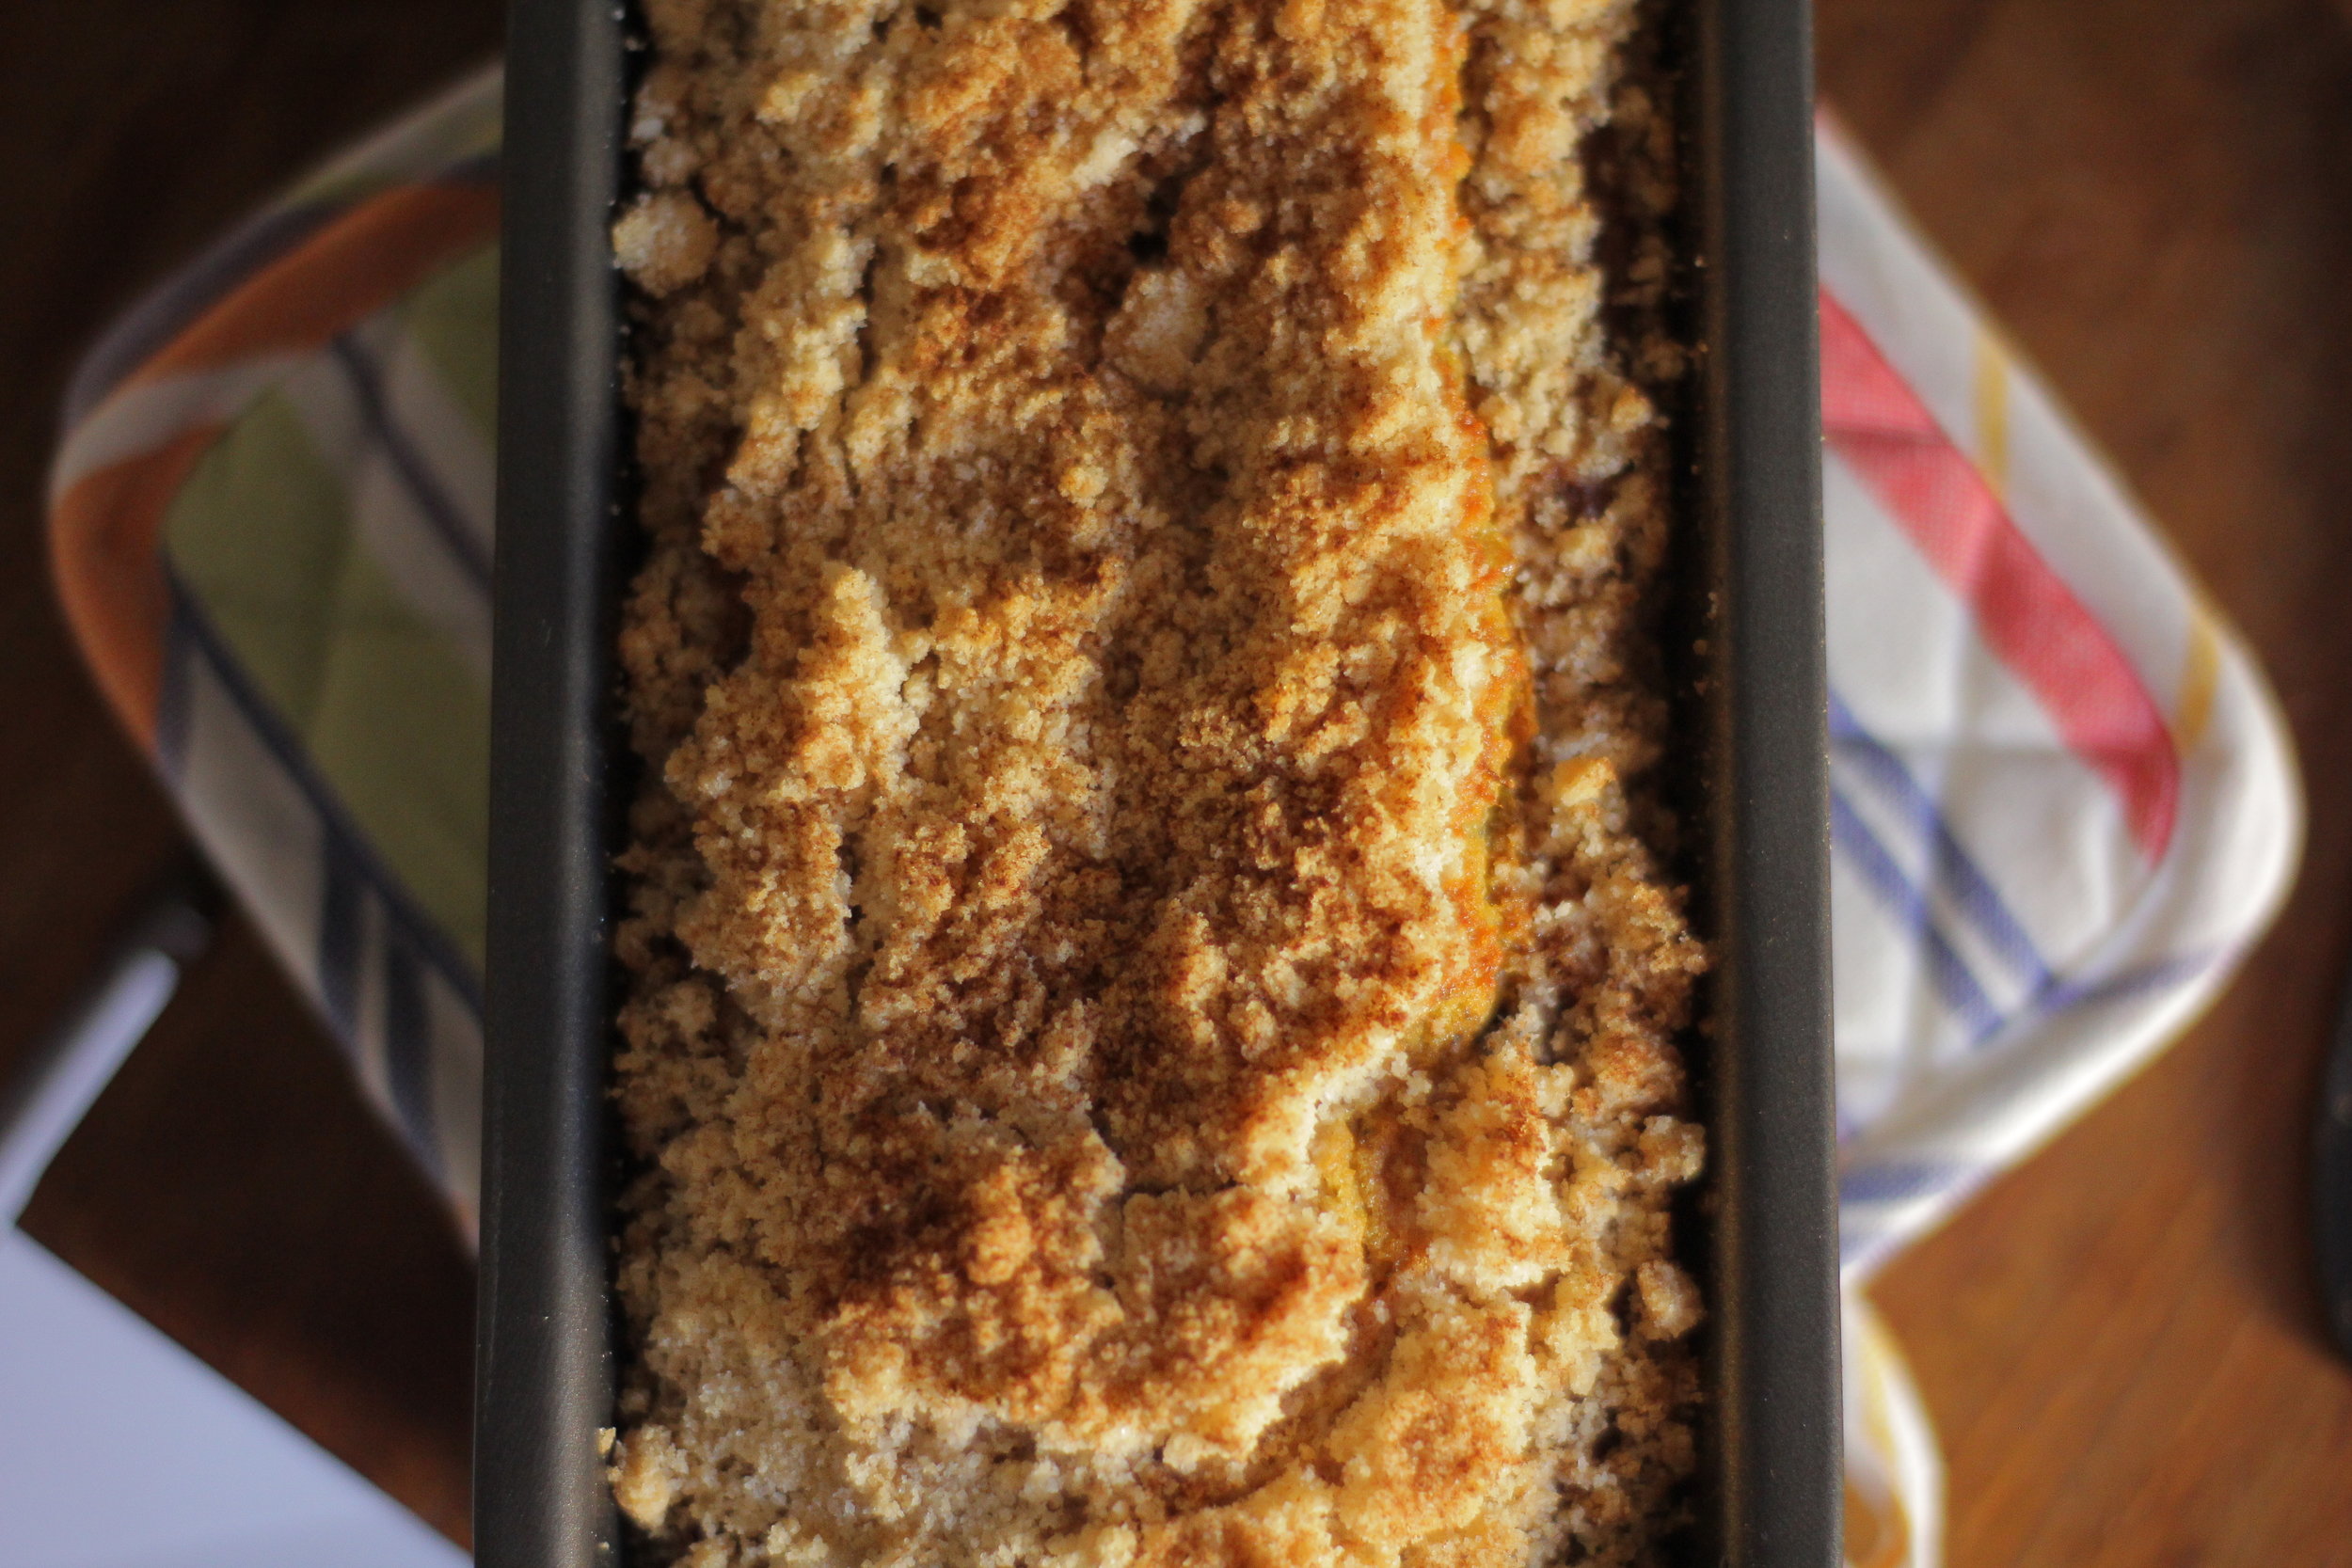
For the Crumble Topping
1/2 cup / 113g butter, melted
1 cup / 120g all-purpose or pastry flour
1 cup / 200g sugar
1 cup / 90g oats
Directions:
Preheat oven to 350°F / 177°C. Lightly grease a 9x13inch / 23x33centimeter rectangle pan.

Make the Strawberry Rhubarb Filling:
In a medium pot, combine all filling ingredients over medium heat. Bring to a simmer and cook for about five minutes, stirring frequently, until rhubarb and strawberries are tender and start to break down and mixture is thickened.
Remove from heat and set aside.
Make the Coffee Cake
Whisk together the flour, sugar, baking soda, baking powder, and salt.
Stir in oil until mixture looks like wet sand with some small chunks.
Mix in buttermilk, eggs, and vanilla; stir until mostly smooth. A few lumps are ok.
Set aside while crumble is prepared.
Make the Crumble Topping
In a small saucepan, melt the butter.
Remove from heat and mix in flour, sugar, and oats until mixture resembles wet sand with some chunks.
Assemble and Bake
Pour and spread half of cake mixture into prepared pan. Dollop strawberry rhubarb filling over cake batter, gently spreading to edges, then pour remaining half of cake batter over filling, gently spreading to edges. Top with crumble.
Bake for 50-60 minutes or until cake starts to turn golden and a toothpick inserted into the center comes out clean.
Allow to cool completely before slicing and serving.
Jenny’s Notes:
Waiting until the coffee cake cools completely will result in easier to slice bars. If you cut into it early, the rhubarb filling will still be molten, but you can embrace the mess and serve it warm, in a bowl with a spoon, and call it a dump cake. :)

Strawberry Rhubarb Coffee Cake
Ingredients
Instructions
- In a medium pot, combine all filling ingredients over medium heat. Bring to a simmer and cook for about five minutes, stirring frequently, until rhubarb and strawberries are tender and start to break down and mixture is thickened.
- Remove from heat and set aside.
- Whisk together the flour, sugar, baking soda, baking powder, and salt.
- Stir in oil until mixture looks like wet sand with some small chunks.
- Mix in buttermilk, eggs, and vanilla; stir until mostly smooth. A few lumps are ok.
- Set aside while crumble is prepared.
- Pour and spread half of cake mixture into prepared pan. Dollop strawberry rhubarb filling over cake batter, gently spreading to edges, then pour remaining half of cake batter over filling, gently spreading to edges. Top with crumble.
- Bake for 50-60 minutes or until cake starts to turn golden and a toothpick inserted into the center comes out clean.
- Allow to cool completely before slicing and serving.
Notes
- Waiting until the coffee cake cools completely will result in easier to slice bars. If you cut into it early, the rhubarb filling will still be molten, but you can embrace the mess and serve it warm, in a bowl with a spoon, and call it a dump cake. :)
Nutrition Facts
Calories
358.75Fat
15.01 gSat. Fat
4.2 gCarbs
43.31 gFiber
3.98 gNet carbs
39.36 gSugar
2.52 gProtein
5.3 gCholesterol
30.55 mgSodium
209.49 mgNutritional info is approximate, based on 1 serving