Leek and Morel Mushroom Phyllo Pies
/
Last Updated July 8, 2024
Handheld, light and flaky phyllo pies with a savory mushroom, leek, and parmesan filling. Seasonal and satisfying.
My favorite way to make these is with morel mushrooms, but these can also be made with other mushrooms, such as white or brown button mushrooms. Morel mushrooms are a delicacy where I’m from in Michigan, and definitely not available year round or in all places.
Morel Mushrooms
I've hunted for morel mushrooms with my family for as long as I can remember. Apparently it's not as common outside of the mitten and non-Michiganders sometimes think we're crazy.


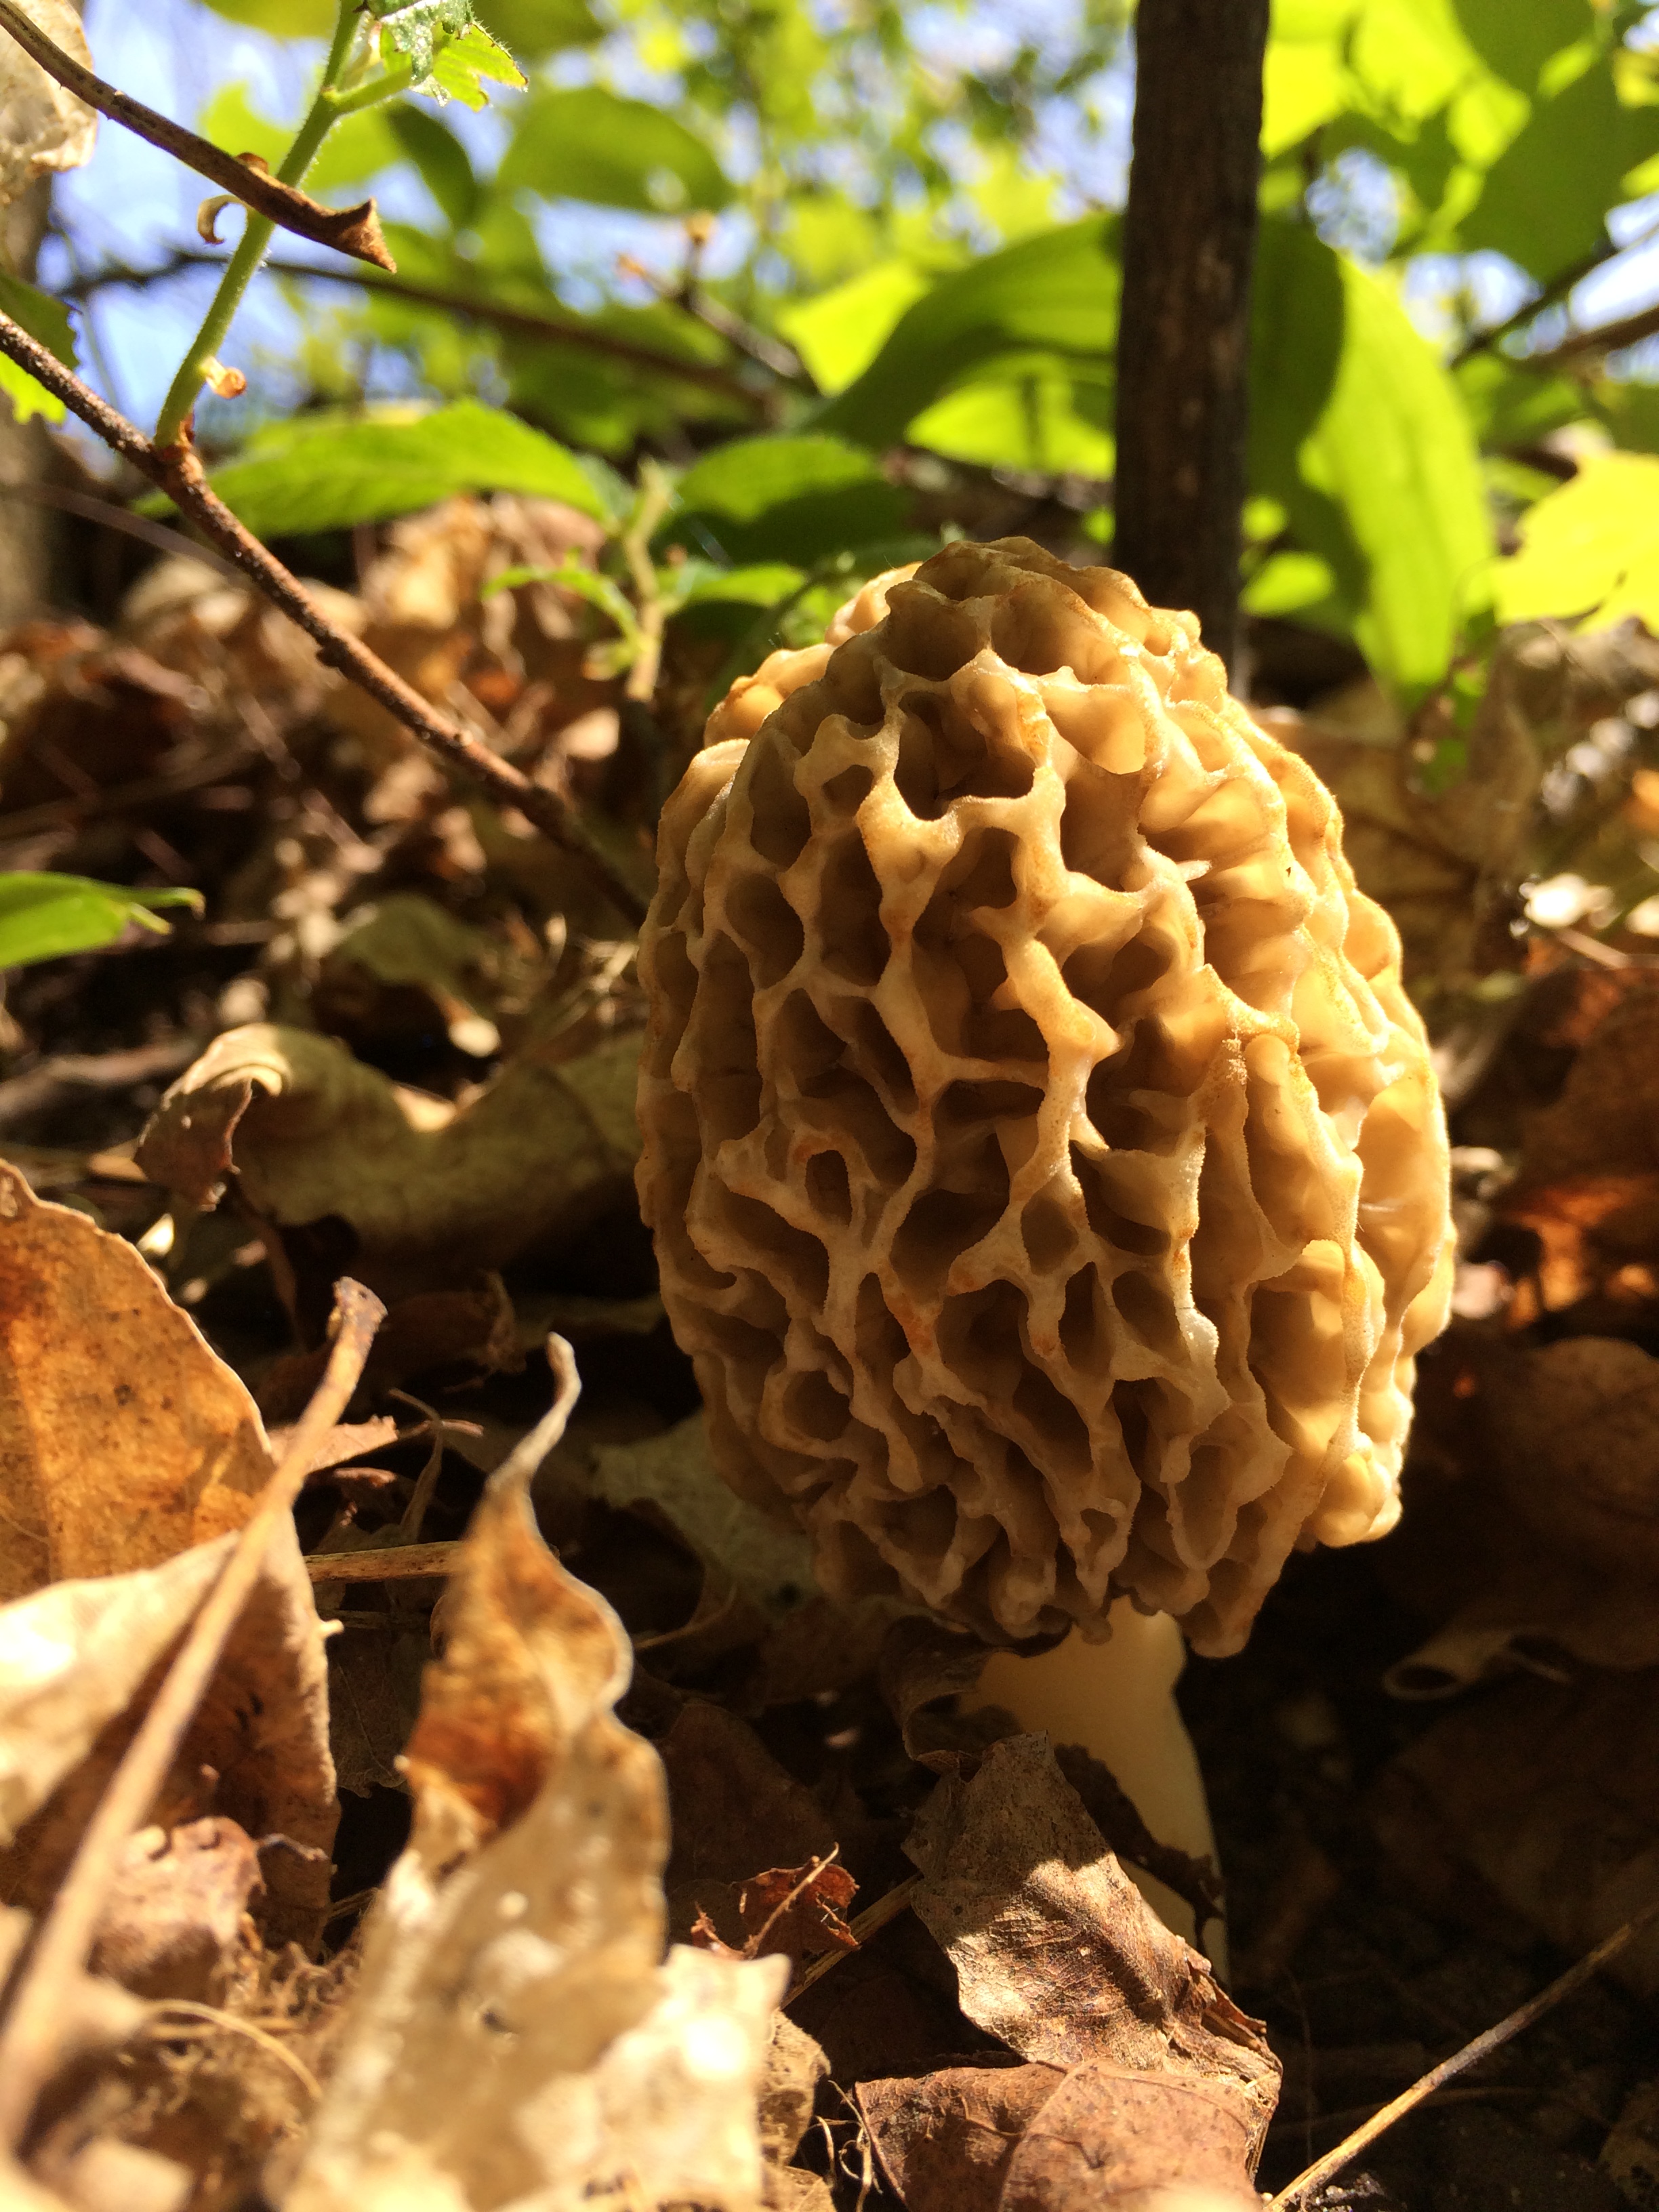

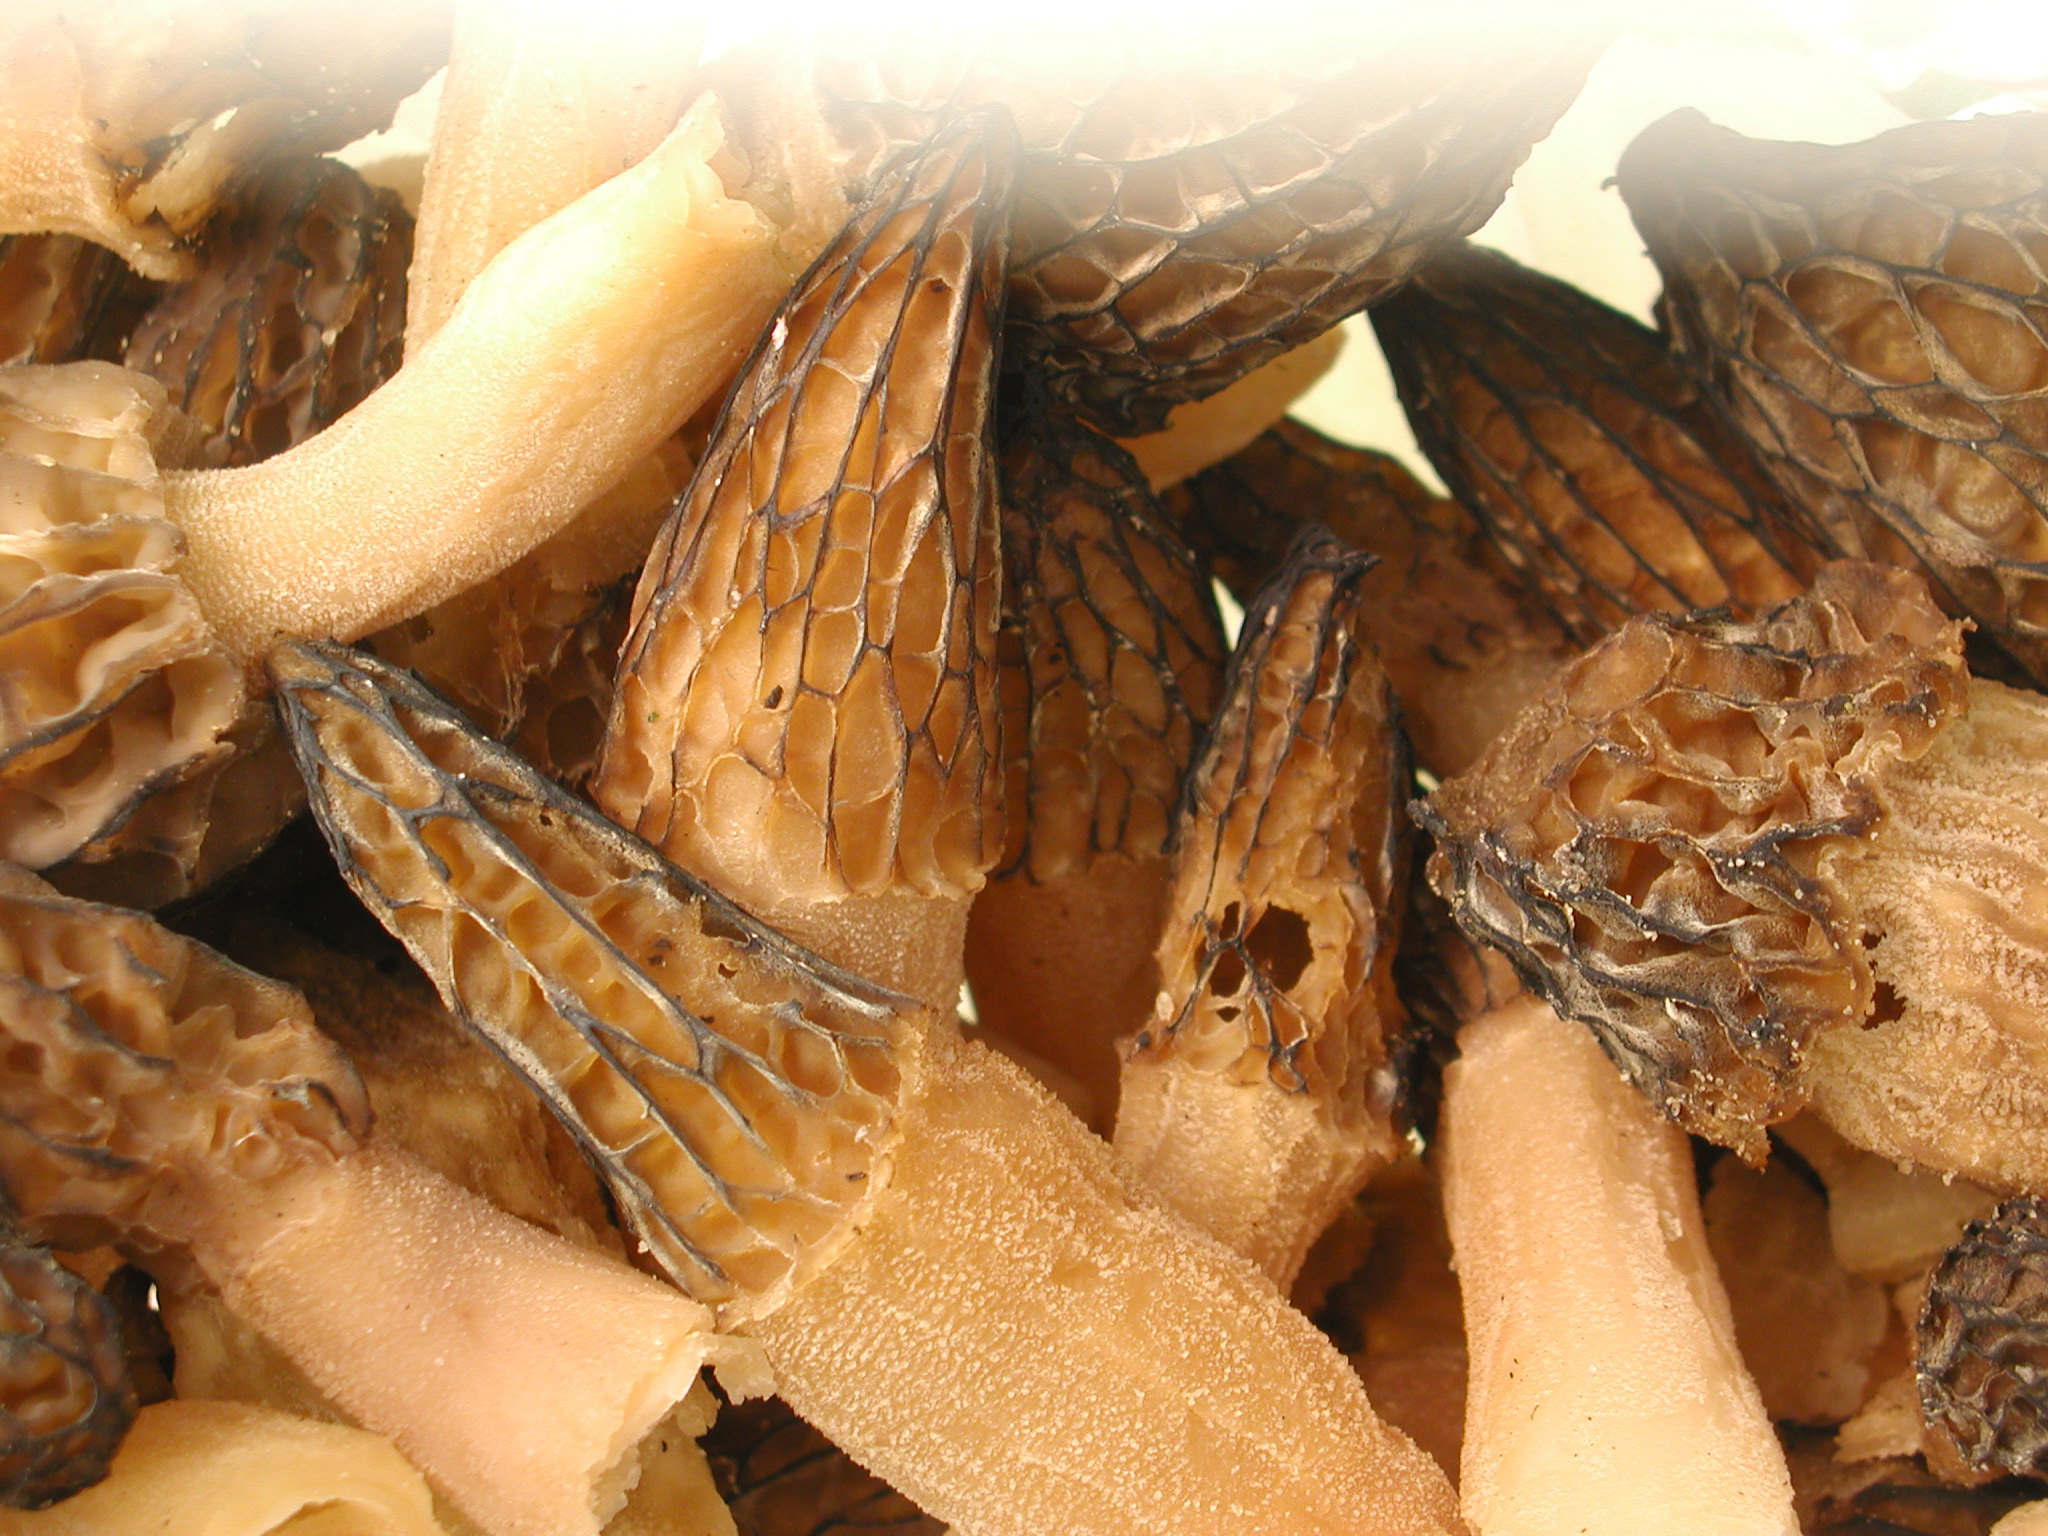
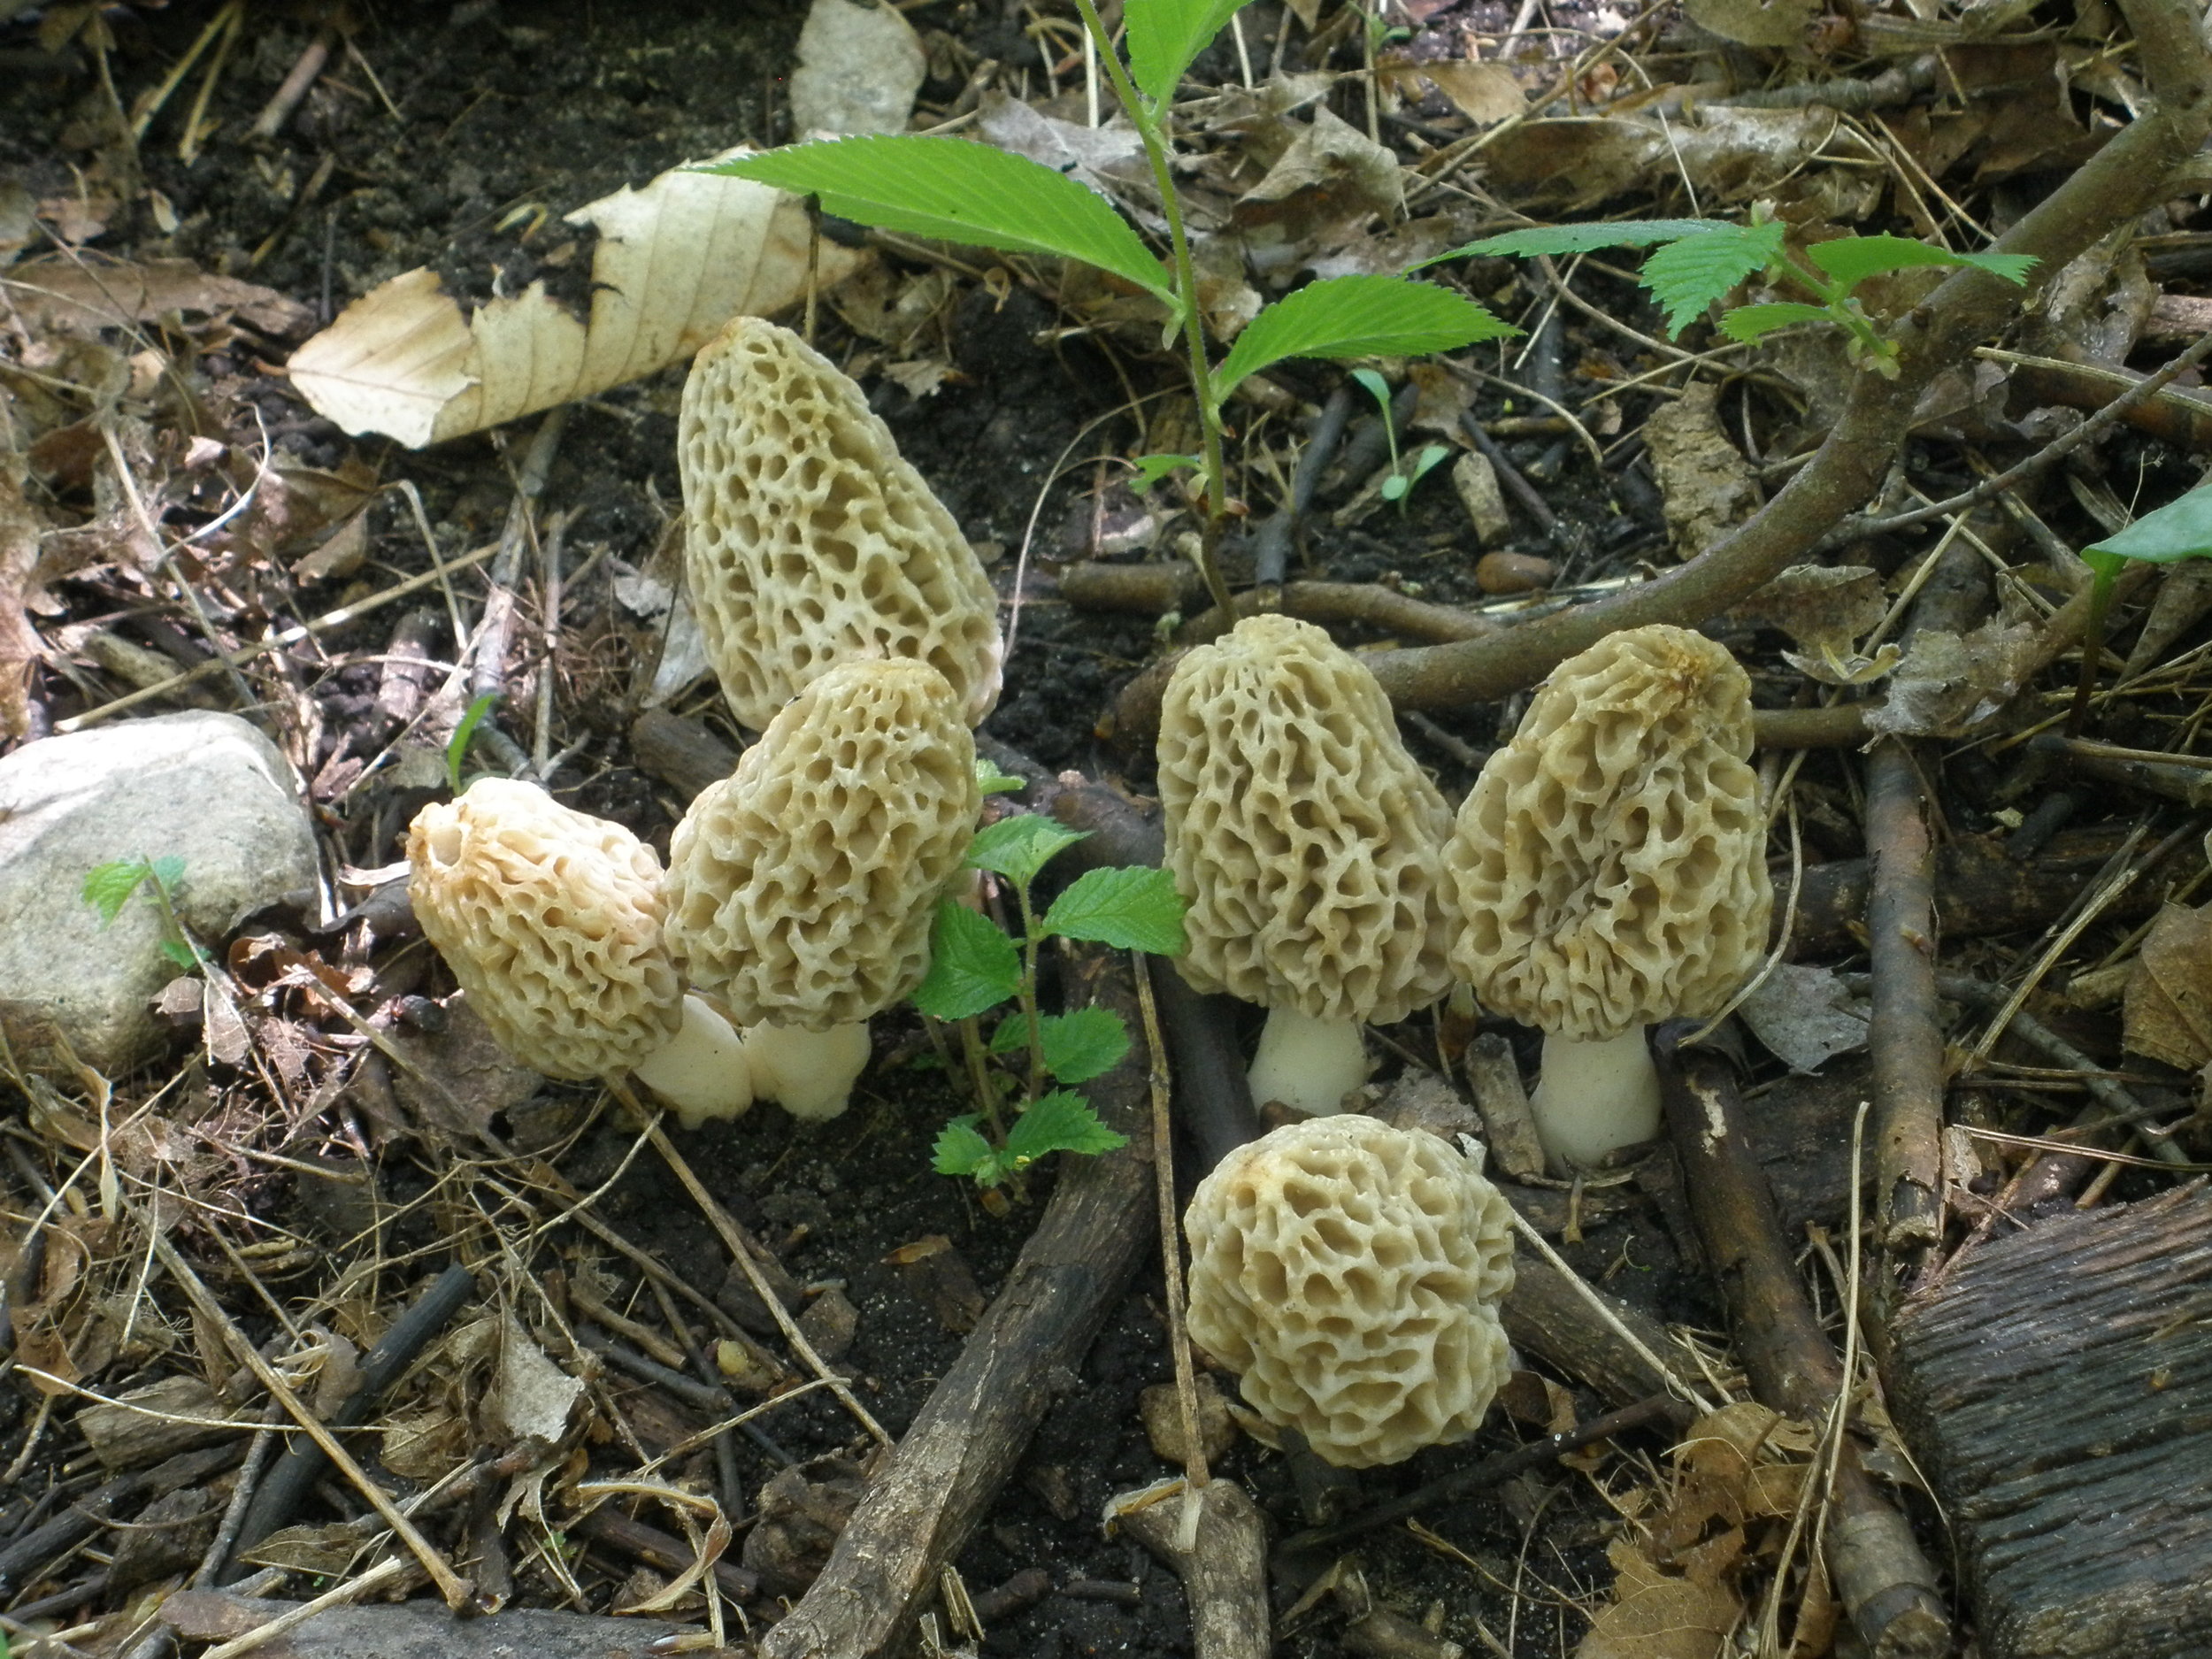

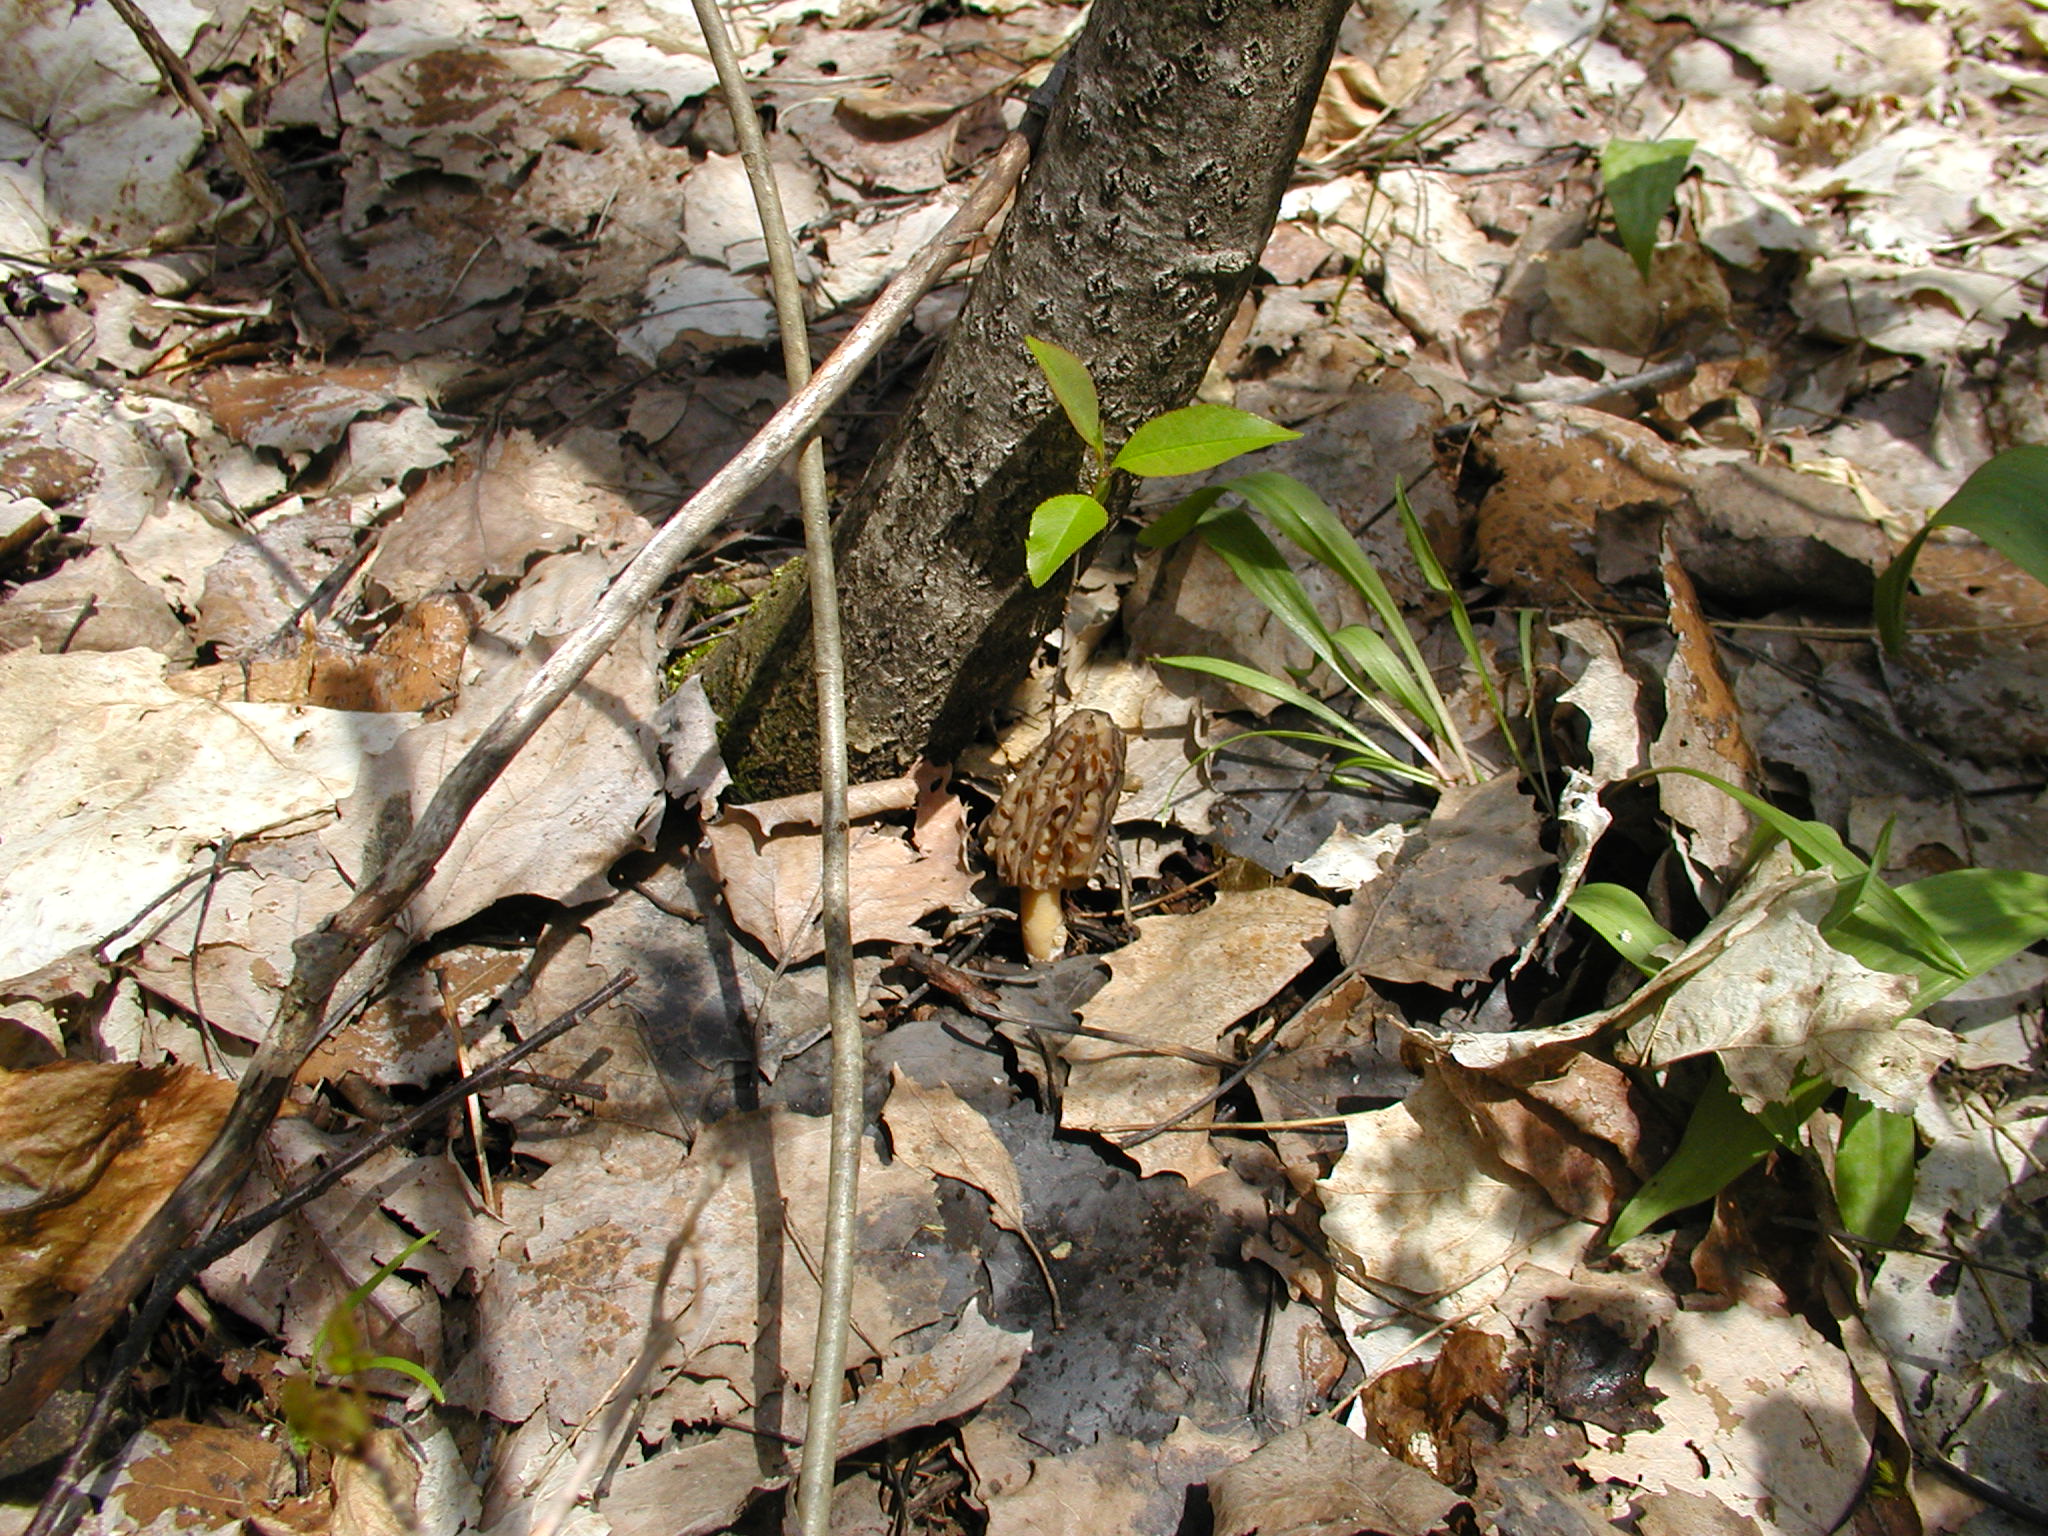
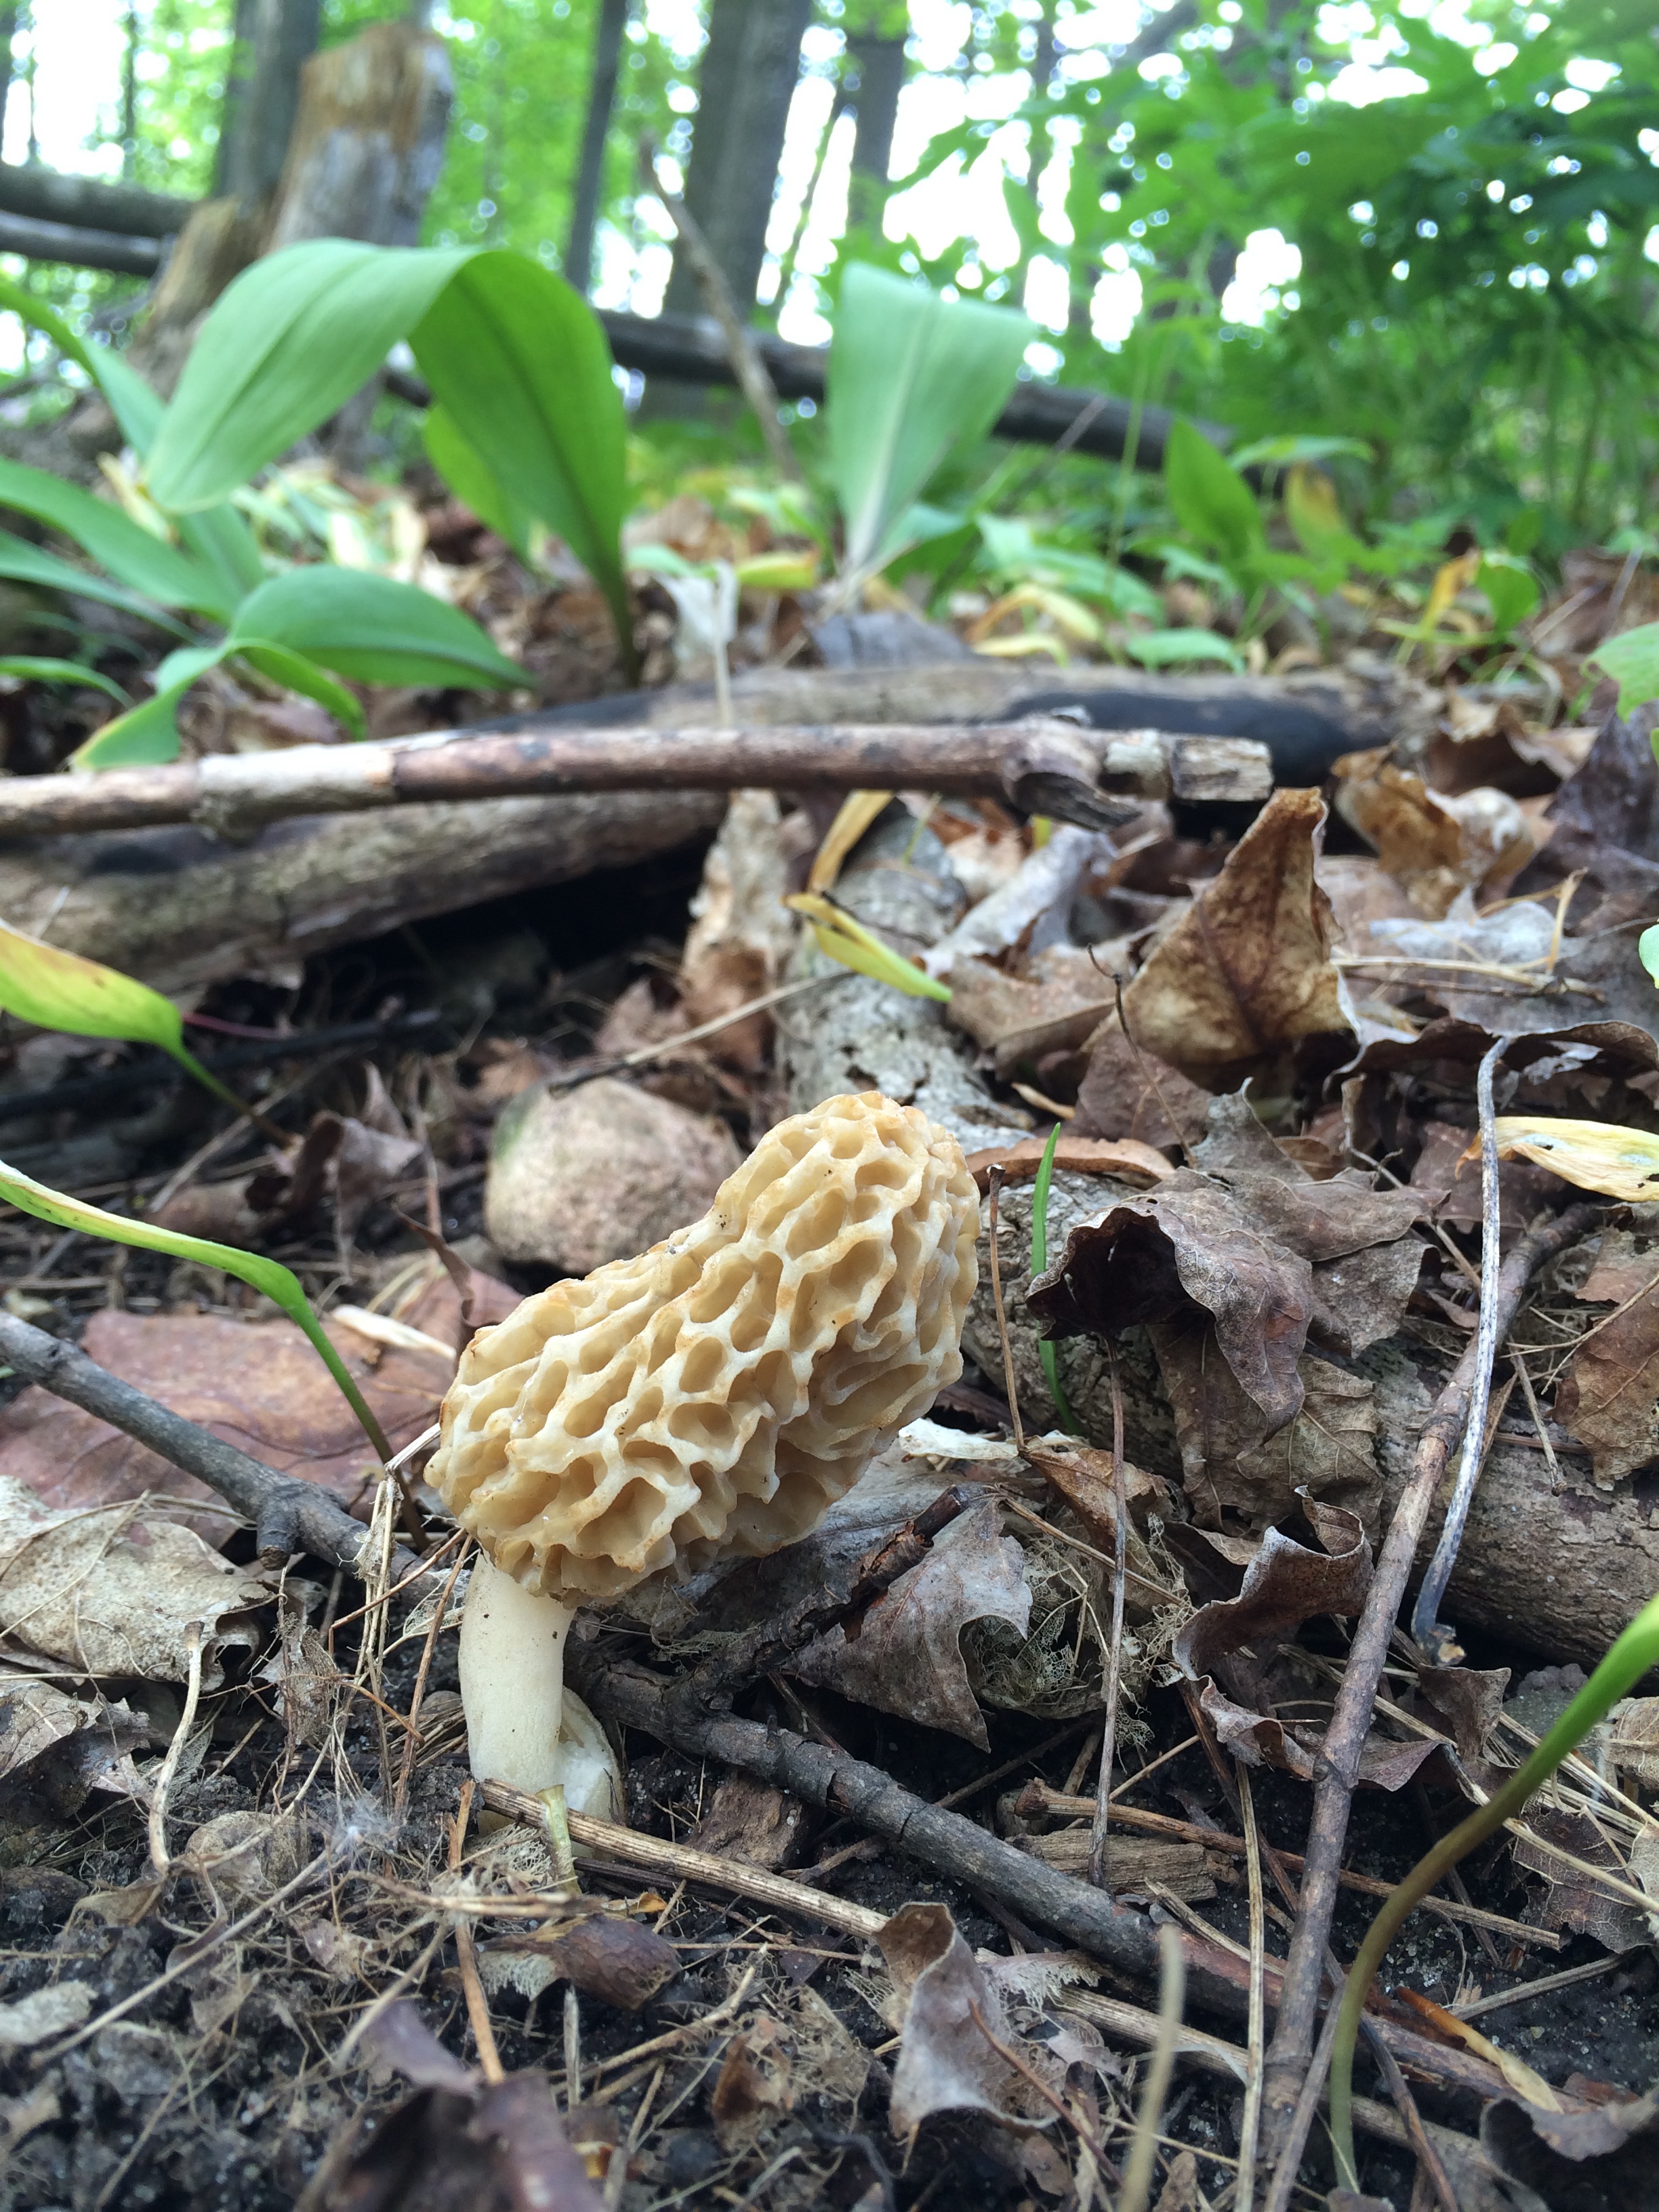

There are two main types, that I know of anyway, black and white. The season for blacks is just before the white, usually end of April to mid May, and the whites start mid May to the end of May, all depending on the weather. After you pick the mushrooms it's best to soak them in salt water for a bit to clean them and evict any bugs. When I was younger my mom would throw out the mushroom water in the woods in the hopes that more morel mushrooms would grow. That never happened. However, we do have a spot or two in our woods that always have white morels.
Some years you can barely find any morel mushrooms, just a handful, best enjoyed lightly breaded in flour and fried in butter. Other years you find plenty, and when you’ve had your fill of them fried, you can start to use them in other dishes.
These phyllo pies, my friends, are an absolutely delightful way to eat morels. They can be a bit fussy to make, but they’re worth it.
Phyllo plays an important part in these, it is the vessel that transports all the lovely mushrooms, leeks, and cheese to your mouth. I’m aware you can make your own homemade phyllo dough, but for most of us simple folk, it’s absolutely fine to use store-bought phyllo dough. I've never made phyllo and don't have plans to. To you die hards out there that make it at home, my hat is off to you. In the meantime, I'm going to stroll over to my freezer and pull out some phyllo. Whew, hard work.
Leeks vs. Wild Leeks
If you’re lucky enough to live in an area where morel mushrooms grow, chances are you might also have wild leeks available to you. Wild leeks, also known as ramps or spring onions, are small onion-like greens that grow plentiful in the woods. They’re quite small when compared to their regular leek counterparts, but have a wonderful smell and taste. While you’re out foraging for morel mushrooms, you might as well pick some wild leeks, too. Pull from the bottom to be able to pull up the whole white onion-looking root.
If you don’t have or prefer to use wild leeks, 1 regular leek from the store will do the trick.
This post may contain affiliate links. If you buy something using these links, Jennyblogs may receive a small commission, at no extra cost to you. This helps to support Jennyblogs. For further information see the privacy policy. Grazie!
Recipe adapted from Drizzle and Dip


Leek and Morel Mushroom Phyllo Pies
Makes about 12 pies
Ingredients:

2 Tbsp / 28g oil
4 garlic cloves, minced
1 medium store-bought leek or about 12 wild leeks/ramps (about 3 cups / 270g), finely chopped
1 shallot or 1/2 small onion, diced
4 Tbsp / 56g butter or oil
about 5 cups / 375g chopped morel mushrooms, or other kind of mushrooms
1/4 cup / 60g milk
1/2 cup / 65g grated parmesan cheese
salt and pepper, to taste
1 16 oz. package phyllo pastry sheets, thawed
melted butter or olive oil for brushing phyllo dough
Directions:

How to fold the phyllo pies
Oven 350°F / 177°C. Line two sheet pans with parchment paper.
In a large saucepan, heat oil.
Add garlic, leeks, and onion and sauté until tender onions are translucent and garlic fragrant.
Add butter and mushrooms, cook until the liquid released from mushrooms has mostly evaporated; add milk and cook until the mixture is thick, just a few minutes.
Remove from heat and add cheese, mixing just until melted. Salt and pepper to taste. Allow to cool slightly while you prepare the phyllo dough.
Remove phyllo pastry from plastic, unroll, and set aside the first two sheets to work with; cover remaining sheets with a slightly damp cloth to prevent them from drying out and becoming brittle.
Working quickly so the sheets don't dry out, brush the top side of one sheet with a bit of butter or oil and lay the second sheet on top. Cut the layered sheets lengthwise in thirds, so you will know have 3 long strips.
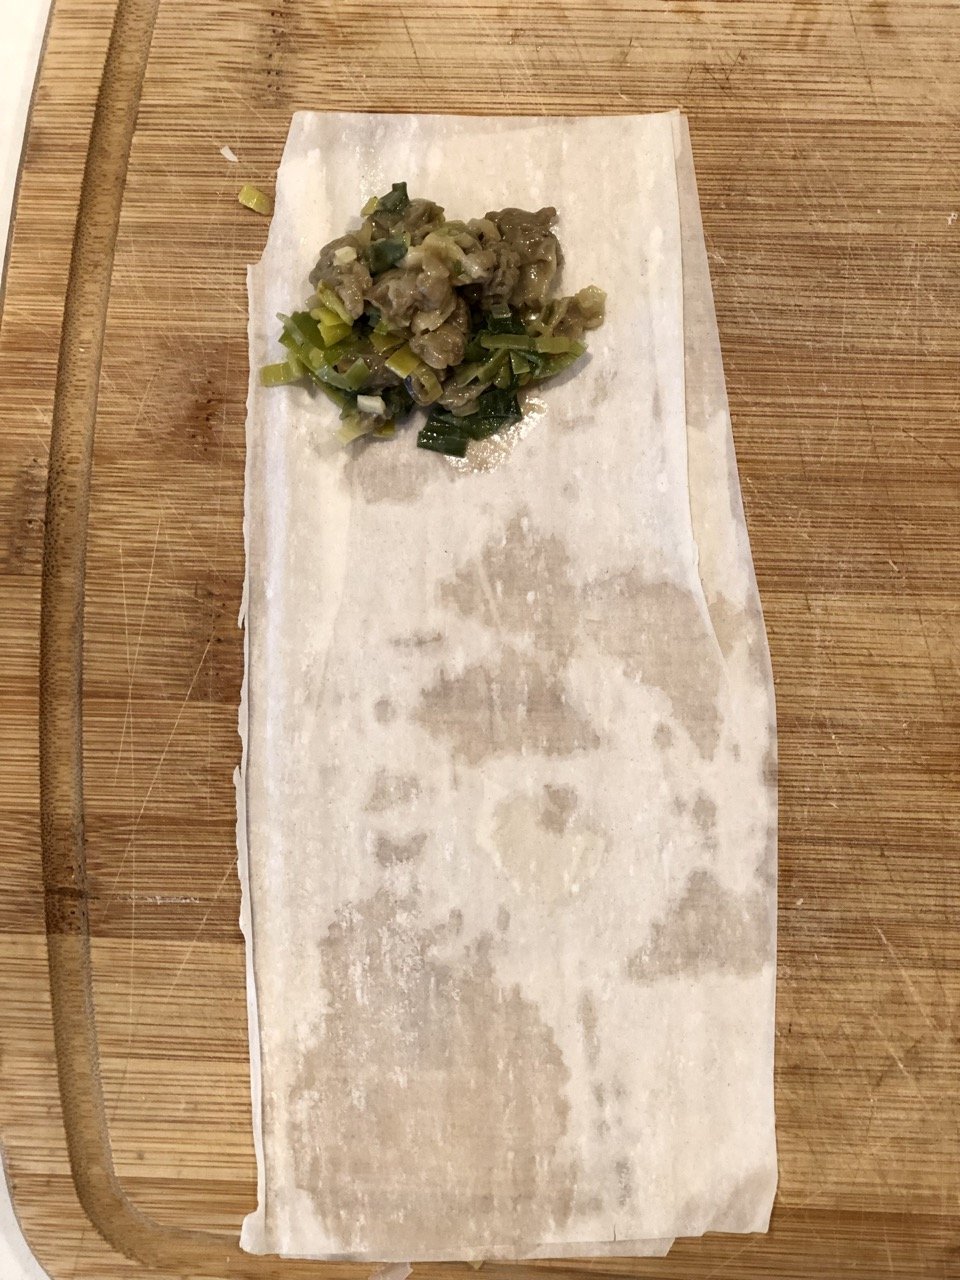
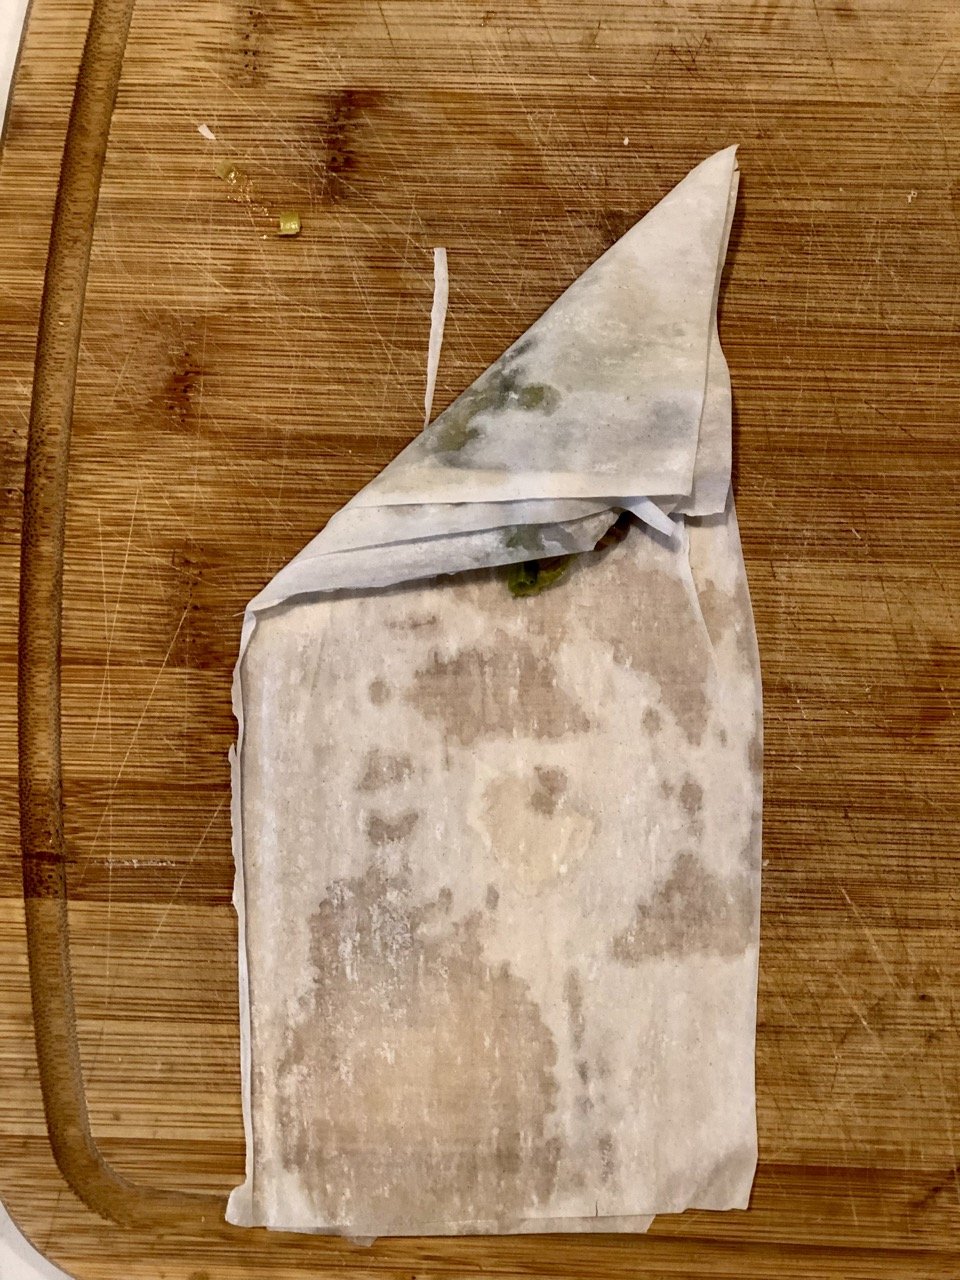
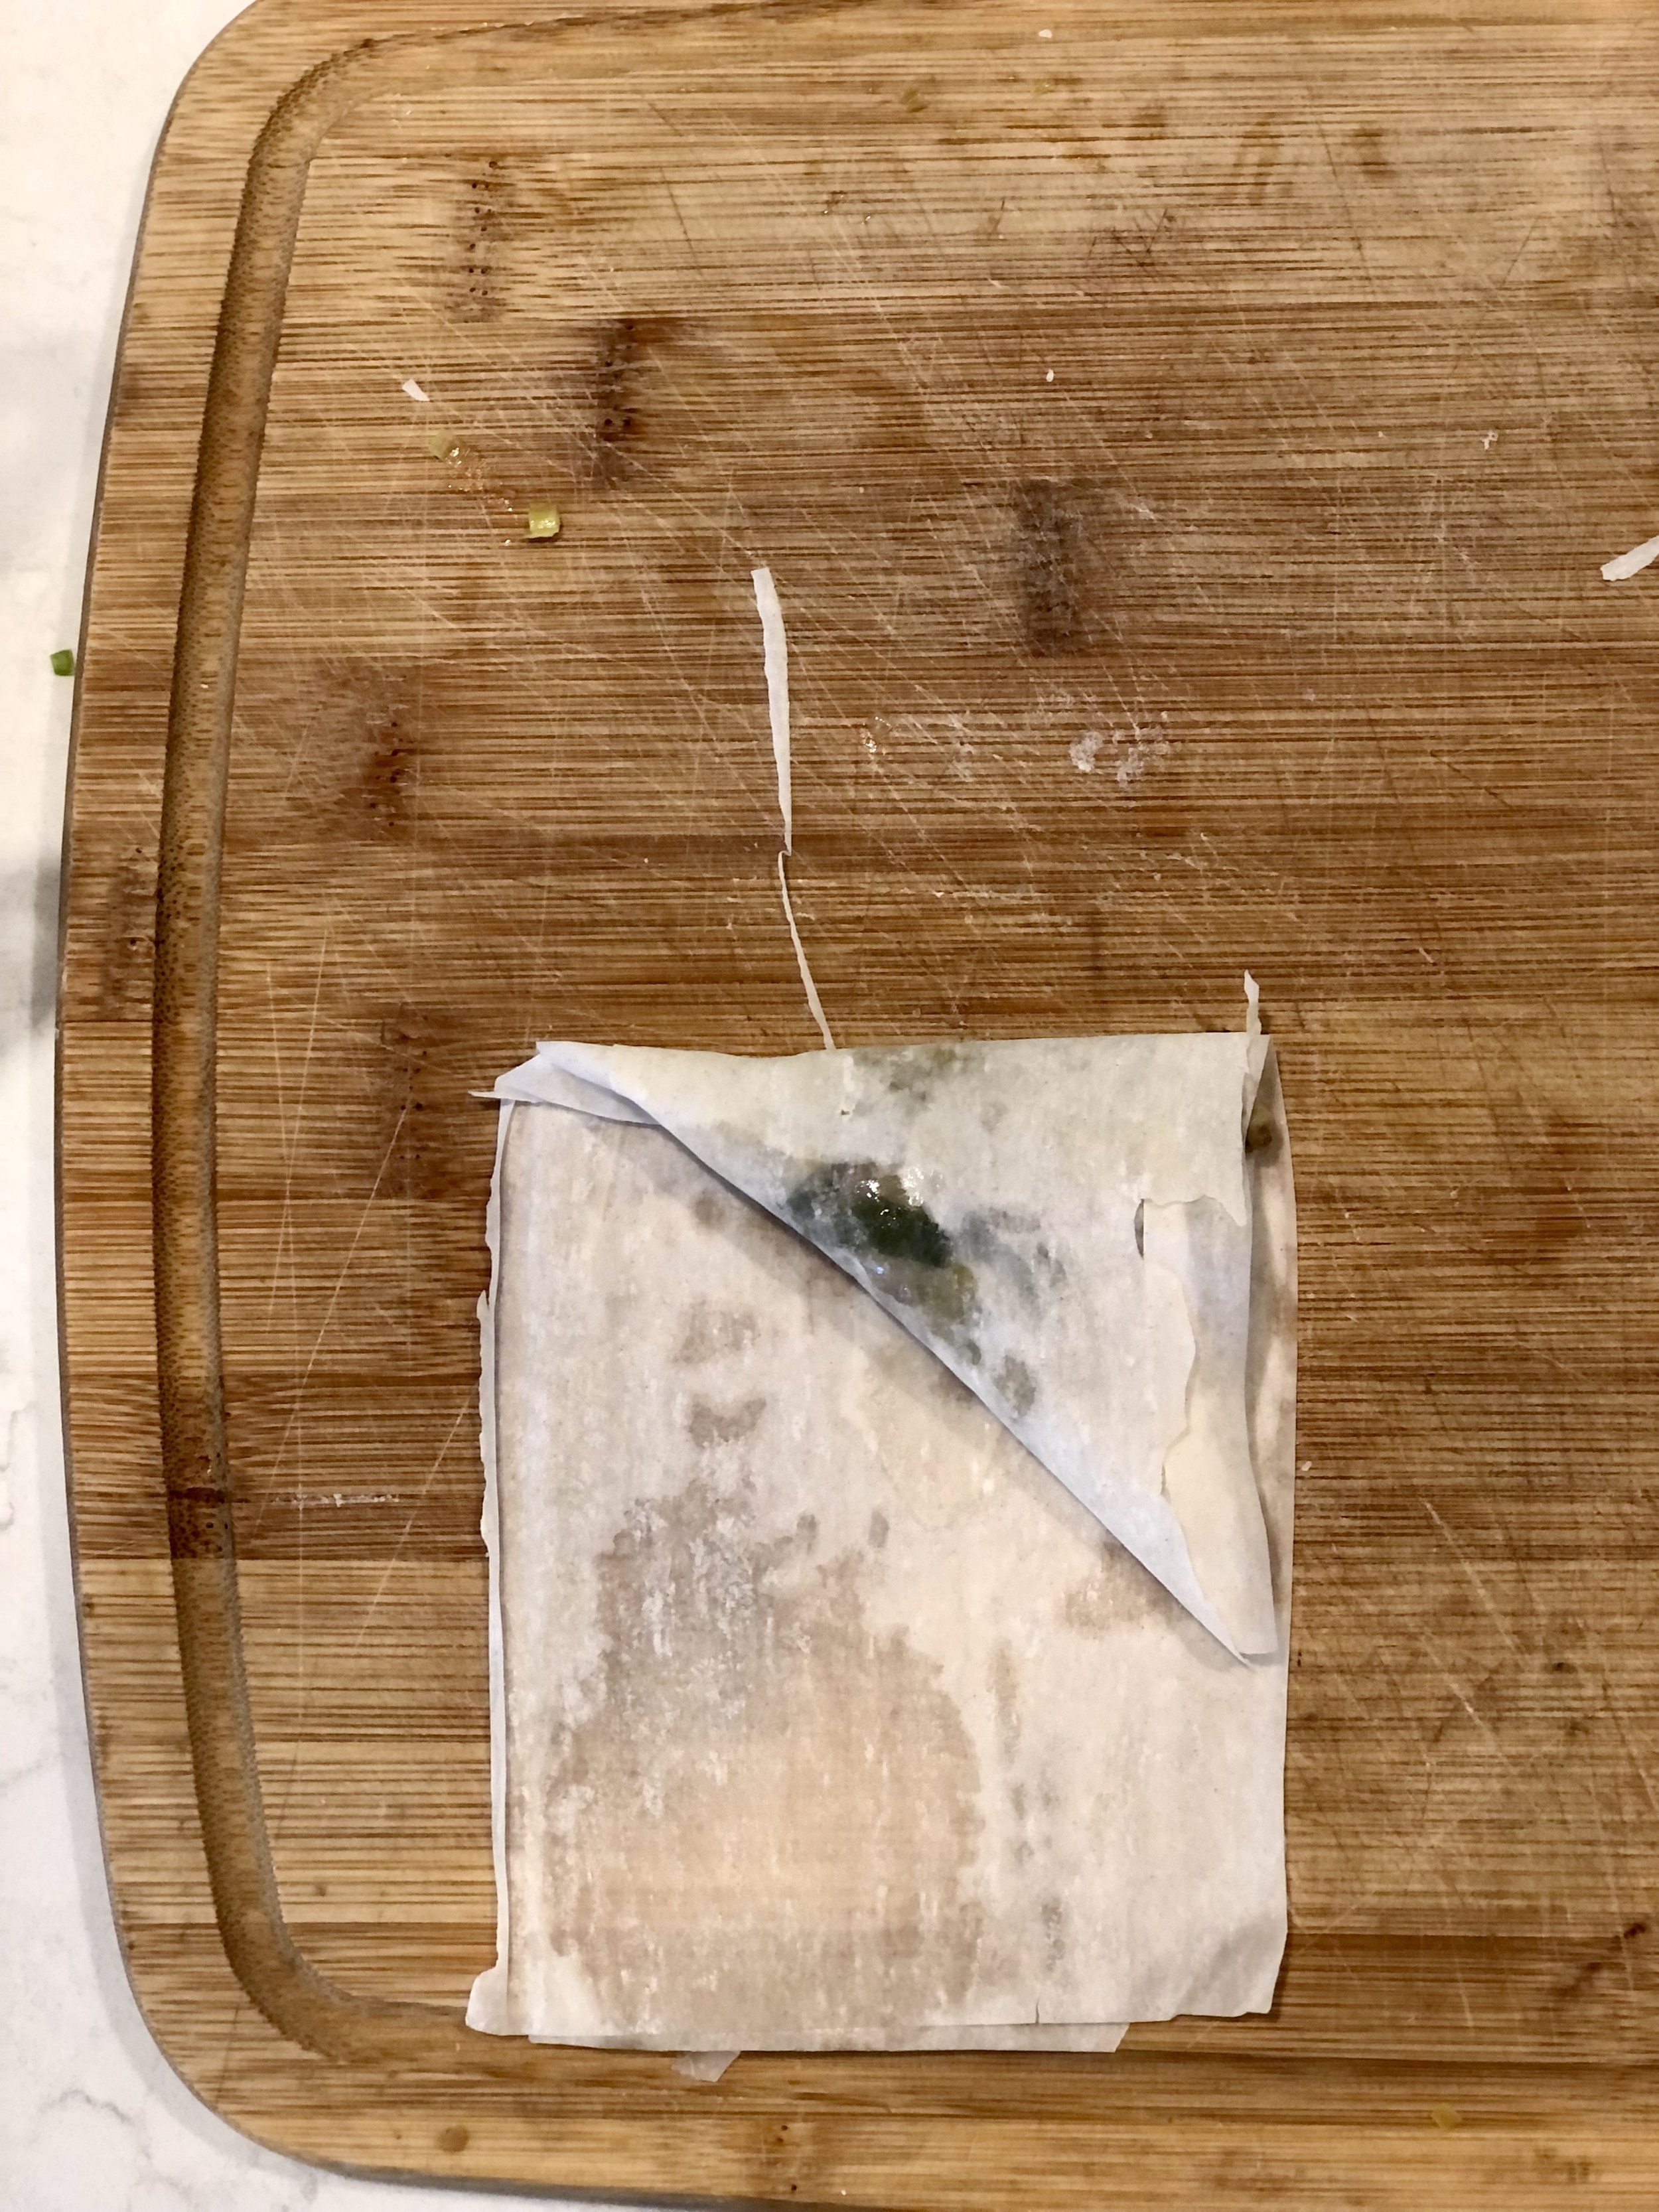
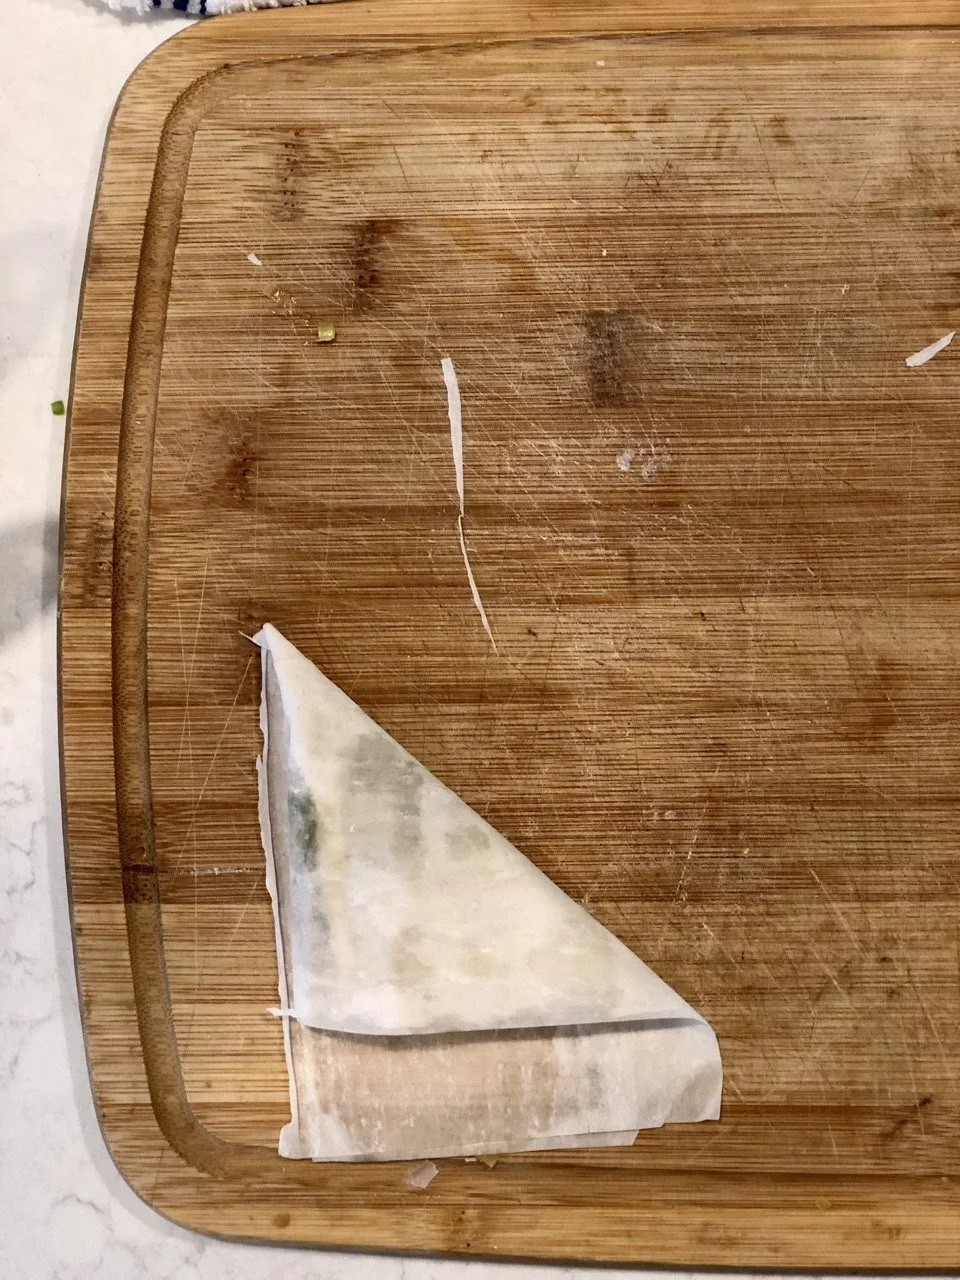
Now for the fun "flipping" part. (See photo above for reference.) Working with the first strip, spoon a small amount of filling, about 1 Tbsp, in the top corner. Take that corner and fold it down until the tip reaches the opposite side; the filling should now be covered. Next flip it straight down, the top should be level again. Fold again, taking the filled corner to the opposite side. The dough should be kept taught through all this, but not so taught it rips. Continue flipping/folding until the end of the strip. Use a dab of butter or oil to stick the end of the strip to the pie, if desired. Place on pan, tucked side down, and repeat until all the filling or all the phyllo pastry has been used up. Wrap any remaining phyllo tightly in plastic wrap and refrigerate until next use.
Brush the tops of the pies with butter or oil and bake for 20-25 minutes, or until golden.
Jenny's Notes:
Store-bought leeks differ greatly from “wild leeks” in size. You may also know wild leeks by the name of ramps or spring onions.
Give your phyllo dough ample time to thaw. Cold or frozen phyllo will crack as you try to unroll it, and can mess up your slicing and folding/flipping of the pies.
If your phyllo is brittle or cracking, it probably got dried out. Keep phyllo dough in its plastic until absolutely necessary, then once opened keep under a damp towel. Once you start working with some of the sheets, move quickly so they won’t dry out. No need to panic, just don’t dawdle.

Leek and Morel Mushroom Phyllo Pies
Ingredients
Instructions
- Oven 350°F / 177°C. Line two sheet pans with parchment paper.
- In a large saucepan, heat oil.
- Add garlic, leeks, and onion and sauté until tender onions are translucent and garlic fragrant.
- Add butter and mushrooms, cook until the liquid released from mushrooms has mostly evaporated; add milk and cook until the mixture is thick, just a few minutes.
- Remove from heat and add cheese, mixing just until melted. Salt and pepper to taste. Allow to cool slightly while you prepare the phyllo dough.
- Remove phyllo pastry from plastic, unroll, and set aside the first two sheets to work with; cover remaining sheets with a slightly damp cloth to prevent them from drying out and becoming brittle.
- Working quickly so the sheets don't dry out, brush the top side of one sheet with a bit of butter or oil and lay the second sheet on top. Cut the layered sheets lengthwise in thirds, so you will know have 3 long strips.
- Now for the fun "flipping" part. (See photo above for reference.) Working with the first strip, spoon a small amount of filling, about 1 Tbsp, in the top corner. Take that corner and fold it down until the tip reaches the opposite side; the filling should now be covered. Next flip it straight down, the top should be level again. Fold again, taking the filled corner to the opposite side. The dough should be kept taught through all this, but not so taught it rips. Continue flipping/folding until the end of the strip. Use a dab of butter or oil to stick the end of the strip to the pie, if desired. Place on pan, tucked side down, and repeat until all the filling or all the phyllo pastry has been used up. Wrap any remaining phyllo tightly in plastic wrap and refrigerate until next use.
- Brush the tops of the pies with butter or oil and bake for 20-25 minutes, or until golden.
Notes
Store-bought leeks differ greatly from “wild leeks” in size. You may also know wild leeks by the name of ramps or spring onions.
Nutrition Facts
Calories
102.58Fat
5.01 gSat. Fat
1.98 gCarbs
11.88 gFiber
0.81 gNet carbs
11.05 gSugar
0.34 gProtein
2.62 gSodium
158.93 mgCholesterol
7.2 mgNutritional information is approximate, based on 1 phyllo pie

Have you ever gone morel mushroom hunting? Tell me about your adventures in the comments below! :)